Jump to content


Piece-and-Time-Consuming Backbone

coaster micro roller

  • Please log in to reply
5 replies to this topic

#1 timtimlaz

timtimlaz

    Please call me Tim....

  • 1516 posts

Posted 22 March 2014 - 10:23 PM

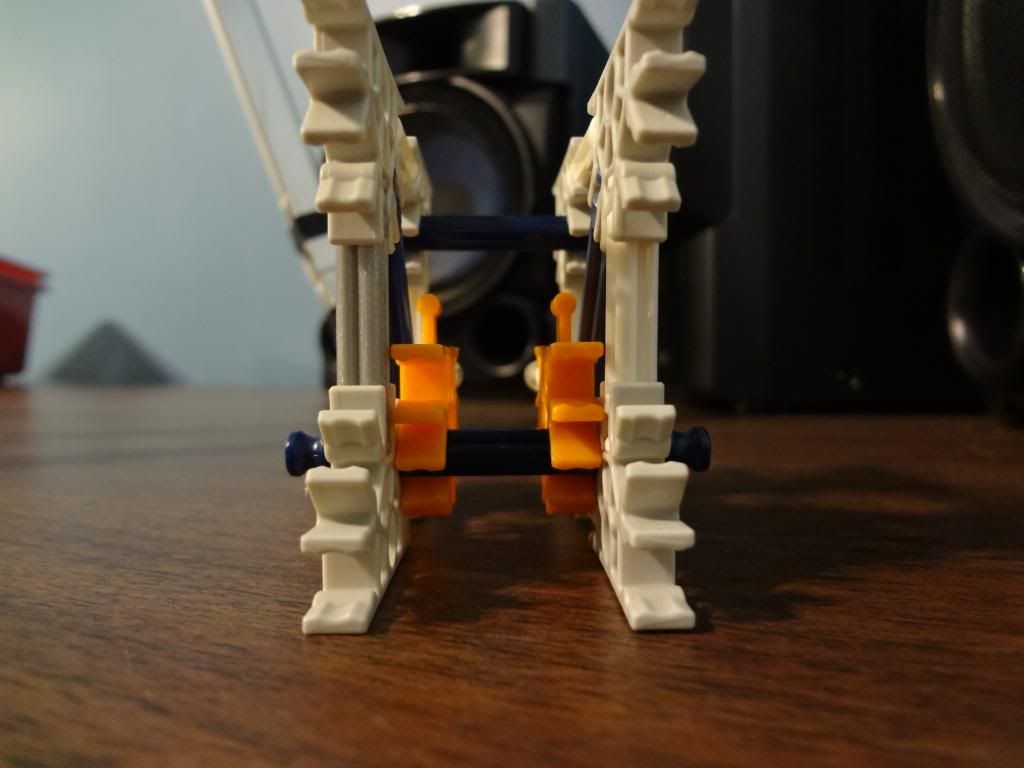
In this tutorial I will show you how to make a complicated looking(sorta) backbone that takes a ton of time and pieces. I went through the tutorials and didn't see any ones like it so hopefully I'm not copying anyone. For the crest you make the bottom white rod a black rod and don't use any rod inside for the connectors unless you want to... I have no power on what you do with this...

This is how it will look in the end for the first one.
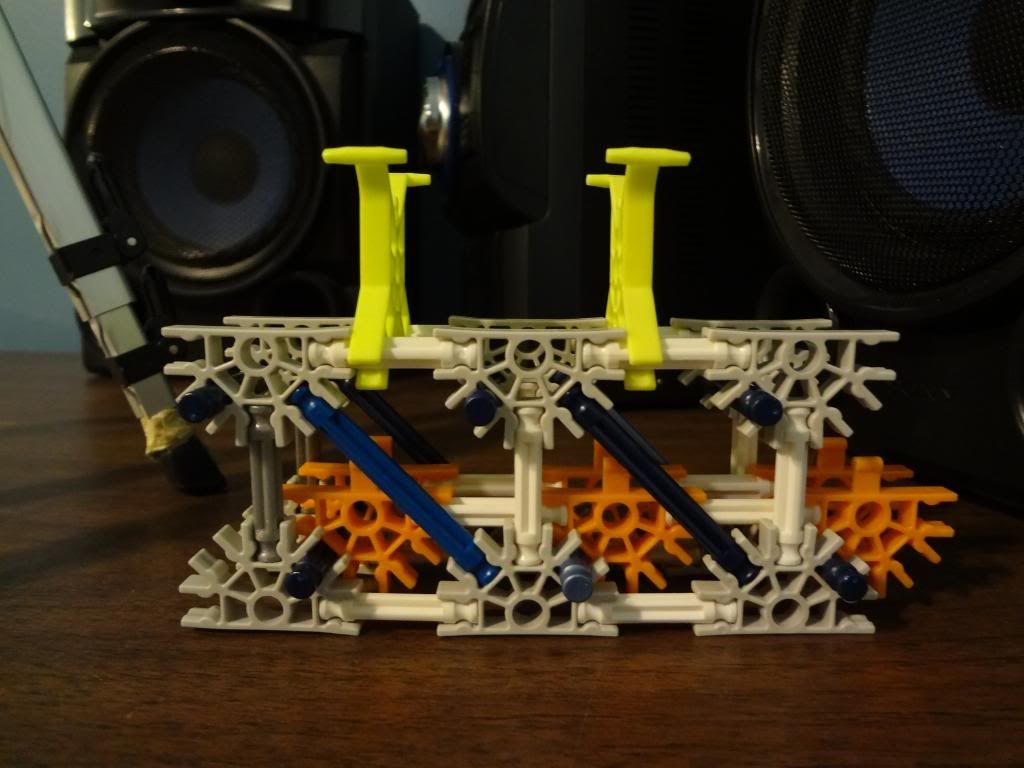
Posted Image

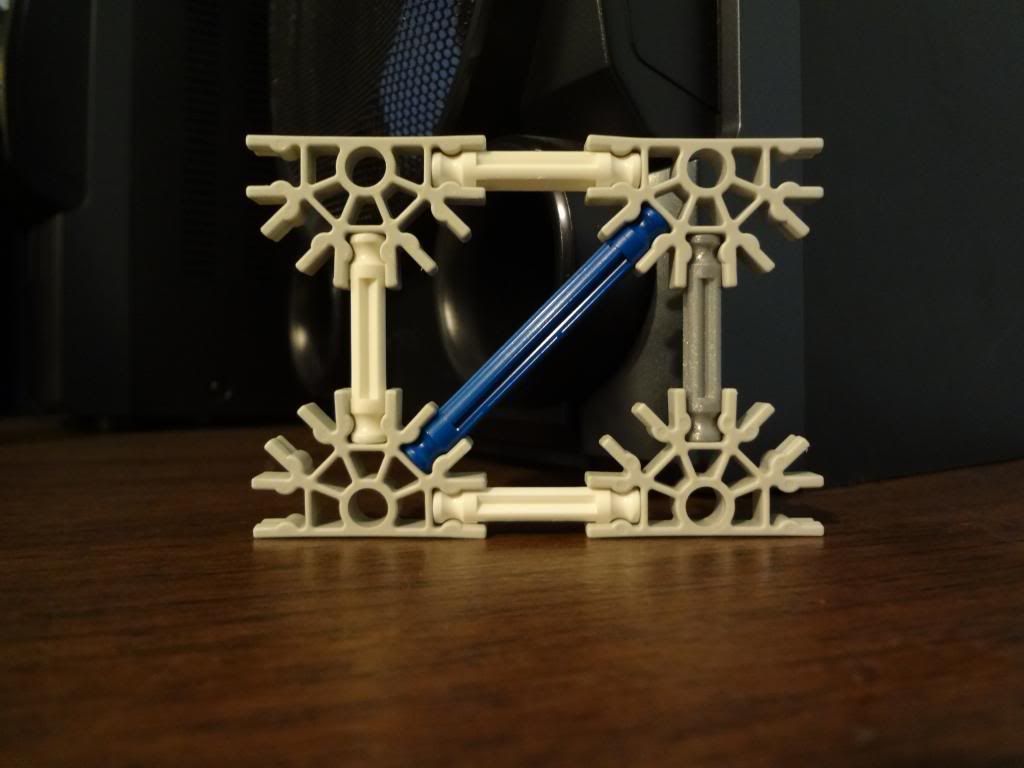
Step one: Build this.

Posted Image

Step two: Connect like so.

Posted Image

Step three: Build this.

Posted Image

Step four: Connect like so.

Posted Image

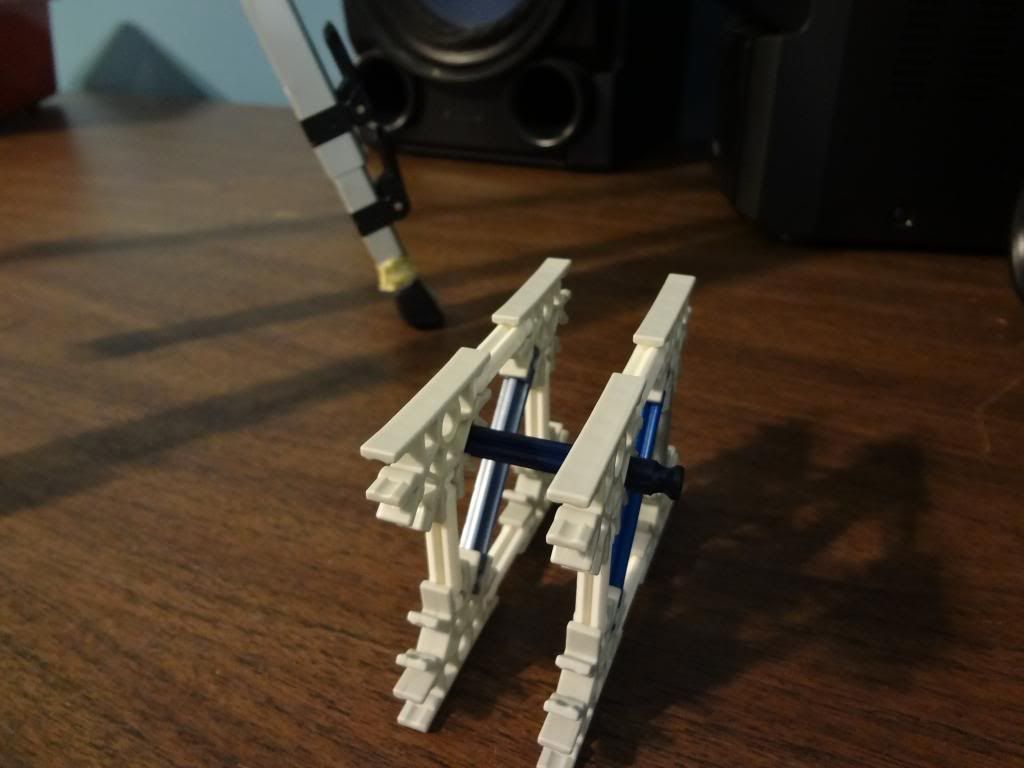
Step five: Put in step step two(?) and this is how it should look:
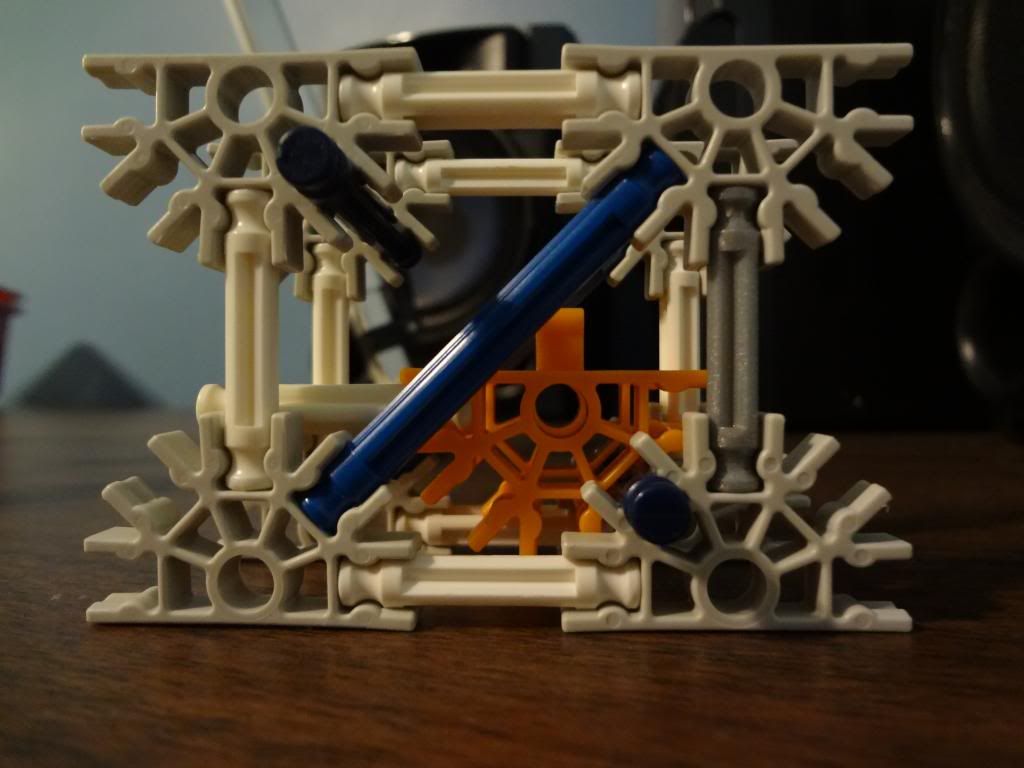
Posted Image

Posted Image

Step six: Add cross-tie.

Posted Image


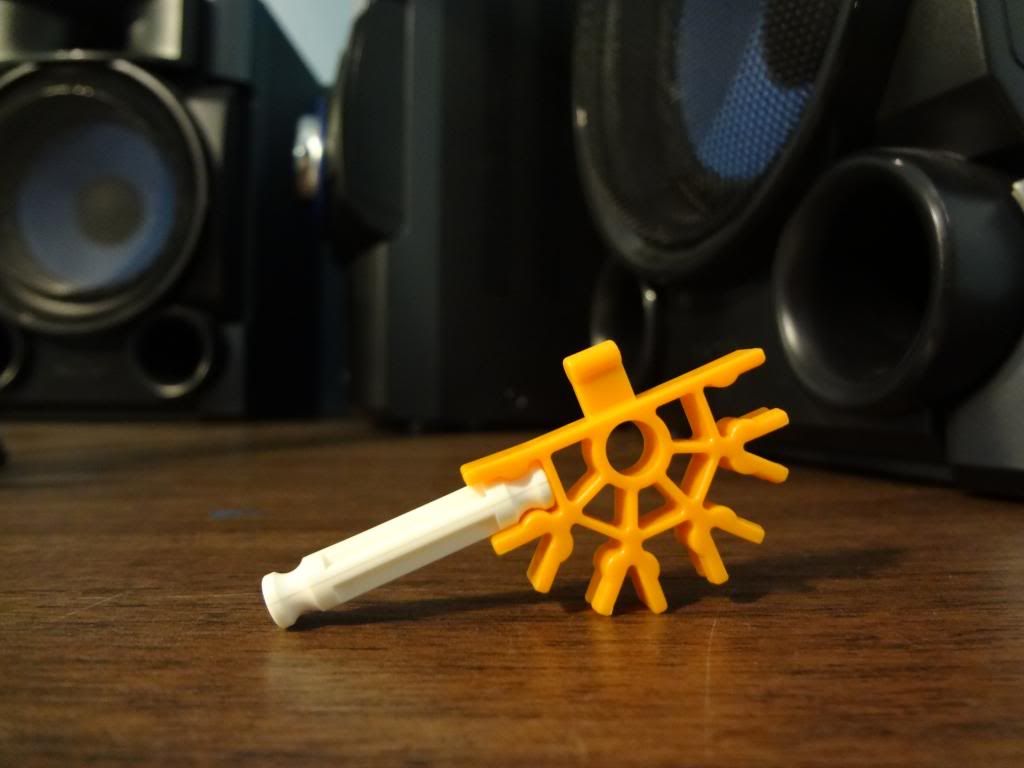
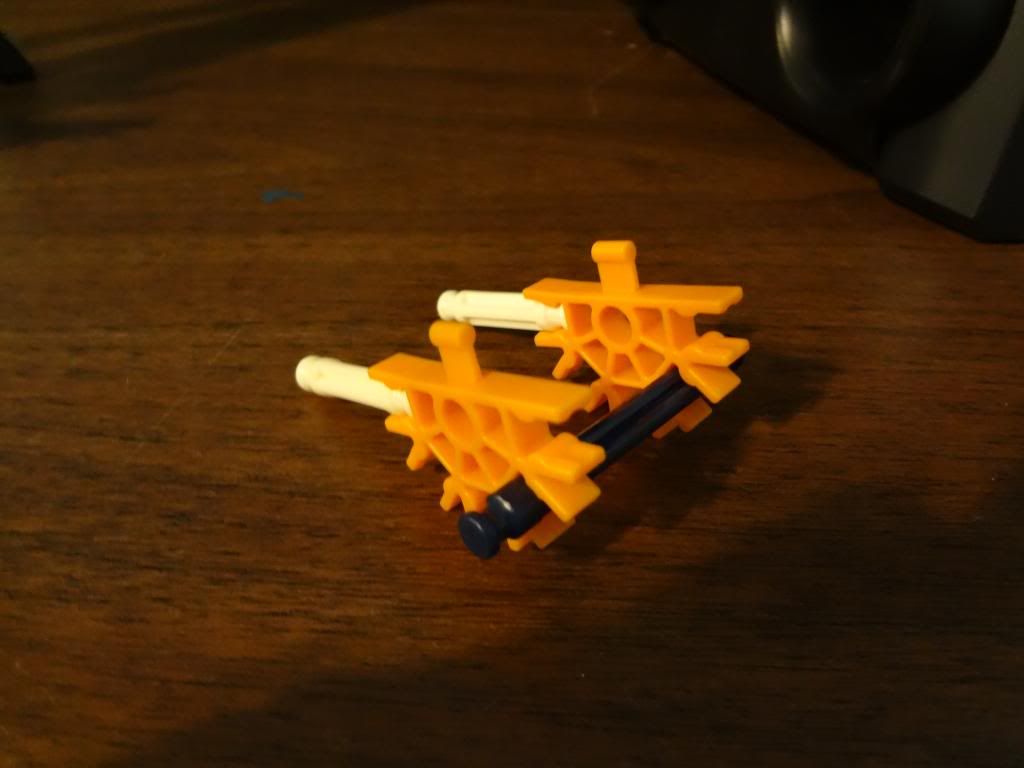
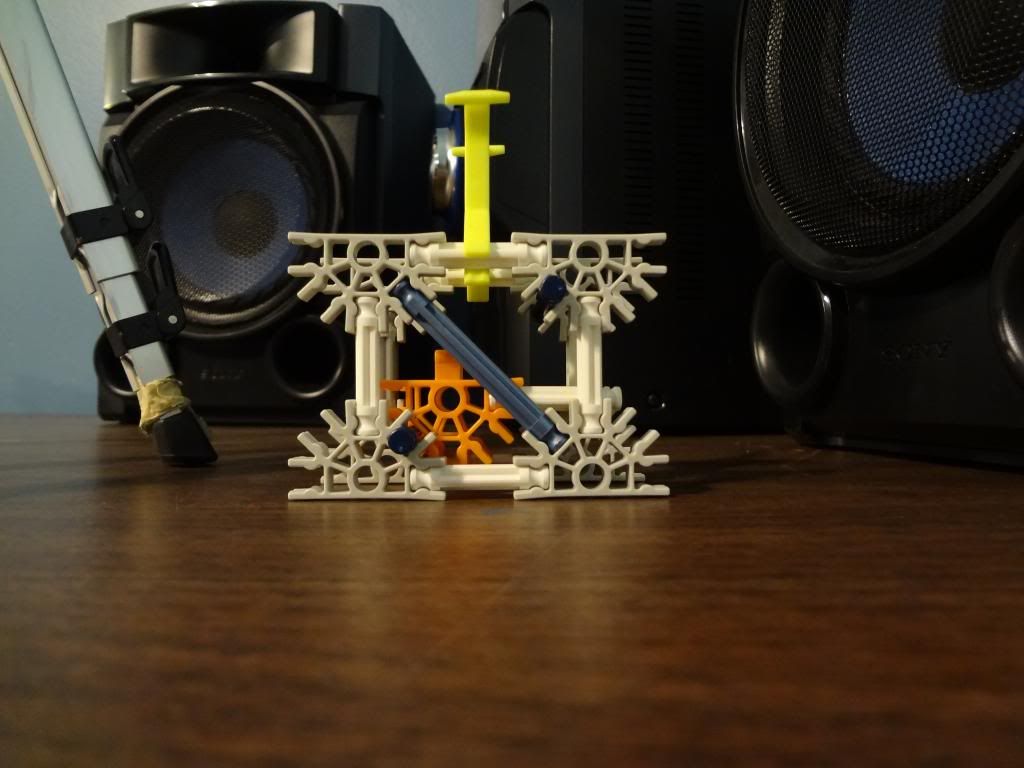
For method two all you are going to do different is switch the five-way connectors with tabs with four-way connectors. It is started after step two.

Step three: Build this.
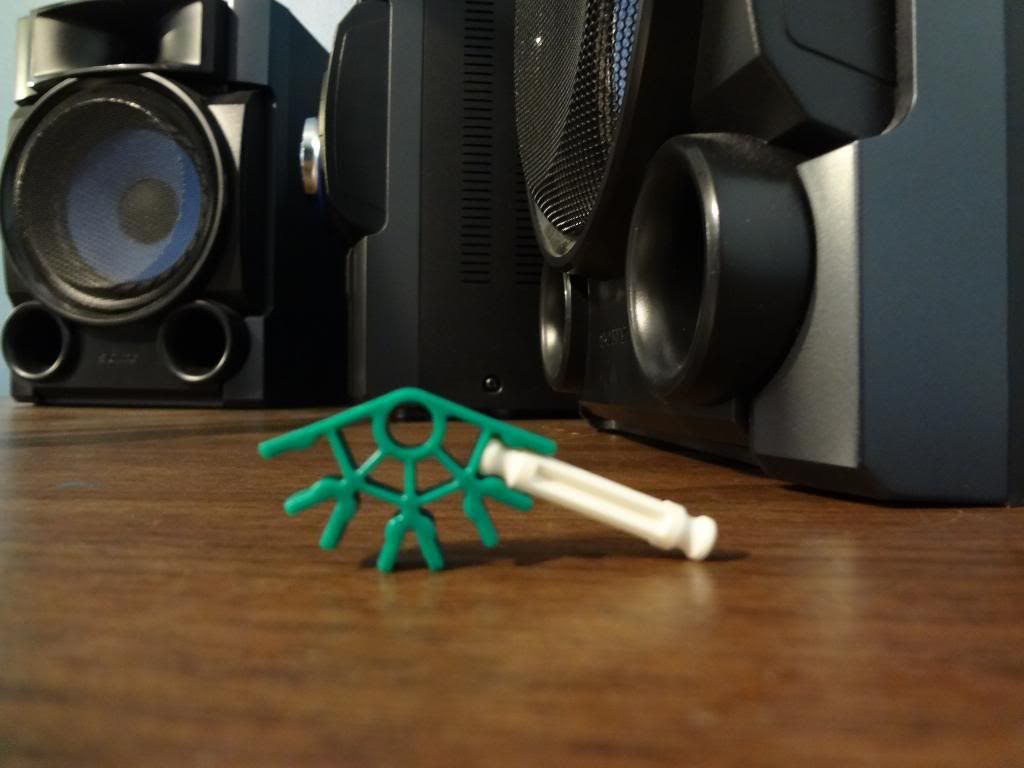
Posted Image

Step four: Connect like so.

Posted Image

Step six: Put inside step two.

Posted Image

Picture that shows the difference from method one and two.
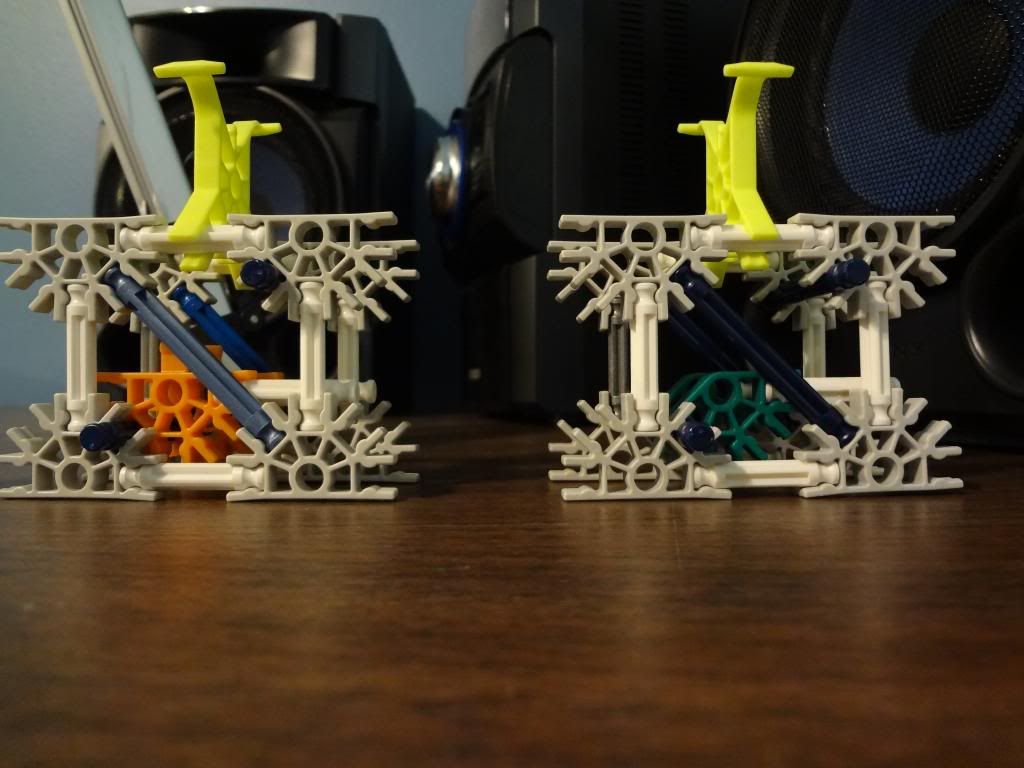
Posted Image

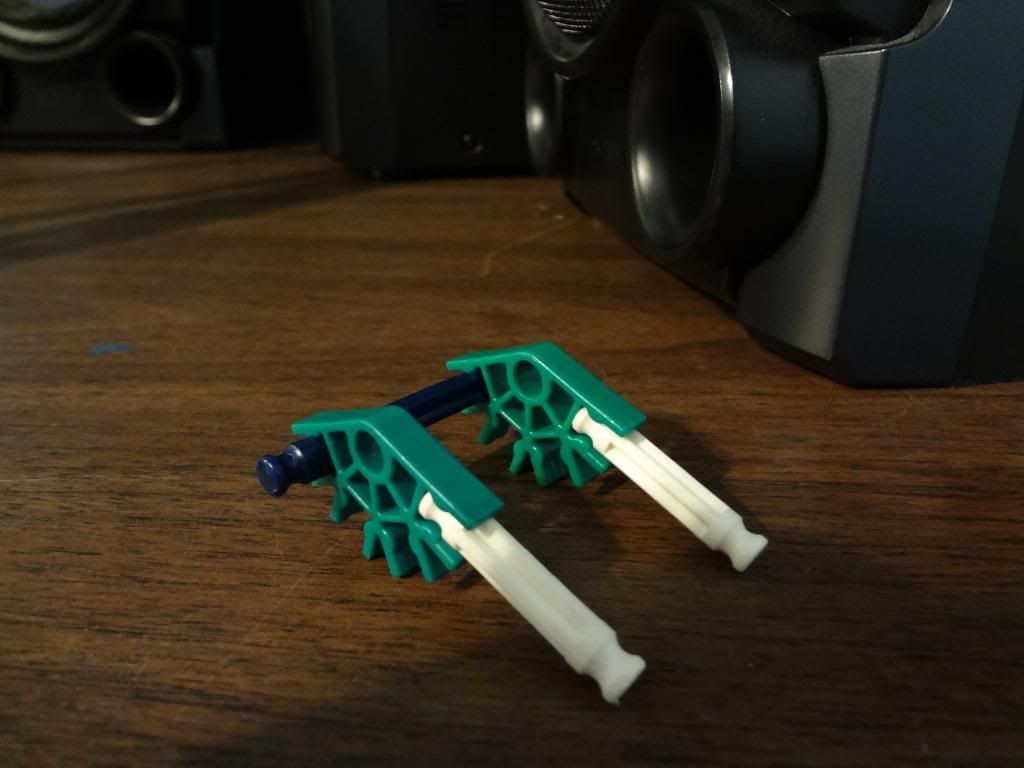
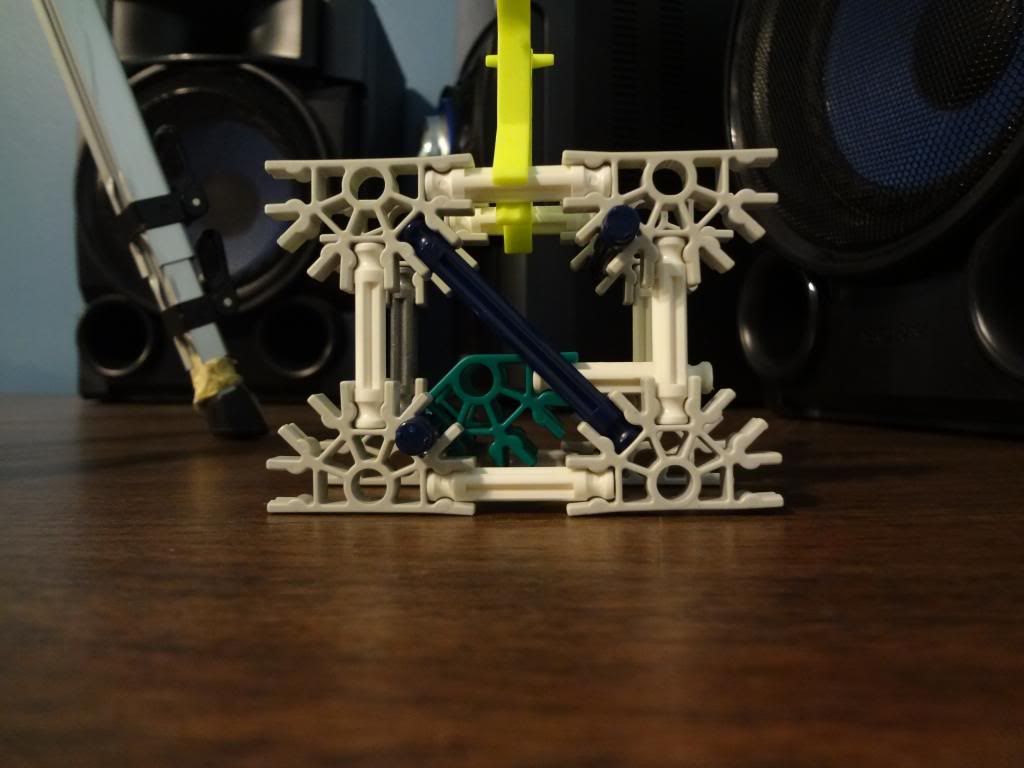
If you don't have a lot of white/grey/back connectors you could switch the white with blue and the blue with granites/yellows. So it would look like this:
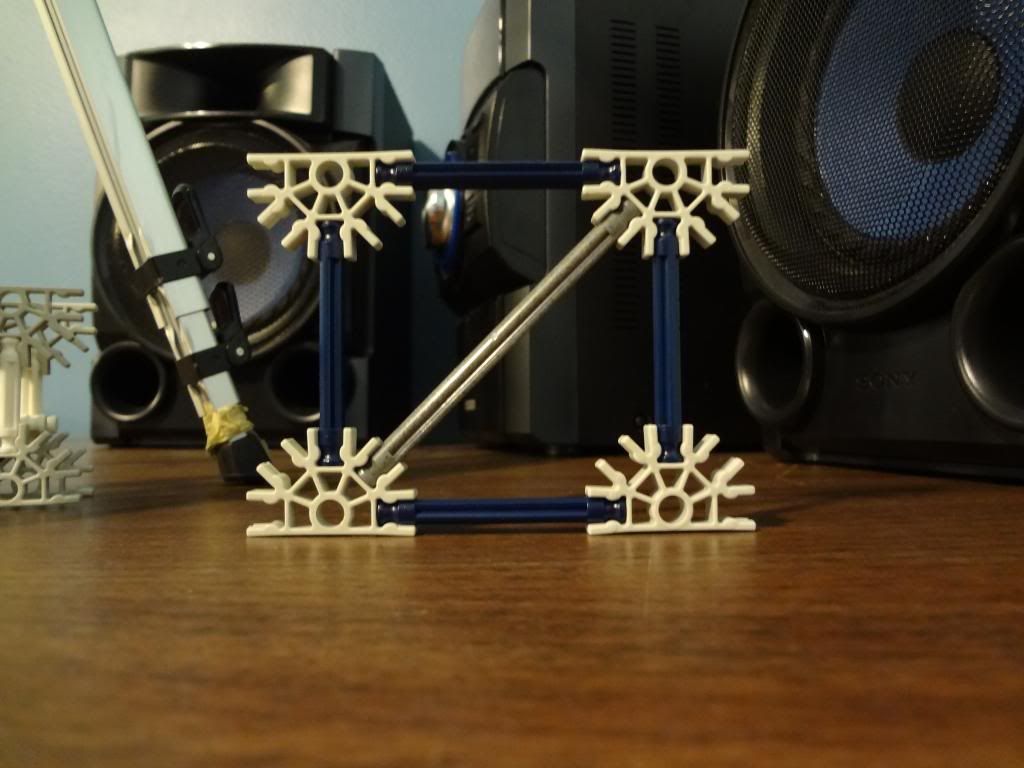
Posted Image

I was originally going to do this on my hyper but then ran out of five-way connectors in grey and didn't want to switch to yellow during the middle of it. So if you have any other ideas that would make this even more time and piece consuming than please comment down below.

Edited by timtimlaz, 22 March 2014 - 10:30 PM.


#2 Bassboost93

Bassboost93

    Uhm...Yeah

  • 212 posts

Posted 26 March 2014 - 12:02 PM

Nice and clear tutorial, but i have one question can i use it in a woodie or is it not good?

Edited by Jogumpie, 26 March 2014 - 03:30 PM.
No need to quote everything.


Posted Image

Loop De Loop!

UNDER CONSTRUCTION
________________________________


Racers!

#3 dylpickled

dylpickled

    Construction Foreman

  • 215 posts

Posted 12 January 2016 - 12:03 AM

*bump* I was going to use this for my next coaster when I realized- you can only go up and down with this design. so I added to it. all you need to do is add 2 blue rods to the top and bottom left, and 2 white rods to the top and bottom eight. it will turn right. to turn left, just do the opposite. then, add a ladder connector + a "y" connector, and connect it to the bottom left and bottom right. also, make sure to add 2 blue connectors to the first 2 halfmoon connecters at the start of the turn.

I should have proof read this over before I posted it!

Attached Files


Edited by knex.koasters, 12 January 2016 - 12:19 AM.


How do I upload a picture here omgg.

#4 niicktam

niicktam

    Member

  • PipPip
  • 13 posts

Posted 18 January 2016 - 08:00 PM

Very nice! been looking around for a tutorial like this. Making a tube styled chain lift and i needed a way for the chain to pass through under the track haha. Great work. Quick question, thats the inner five x tie piece for?

Edited by niicktam, 18 January 2016 - 08:39 PM.


#5 dylpickled

dylpickled

    Construction Foreman

  • 215 posts

Posted 18 January 2016 - 08:58 PM

Very nice! been looking around for a tutorial like this. Making a tube styled chain lift and i needed a way for the chain to pass through under the track haha. Great work. Quick question, thats the inner five x tie piece for?

the x ties/ cross ties are there to help keep everything in place. is that what your asking about? oh wait, do you mean on the original? if so, that's part of the chain return. you put tubing were the tips are and the chain rides it back down to the gears.

Edited by knex.koasters, 18 January 2016 - 09:05 PM.


How do I upload a picture here omgg.

#6 DrCoasters

DrCoasters

    Newbie

  • Pip
  • 3 posts

Posted 28 June 2022 - 02:39 PM

:)