I've used these trains on Feniks, and they appeared to work fairly well. The cars are taller than normal Micro cars and loose speed a little faster. It is advised to build them on your fastest wheel bases (some of the black chassis parts are way faster than others), to make up for the additional speed loss.
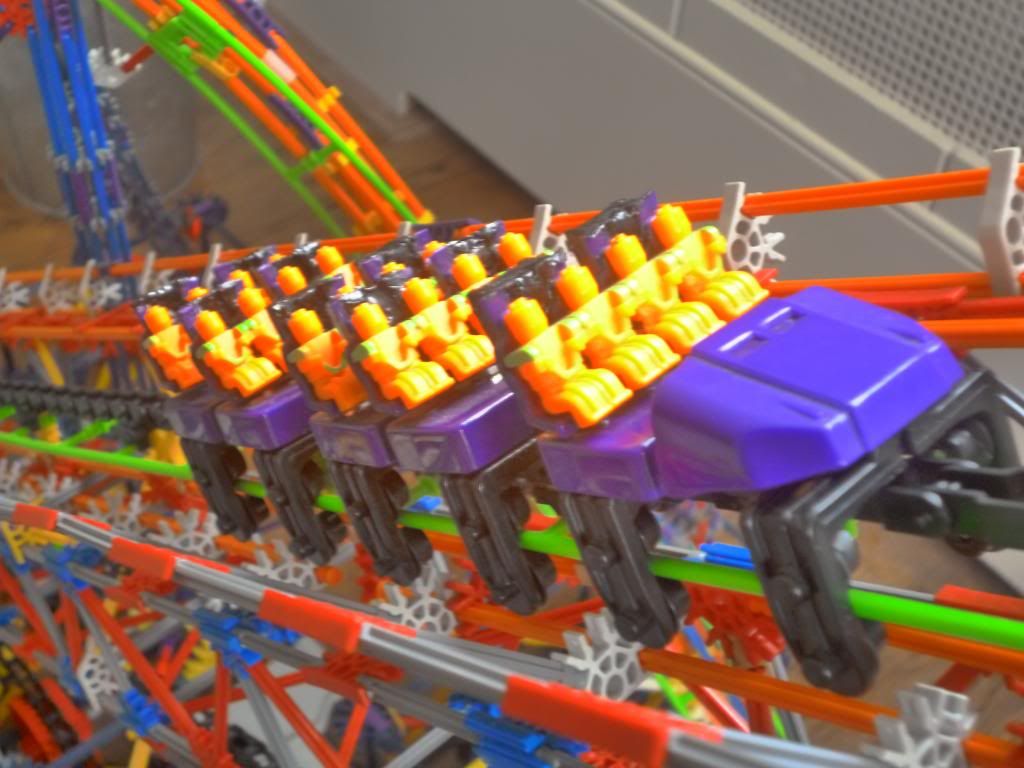
Here's a picture of the final trains:
The converting system is based on the cubes made from liquid wood (2 on each row of seats). These boxes make it possible to mount the trains back into hanging or flying position using screws, without much work needed. The sitting position is fixed by a small screw underneath the seats which attaches the seats to the car.
It is important to note that often converting cars is not advised. When doing so, the liquid wood boxes might become weaker or break, making you have to re-do some parts of the process. This is the reason why I have no pictures ready for the cars in other positions than sitting: I do not want to convert them when it is not needed. When I convert them I'll add pictures.
Materials:
- Saw
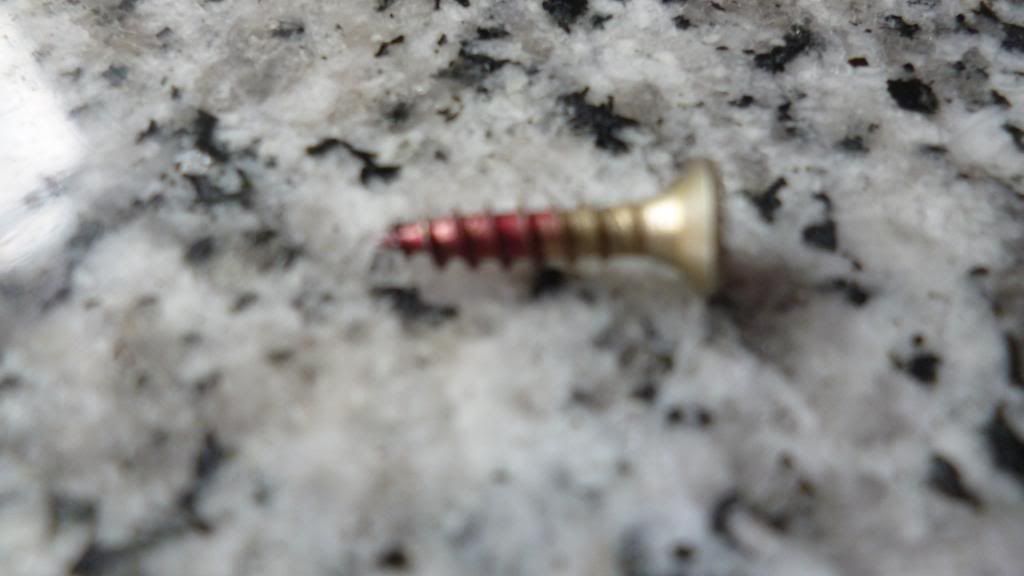
- Some screws (1 for a sitdown, 2 for inverted/flying) (No wider than 4mm and very short)
- 1 screw-nut for a sitdown car (should fit on your choice of screw)
- Dragon Drop Cars
- Knife
Materials you need to build the part that allows transforming (back) to flying or inverted:
- Liquid wood
- Tape
- Paint (I used black)
- Putty Knife
- Small pencil
Optionally you can use sandpaper to make the cars look better.
Time needed: about 3 hours/car (2 rows) over a period of a month.
This tutorial was made a couple of years ago, but it stayed unpublished. I'm sorry for the blurry images!
Preparation
Before starting I recommend reading through the entire tutorial. Be very careful modifying, the cars break very easily.
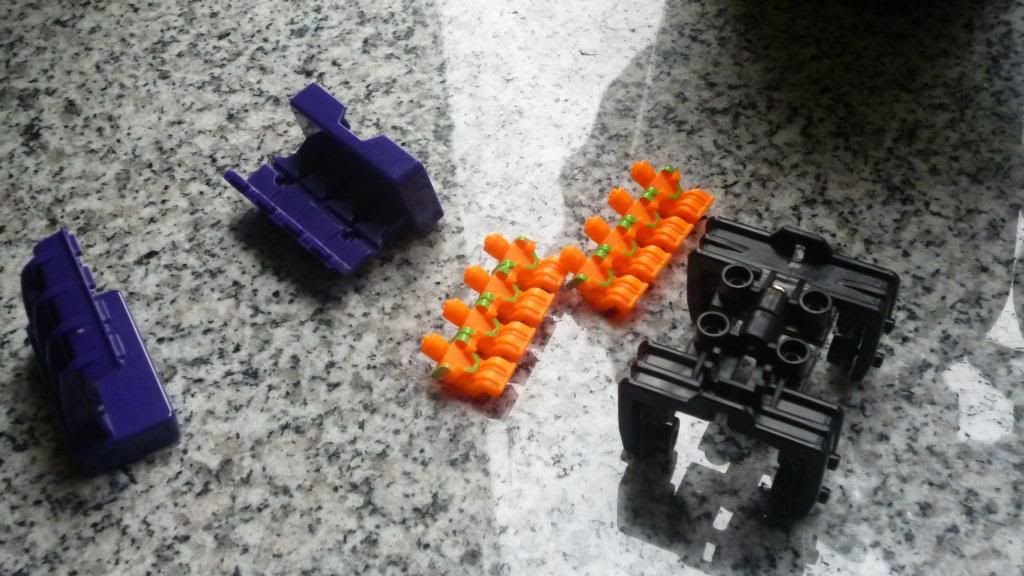
Start off with screwing apart all loose parts of a car. Make sure to store all screws/chaindogs/springs somewhere where you don't lose them, they are needed to put the car back together.

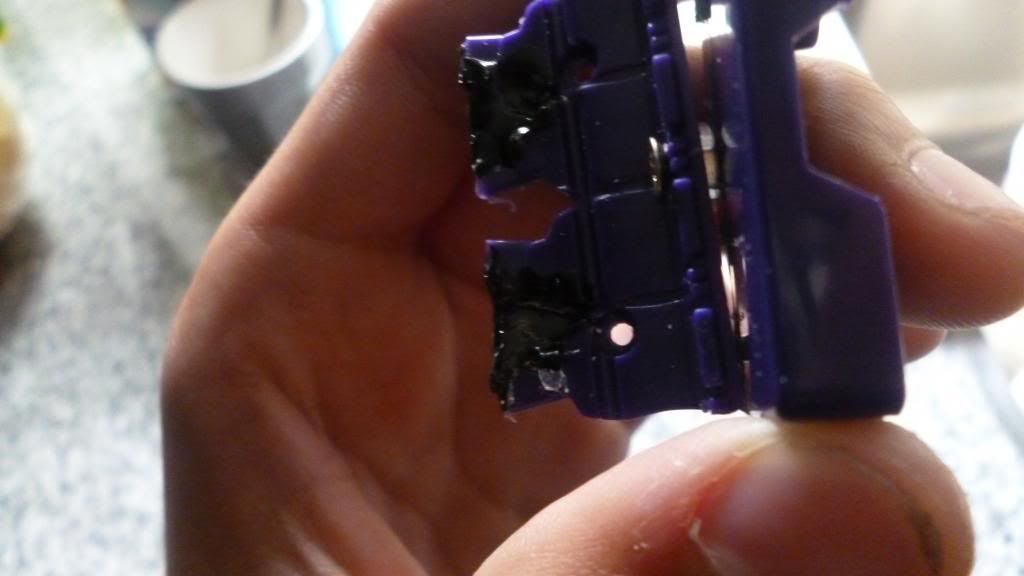
The first thing you need to do is to saw the purple parts in two parts. Cut it as close to the purple 'base' as possible. Afterwards you can optionally use sandpaper to remove sharp edges.
Liquid Wood
Only needed when you want to transform the cars to flying or inverted, or planning to do that in the future
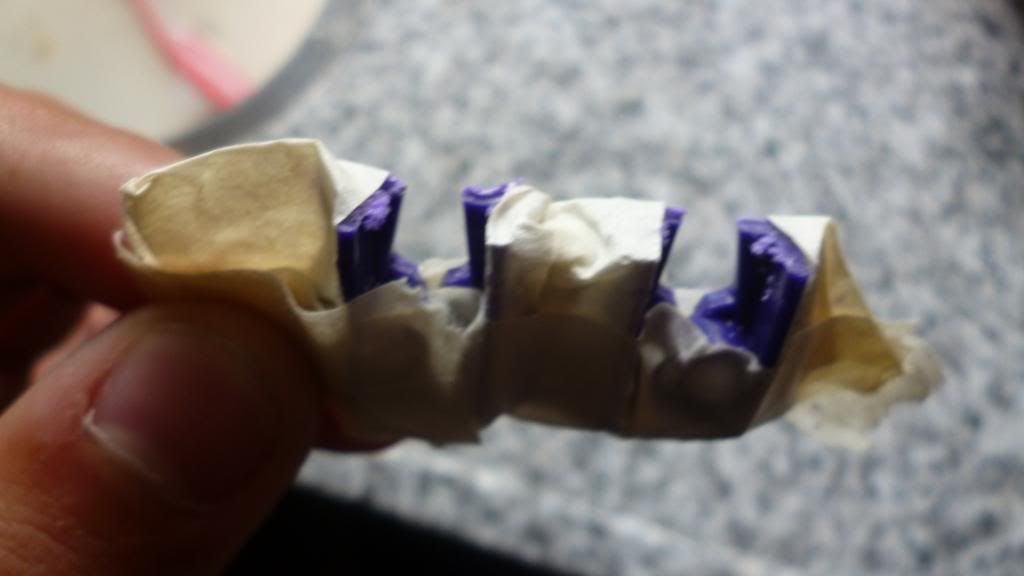
Grab the tape, and make sure everything around the two outer holes on the back side of the seats is taped. This prevents the liquid wood to go in places where you don't want it.

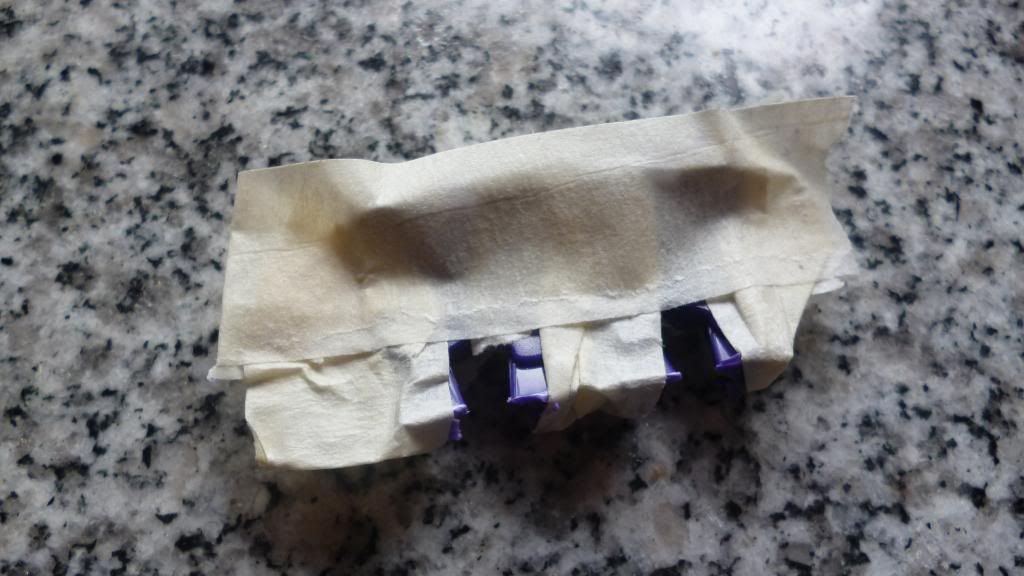
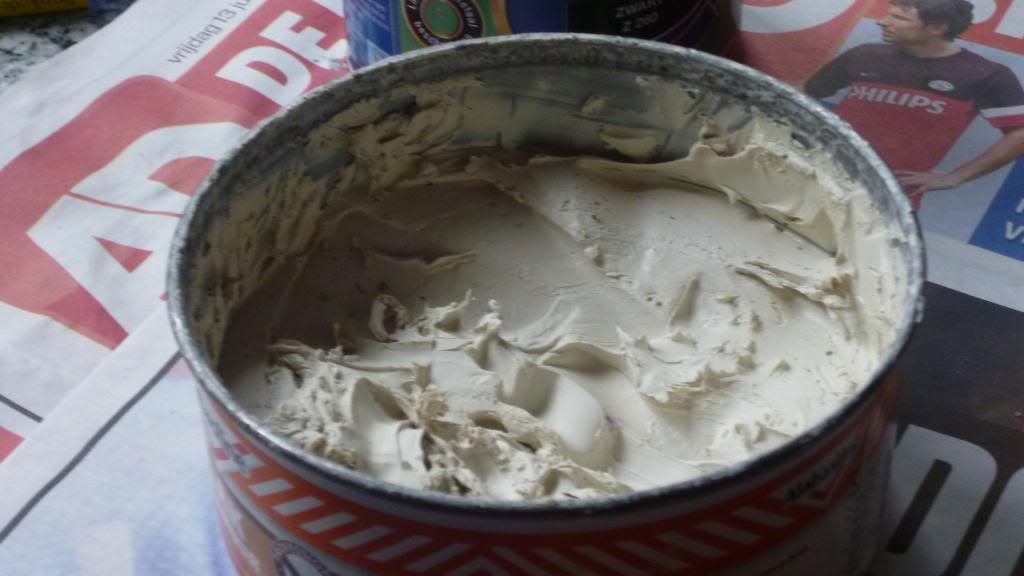
Once everything is taped, grab the liquid woods.
Now grab your Putty Knife and fill the 2 little cubes with liquid wood.
It is advisable to put too much liquid wood on at first, when done it is possible to remove al the unneeded parts.
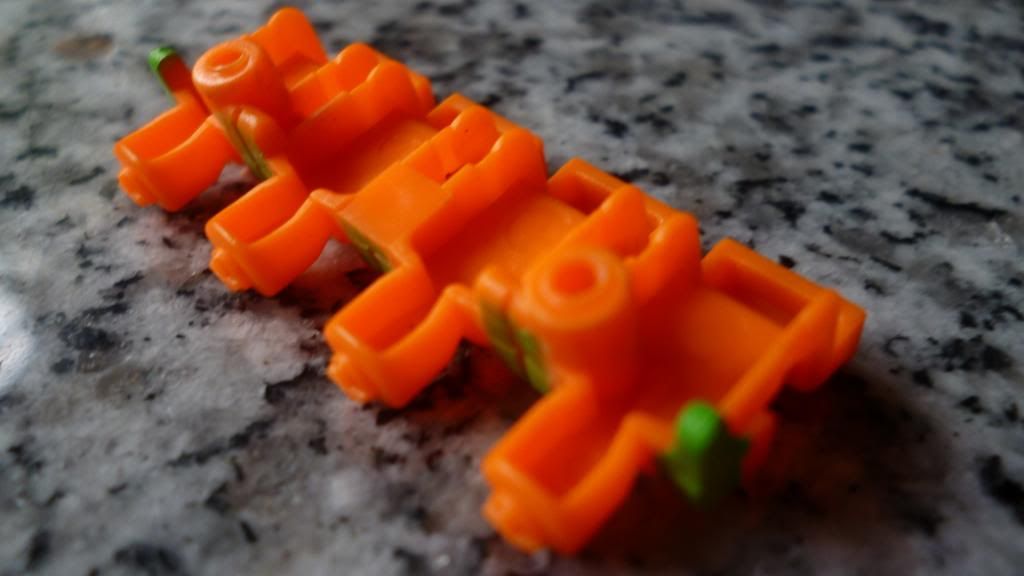
This should be the result. Check if the peeps (orange car parts) still fit in. If not, remove some of the liquid wood with the Putty Knife or with sandpaper. When done remove all tape.
Repeat this part for all of the cars and wait at least 2 weeks before moving on to painting. To kill time, I advise building coasters

I used this as pencil, you can use any (small) pencil you want.
Paint the liquid wood. To prevent painting unwanted parts, you can opt to tape everything around the liquid wood.
If you used tape while painting, remove that.
Before going to the next part, make sure the liquid wood was added 3 to 4 weeks ago!. On top of that, the painting has to have dried as well, that will take about 2 days. Moving on too fast might result in having to do the liquid wood part again.
Assembly
Grab one (sitting position) or two (flying/hanging position) tiny screw(s) and for the sitting position a small screw-nut as well.
Screw the parts together.
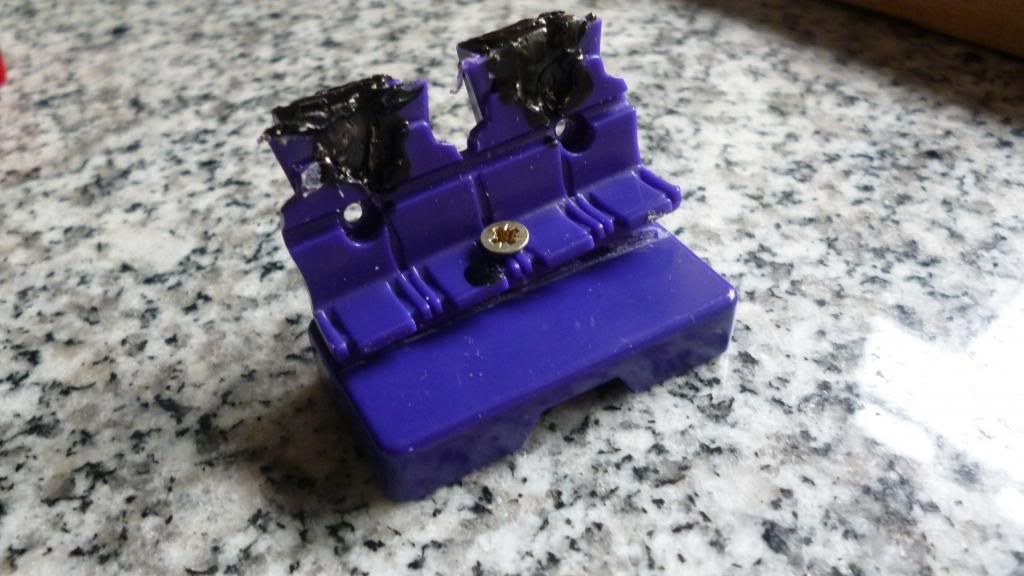
For the sitting position, drill the screw from the seats to the base with a screw-nut in between.
For the other 2 positions, drill a tiny screw through the base into the liquid wood block without a screw-nut.
This should be done very slowly and carefully, since the base part of the car is weak. Drilling too fast or too far might break the car! It is not a problem if the screw is a little loose or if the parts can turn a bit, when drilling further the car will break.
Before doing this, mark with a pencil the places where you should drill to make sure the car is attached right in the middle.
Here the location of the screw-nut can be seen (sitdown only).
For the sitting position, this part needs to be altered as well. Cut away some of the parts to make room for the screw.
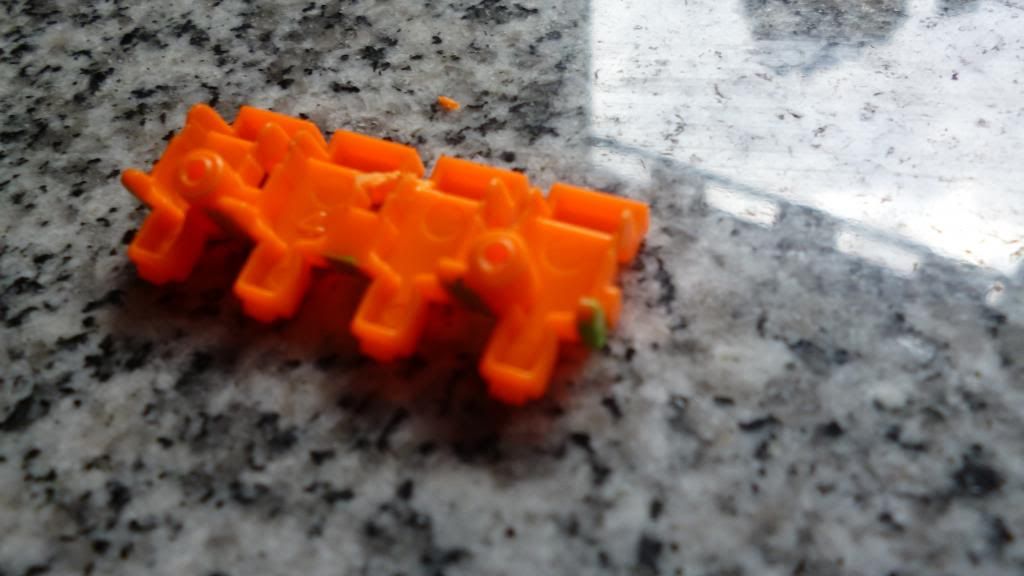
In the middle, cut away a small part to make room for the screw. The peeps do not have to fit perfectly into the car, however they have to be able to get in so far that the parts can be screwed together.
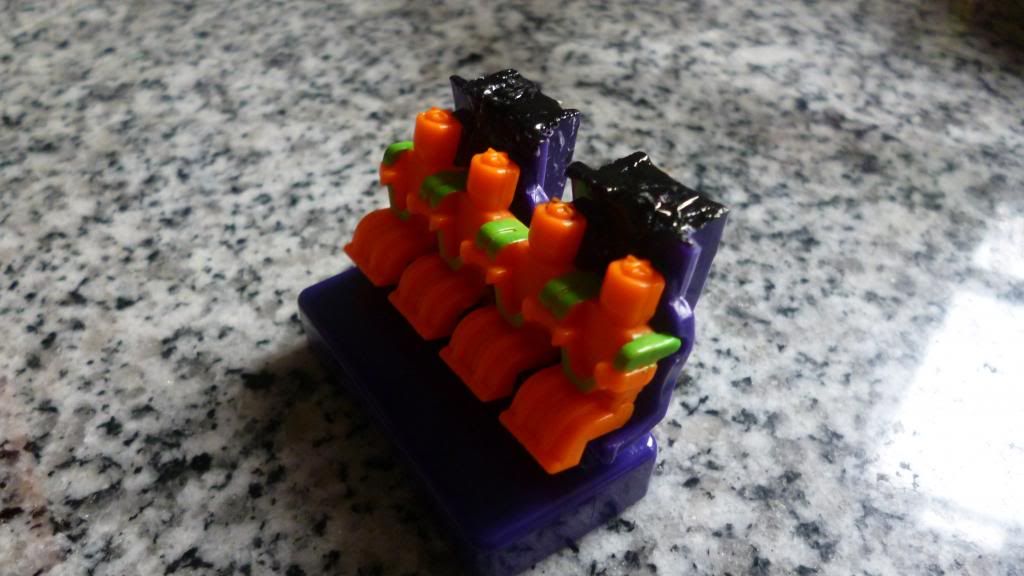
The final result!
Edited by RNB, 12 September 2015 - 04:13 PM.