Jump to content


Huss Condor (take two)

coaster cw5x game no limits rides

  • Please log in to reply
16 replies to this topic

#1 ~stεεlspectrum~

~stεεlspectrum~

    You ready to ride the Fist O' Pain?

  • 7526 posts

Posted 09 August 2013 - 05:12 PM

Hey, long time no see! Yeah, I'm still alive. Just been busy working and such.

So far summer has kept me quite busy, so my Knex projects have been small and/or incomplete. I didn't feel any of them were worth posting, and I fell out of touch with the SSC community. But I'm back :D

In March I built R2D2 for a school event where my senior class dressed up as Star Wars and performed a fight/dance routine. We won the competition, by far!
He's fully operational and has wheels on either side, plus a rotating head. The NXT motors are controlled by my Android phone via Bluetooth.
http://i1125.photobu...pg?t=1376080895

After that I worked on a support-less lift hill and a London Eye model...and completed neither.
http://i1125.photobu...pg?t=1376080850

A couple weeks ago I built a steadicam mount, which I will use in filming various videos in the future.
http://i1125.photobu...pg?t=1376080900


Now I have more free time, and I'm ready to re-visit the elusive Huss Condor.
For those who haven't heard of this ride before, here's a video: Ikarus der Mythos (Das Flugkarussell) Weert 2006 - YouTube

And here is the construction thread for my first attempt: http://www.sscoaster...190/#post314366
I never quite finished it because of problems with automation. There were some major design flaws, and I plan to fix those from the beginning.

Here's the planned changes...
- smoother rotation of the hubless axle
- 4 motors to power rotation (one in each arm)
- counterweight to ease strain on the lifting motor


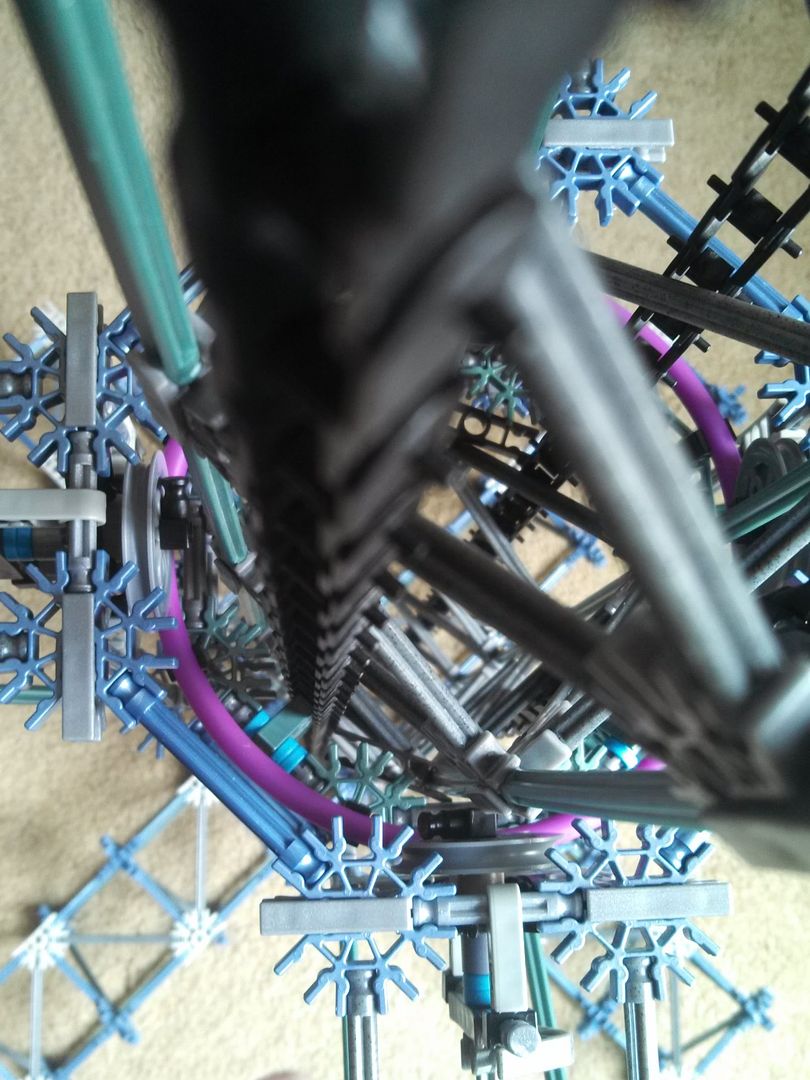
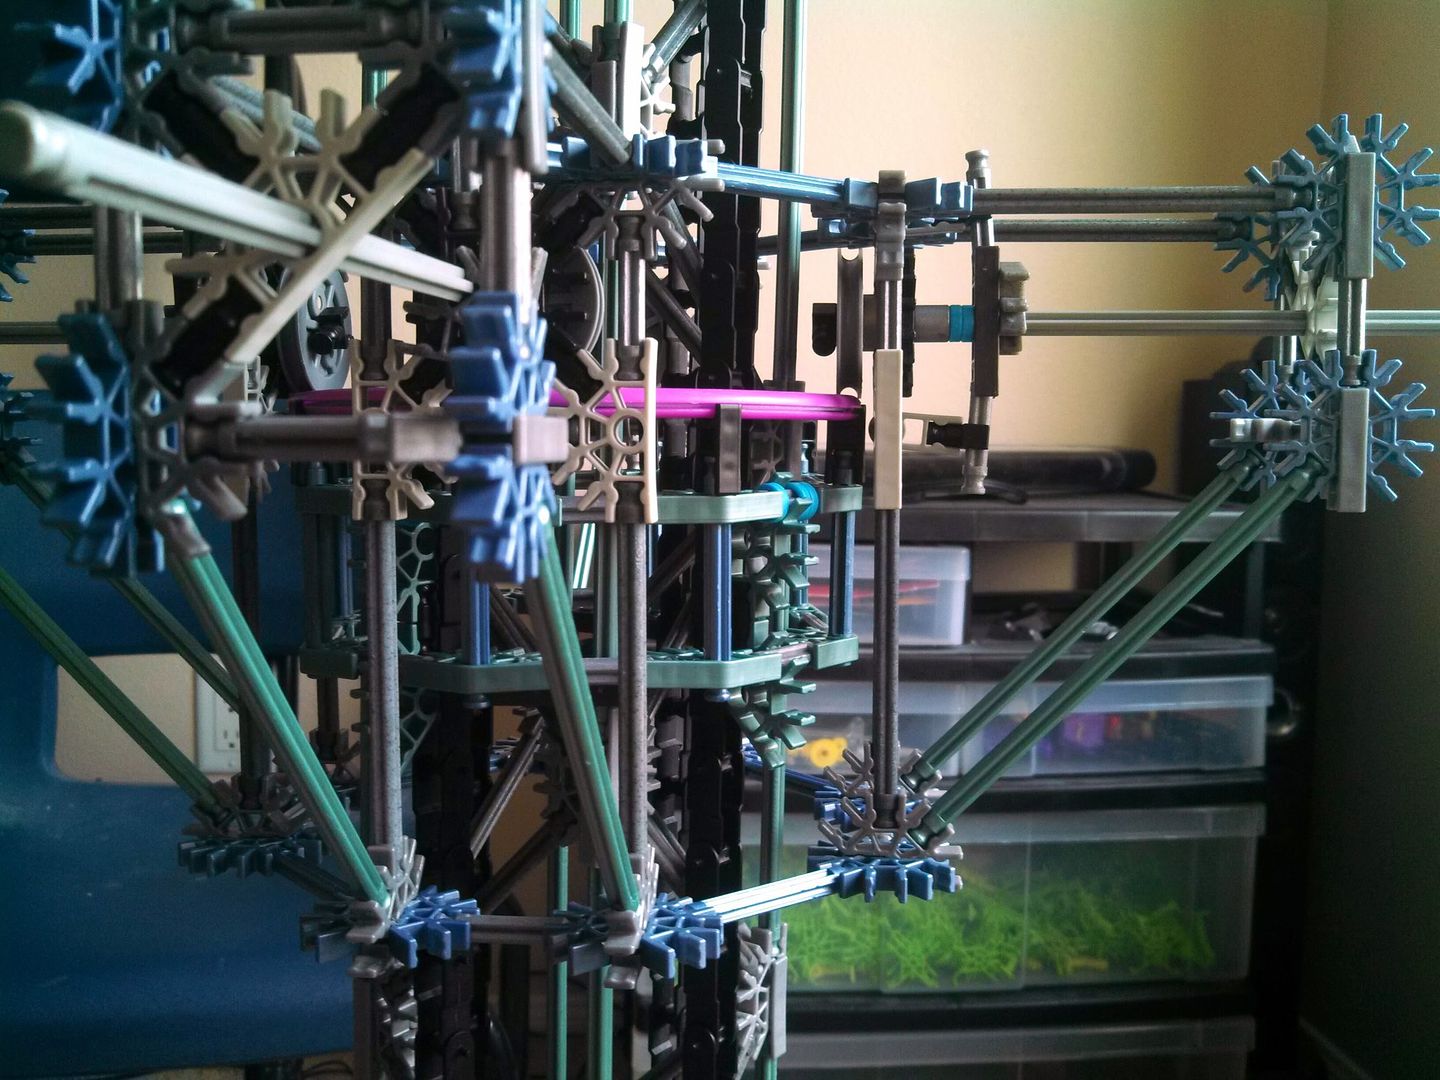
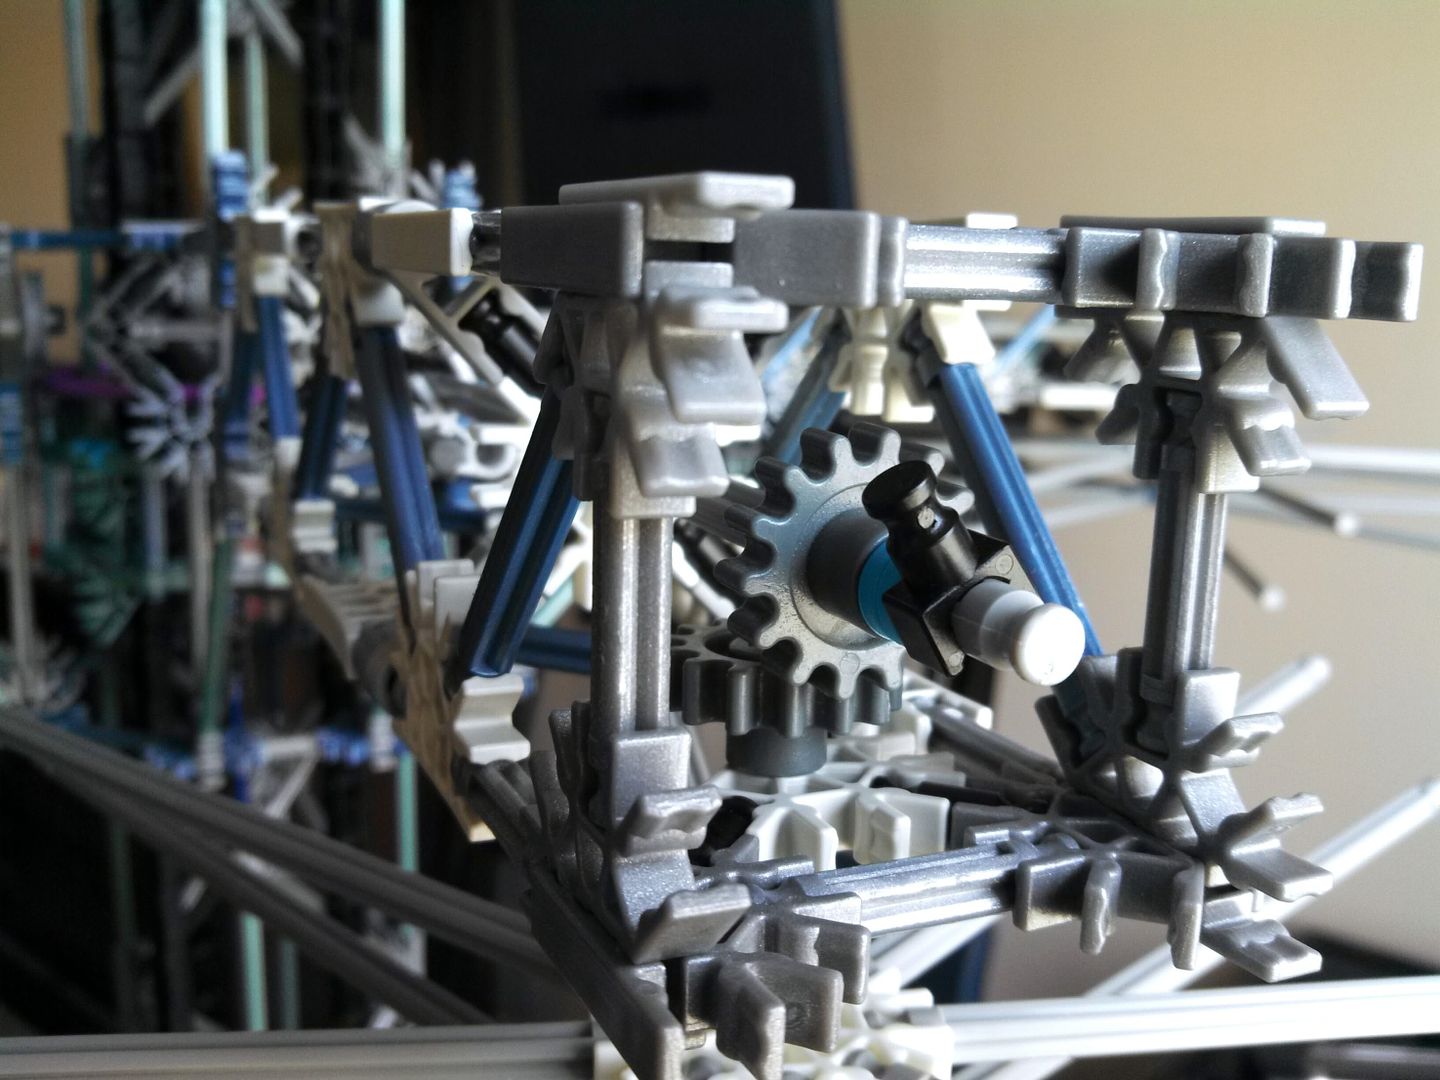
The hubless axle was the biggest hurdle, but I've already found my solution. I've reinforced the tubing ring with a wire coat hanger, making it a true circle:
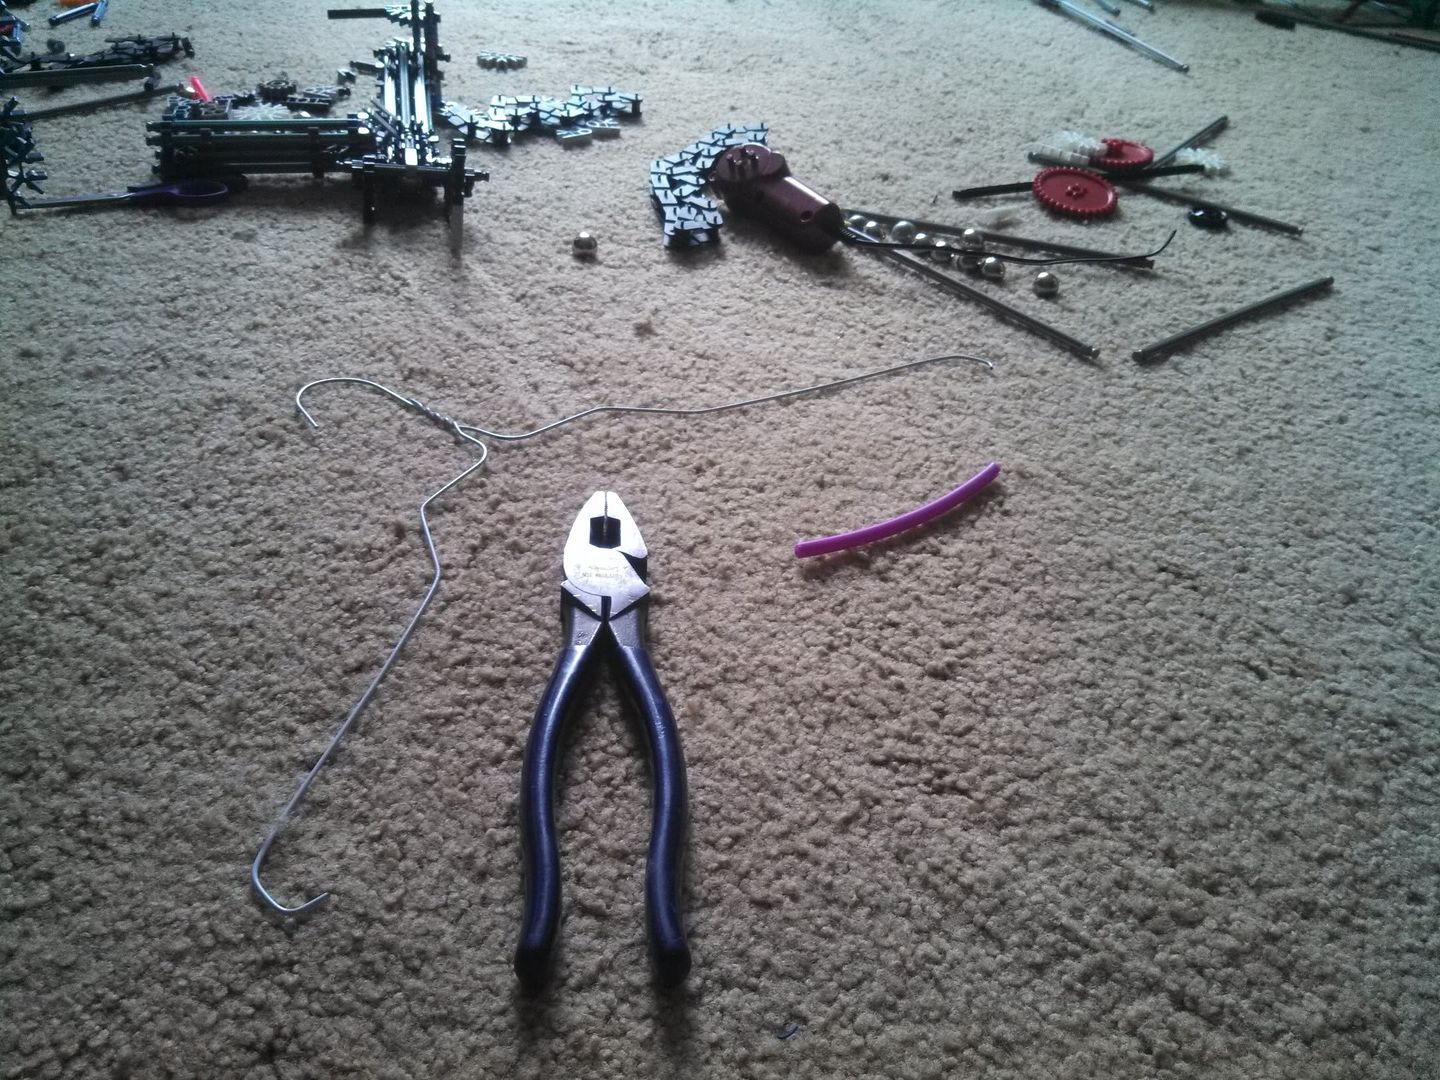
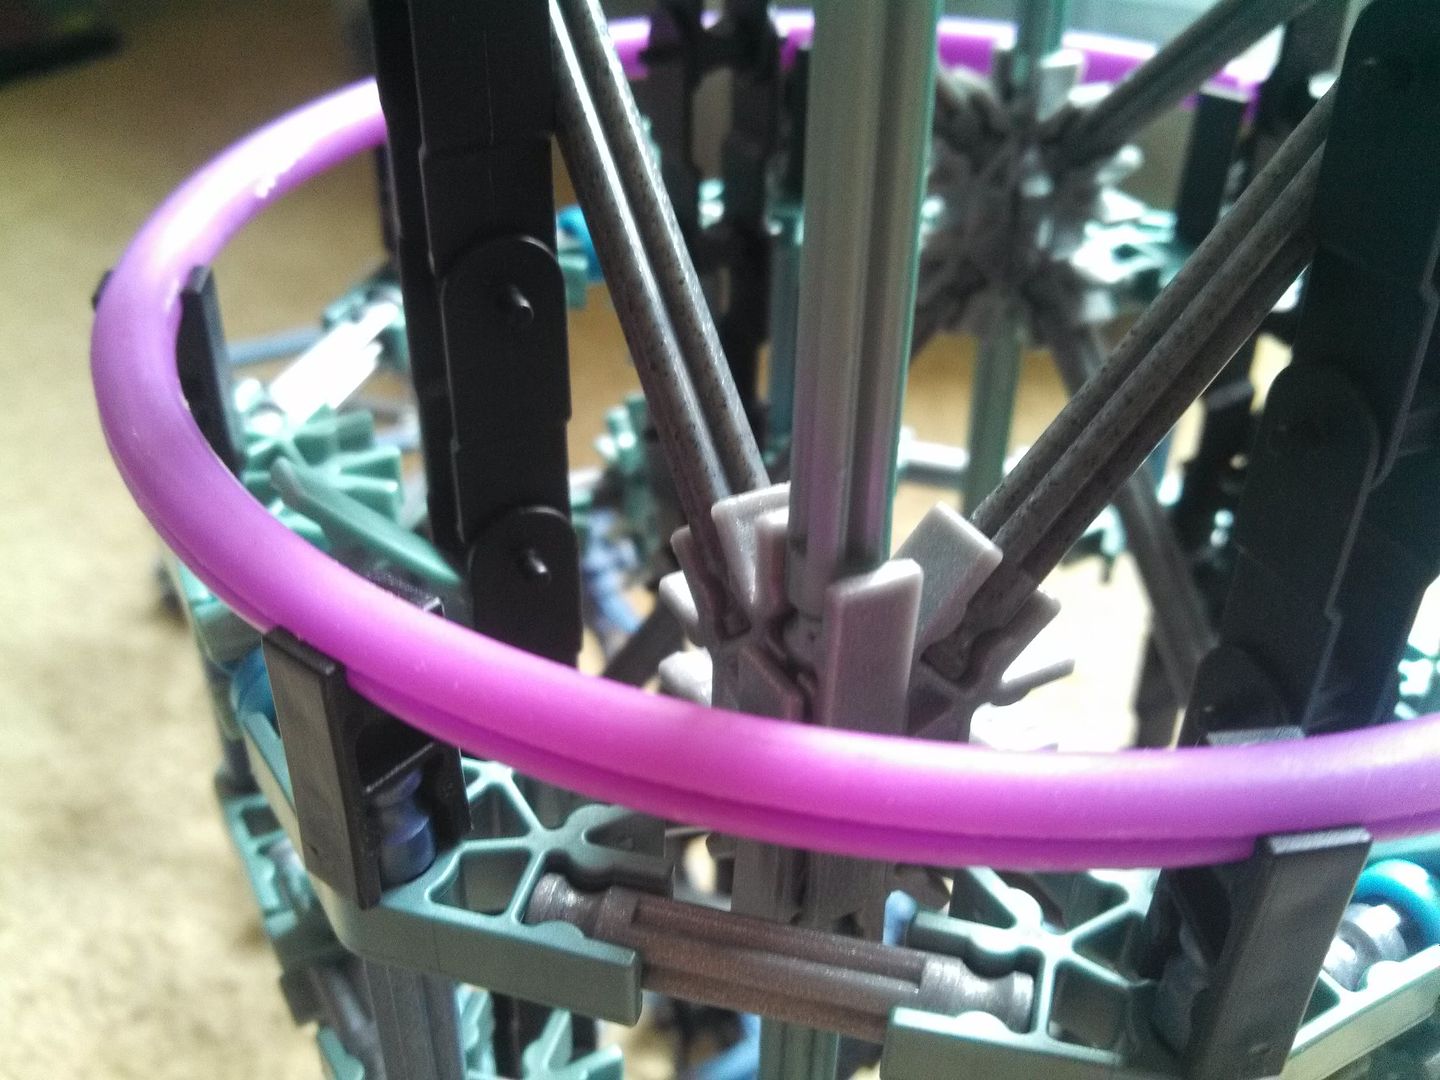
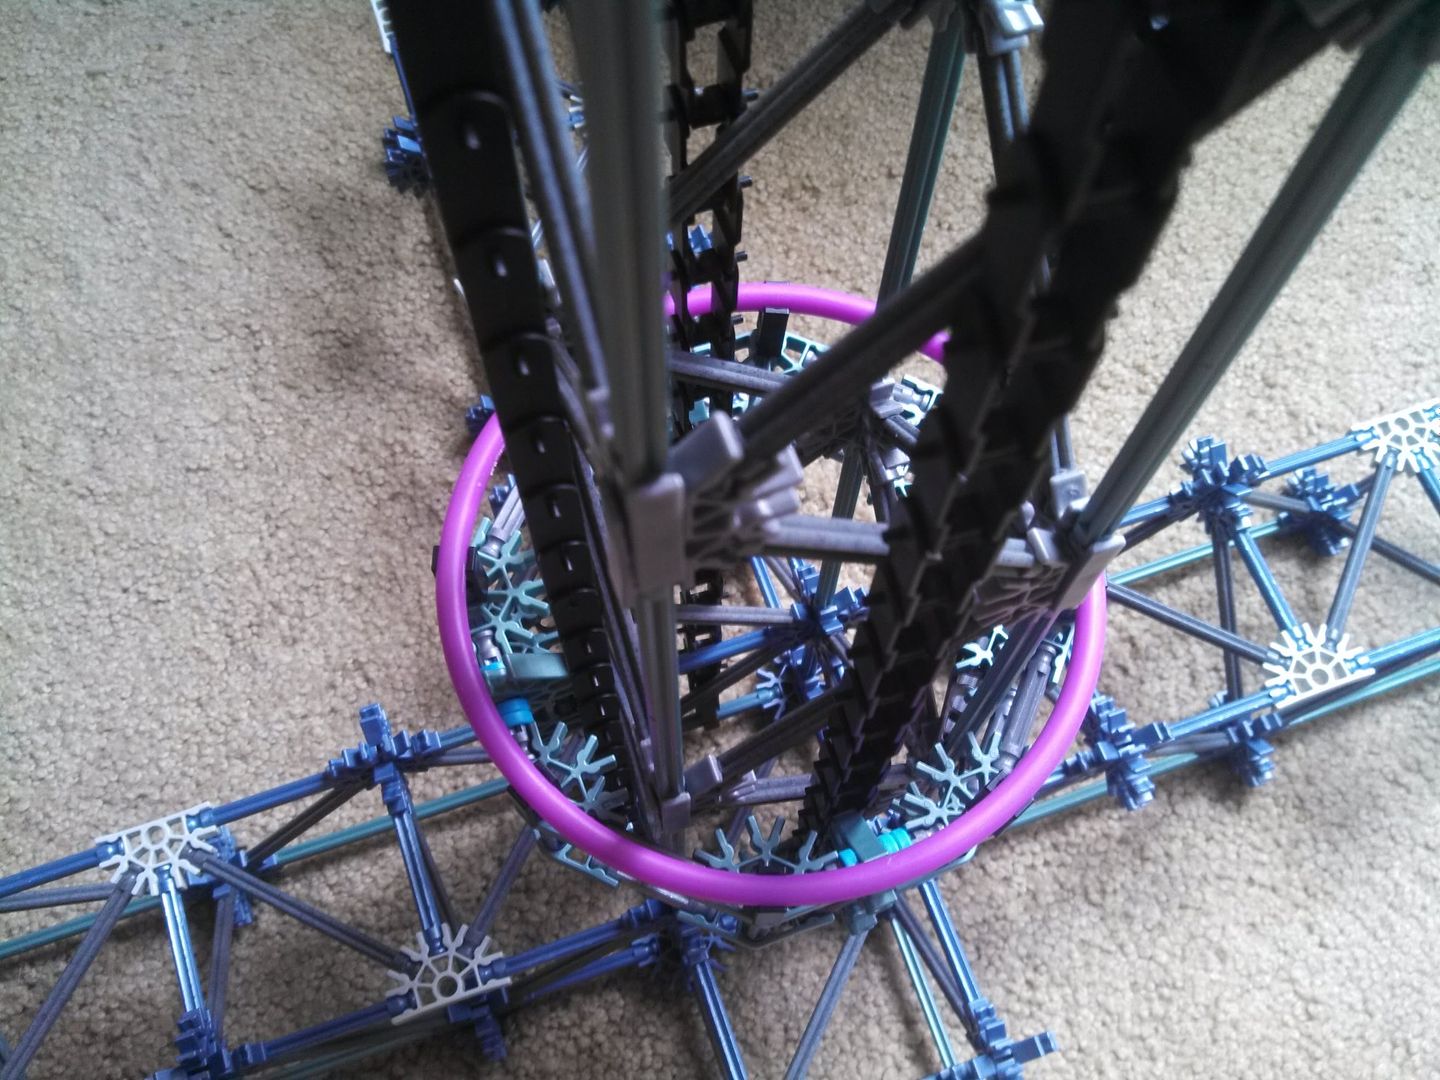
Posted Image
Posted Image
Posted Image

Old vs. New
Posted Image


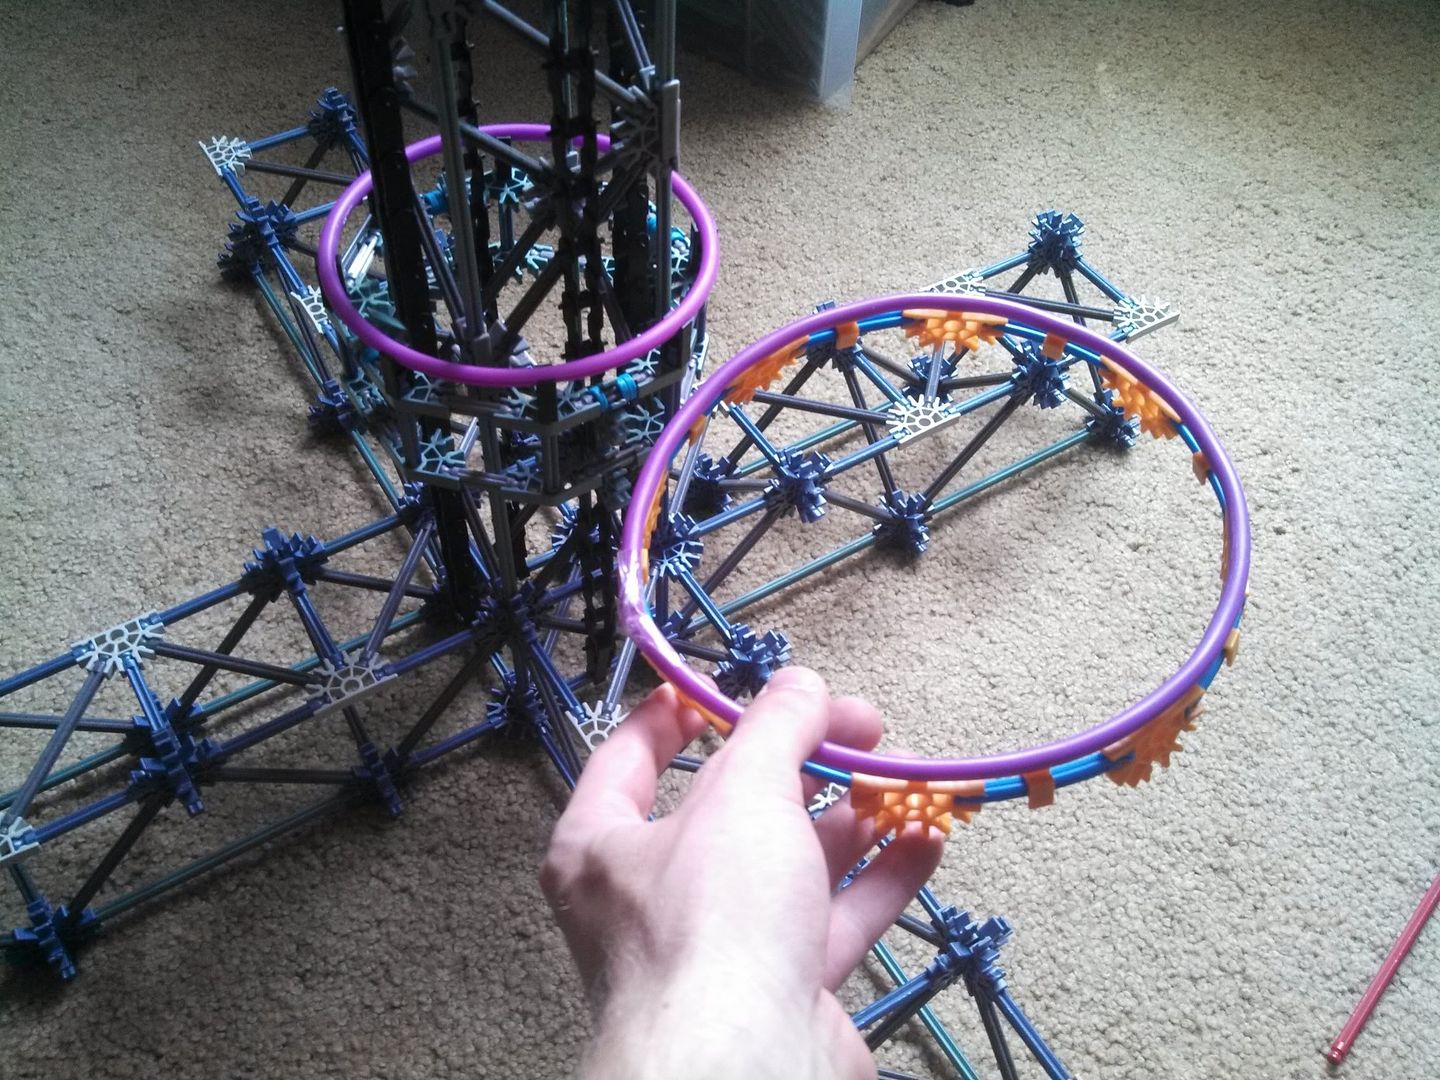
This makes the hub way more compact than the original, and allows the arms to rotate smoothly.

Posted Image
Posted Image
Posted Image
Posted Image

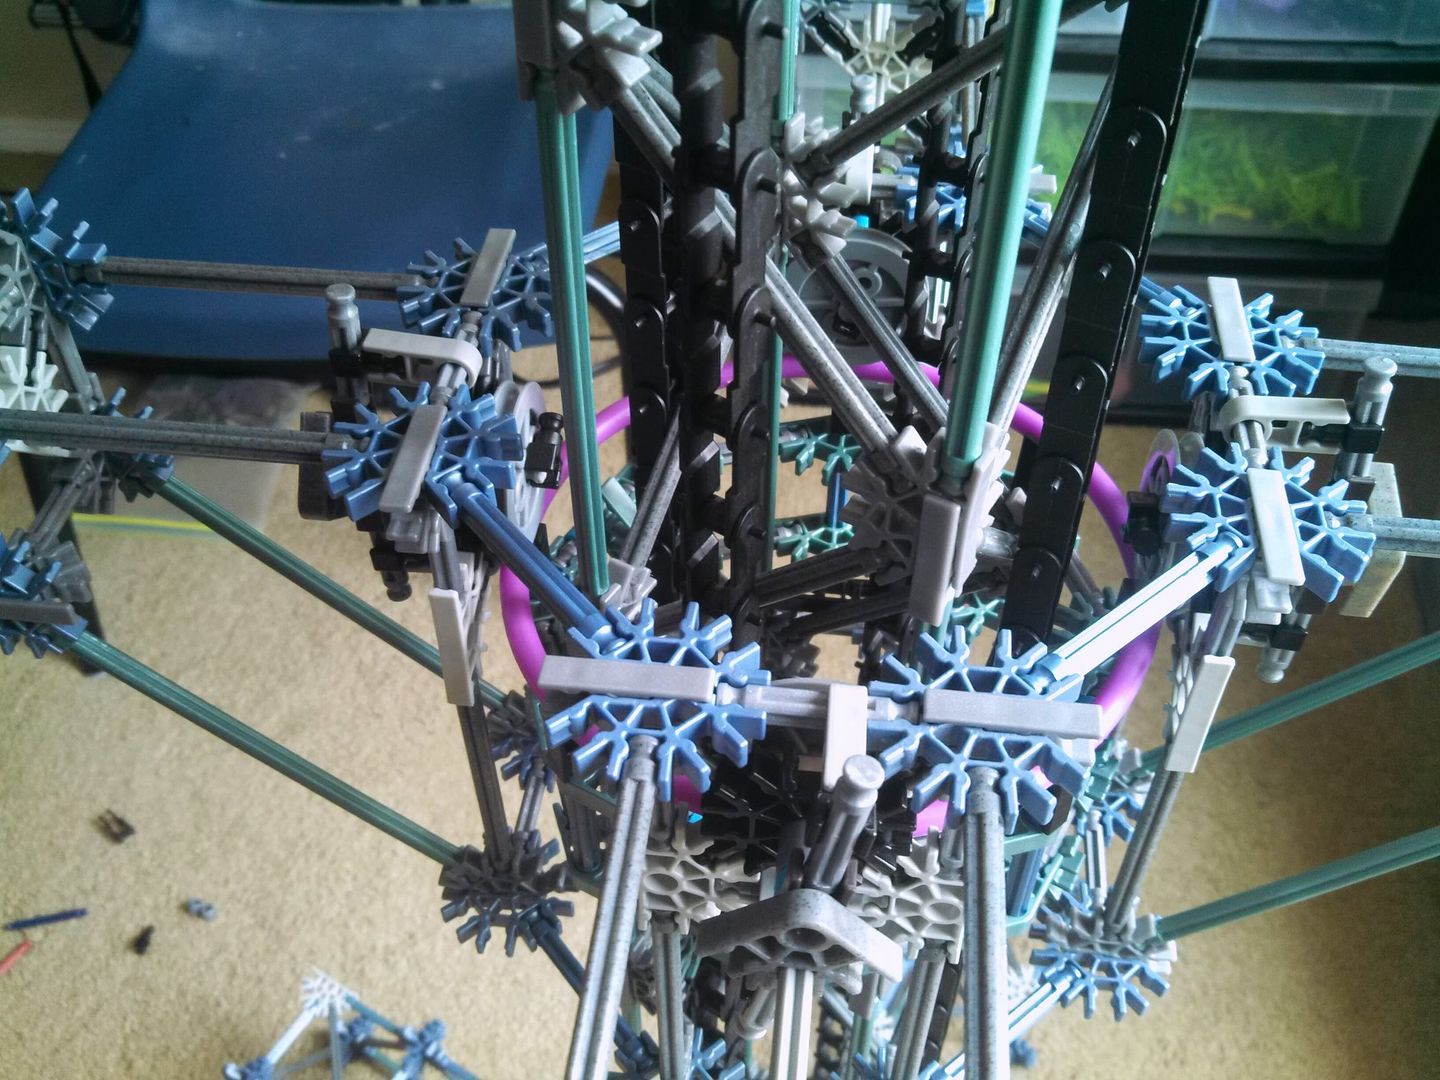
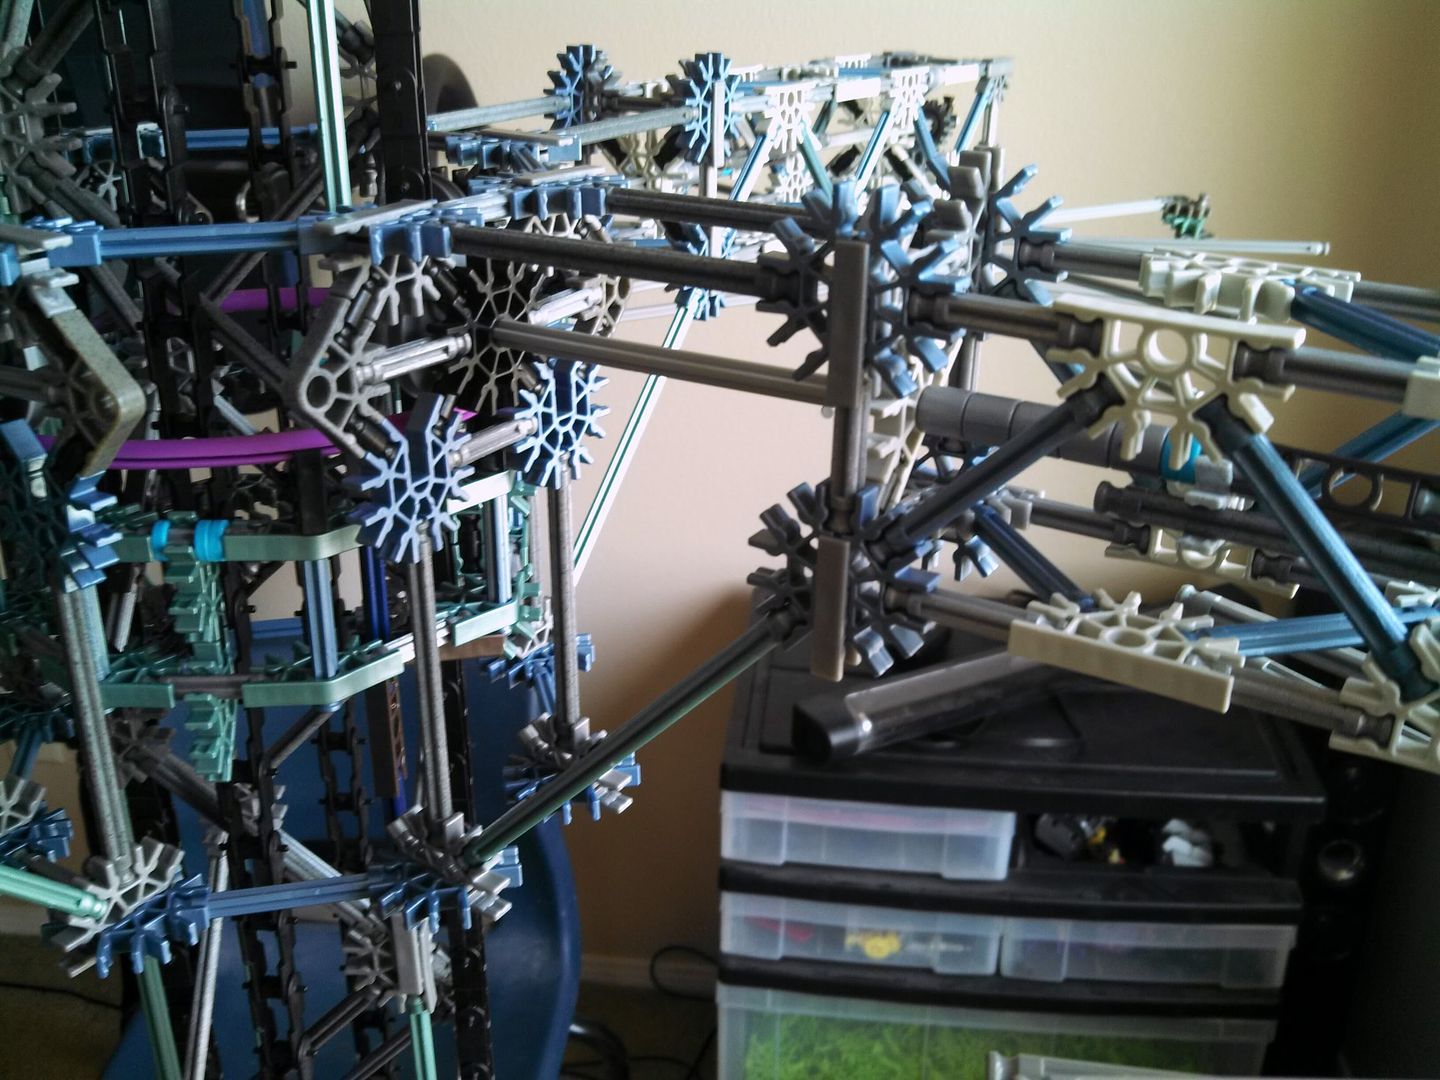
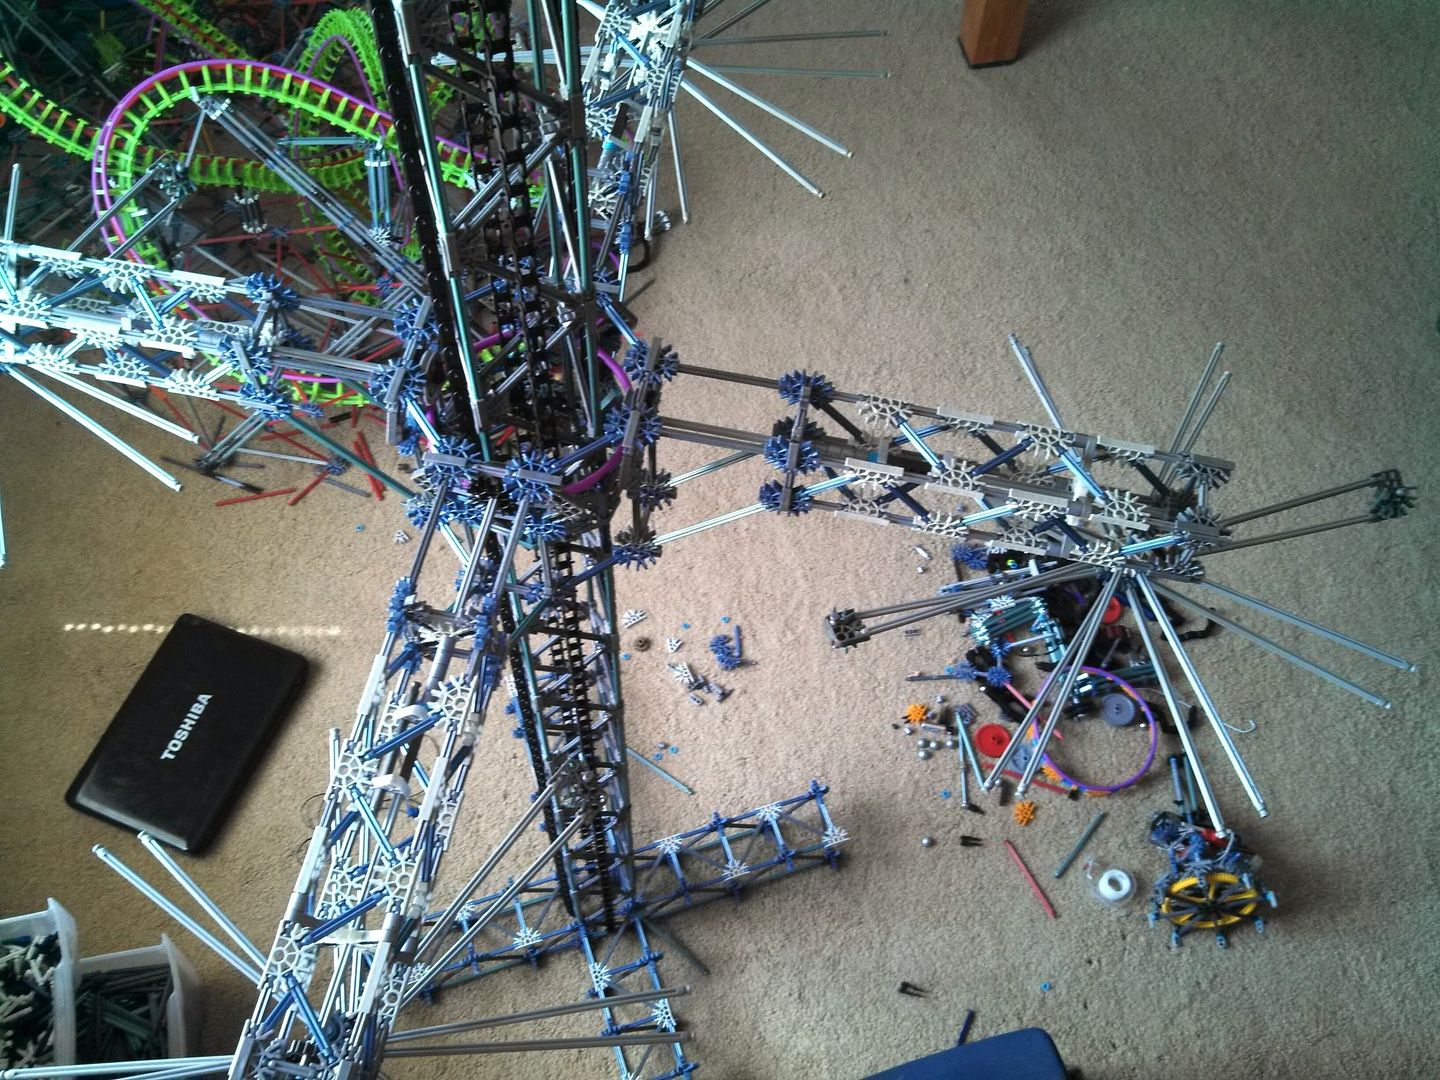
Other than that, the tower is basically the same.

Posted Image


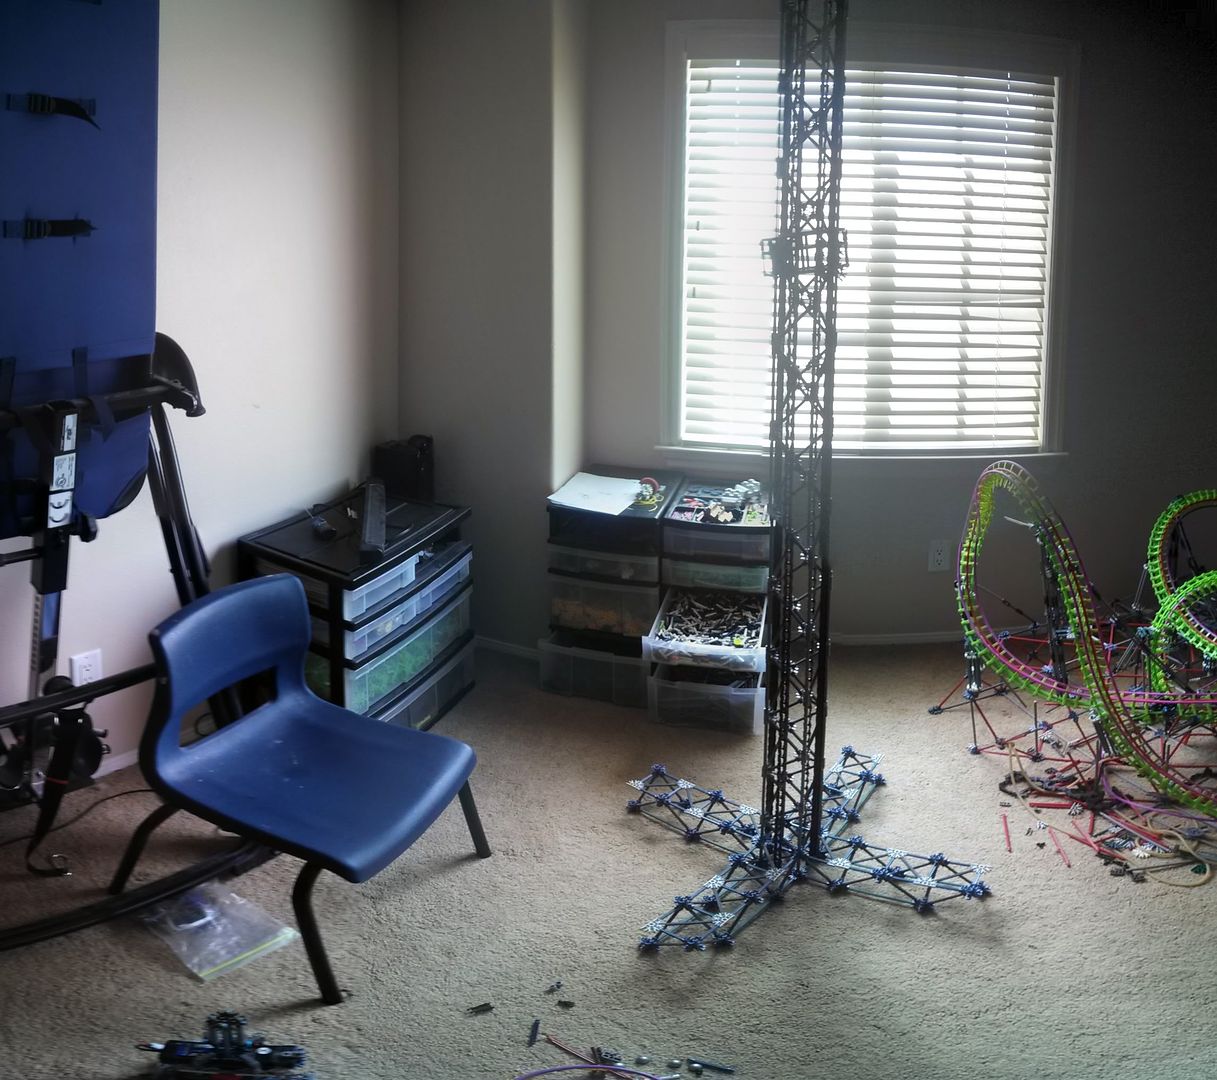
I have high hopes for this model! It is still one of the coolest-looking flat rides I've ever seen.
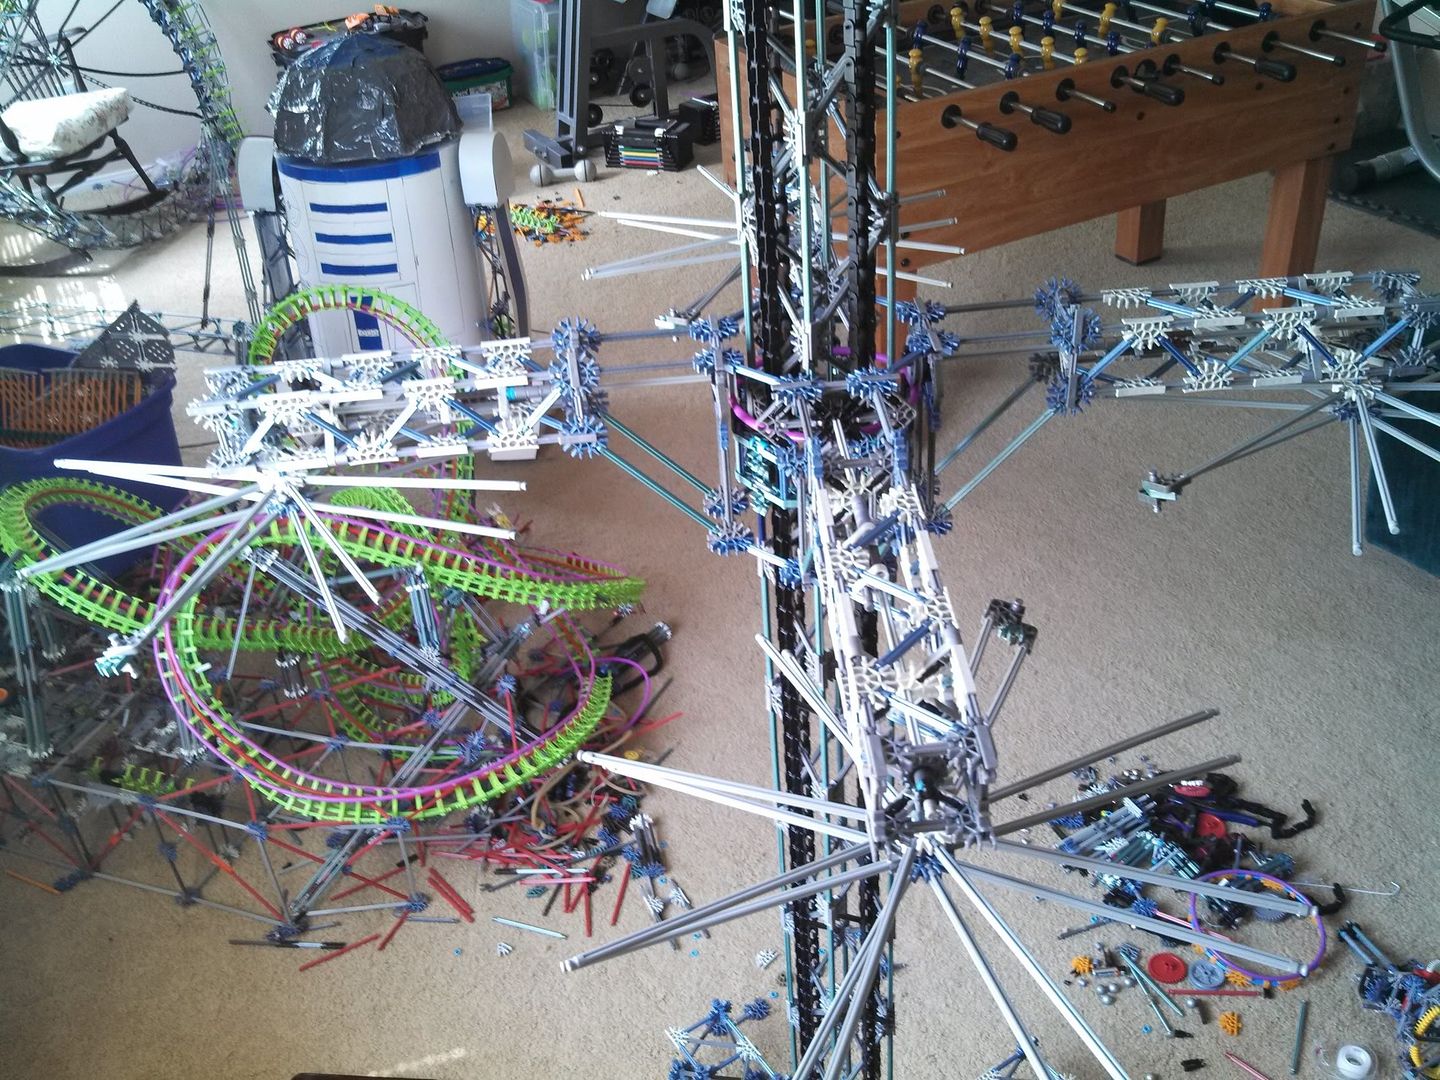
After taking these pictures, I was glad to see that Summer Heat includes a flat ride contest :) This model would surpass the requirements with a capacity of up to 64 riders...if only I can finish it in time. The 25th is not too far away, and I have lots of work to do!

- stεεl


#2 Muzz135

Muzz135

    What to build.....

  • 706 posts

Posted 09 August 2013 - 06:02 PM

Looking good although I didn't think you still built! You are one of my favourite builders and am glad to see you have been building! Anywho looking nice so far and the ring that you built is far better than your old one! :D


#3 LaMbChOpZ

LaMbChOpZ

    Lead Particle Physicist and Musical Orchestrator

  • 2812 posts

Posted 09 August 2013 - 07:19 PM

Looks great. Hope you can pull it off this time! On your 4 axles, I'd suggest to take off 1 blue spacer; the supports for it seem to be under a bit of stress. Are the axels able to rotate well with that little contact?

Member of a few physics experiments; Orchestrator and/or Copyist for a few musicals.


#4 Jumpge

Jumpge

    Stopping by every now and then!

  • 3930 posts

Posted 10 August 2013 - 11:14 AM

Not only does this design look cleaner, but it looks simpler. The simpler, the better. Glad to see you back into building man.

Posted Image


#5 ~stεεlspectrum~

~stεεlspectrum~

    You ready to ride the Fist O' Pain?

  • 7526 posts

Posted 10 August 2013 - 04:32 PM

Thanks guys! It's been great reading through some of the construction threads and seeing what's being built nowadays. It looks like I might actually finish this in time for Summer Heat...

On your 4 axles, I'd suggest to take off 1 blue spacer; the supports for it seem to be under a bit of stress. Are the axels able to rotate well with that little contact?

Good eye - that was bothering me too. I did that to help hold the black connectors in place. They're offset by a blue spacer so that the wheels have enough room to fit, without hitting the tower. It should look better now.

Posted Image
Posted Image
Posted Image
Posted Image


The arms spin so much more smoothly than my first attempt at this ride!

http://www.youtube.com/watch?v=z78zJKtcR7E


#6 CW5X

CW5X

    Wha?

  • 3579 posts

Posted 10 August 2013 - 04:47 PM

As if your builder tag was in any doubt anyway, this is incredible. Those arms spin very nicely.

Silverstar Nemesis Poseidon Air Saw The Swarm Nemesis Inferno Colossus ​RageThe Smiler Oblivion Shockwave GeForce Apocalypse Detonator Kumali Mumbo Jumbo Atlantica Supersplash Velocity Blue Fire Megacoaster Pepsi Max Big One Wodan


See No Limits and K'nex here


If only I had more space/pieces. Delete as appropriate

Tyndrum


#7 Muzz135

Muzz135

    What to build.....

  • 706 posts

Posted 10 August 2013 - 05:35 PM

Jumpgee was right this does look so much simpler!


#8 LaMbChOpZ

LaMbChOpZ

    Lead Particle Physicist and Musical Orchestrator

  • 2812 posts

Posted 11 August 2013 - 12:35 PM

Looks great. My only criticism is that you forgot to connect all four small black rods in to the connector (see image). Other than that, it looks great!

Posted Image

Edited by LaMbChOpZ, 11 August 2013 - 12:39 PM.


Member of a few physics experiments; Orchestrator and/or Copyist for a few musicals.


#9 ~stεεlspectrum~

~stεεlspectrum~

    You ready to ride the Fist O' Pain?

  • 7526 posts

Posted 11 August 2013 - 07:50 PM

Haha I don't think you understand what I meant. It's supposed to be like that. If I connected those 4 black rods to the connector, then the wheels wouldn't line up with the tube ring. They'd be too far inward.


#10 The Stig

The Stig

    Some say...

  • 4609 posts

Posted 11 August 2013 - 09:20 PM

Very smooth rotation. This is looking good, Steel. It's great to see you building again ;)


#11 Maxlaam

Maxlaam

    Tracing Tyrant's Steps

  • 8116 posts

Posted 14 August 2013 - 06:39 PM

Woah, that's simply amazing, very nice and clear pictures and I definitely think you have a golden method of building a ring hub for Star Flyers and the like.

I must be missing something, but is the ringed hub actually connected to the chains yet? I see a ladder connector in one picture but I can't tell if that's there to hold up the hub.

A Star Flyer is still on my list to build and I hope you wouldn't mind me basing my hub design of of yours. The coat hanger is brilliant and the chains just look so good on it, really gives it an "All K'NEX feel" which I appreciate a lot. (Before I get criticised for this, I really like models to be made out of K'NEX, gearing etc. The way it is powered (motors or Arduino/NXT) don't bother me as long as it doesn't contain metal gears etc. Yes, I know about my Calypso tracks...)

If you can get hold on some copper strips or another good conductive metal and some short tabs you may be able to not have wires running down the tower, that would just be too awesome.

Edited by Maxlaam, 14 August 2013 - 06:46 PM.


SSCoasters Administrator
Read The Forum Rules(smart)

Posted Image
Posted ImagePosted Image


#12 ~stεεlspectrum~

~stεεlspectrum~

    You ready to ride the Fist O' Pain?

  • 7526 posts

Posted 16 August 2013 - 11:42 AM

Thanks! I never mind if other people borrow my ideas, like this hub. Maybe you can improve it even more!
Just know that the coat hanger ring has to be connected, making it a full circle (I used tape). If the two ends of the coat hanger aren't attached, it won't hold its round shape.

I also share your appreciation for all-Knex designs. Funny thing is, those chains don't really serve any purpose anymore. I had originally used them to guide the hub up and down the tower, kind of like a track. Each side of the hub had a connector that fit into the groove of the chain links, holding it against the tower.
Last night, I found a way to guide the hub without the chain links. So I removed them. I like the new look better!

And yes, I'll use chain to lift the hub. I snapped a picture before leaving for work this morning:

http://i1125.photobu...26.jpg~original


More when I get home.

Oh, and I got a new laptop! Dell i14z Ultrabook. It was $200 off the normal price!

http://i1125.photobu...51.jpg~original

~ stεεl

Edited by ~stεεlspectrum~, 16 August 2013 - 11:44 AM.


#13 TheRandomGuy

TheRandomGuy

    Sample Text

  • 2058 posts

Posted 23 August 2013 - 09:27 AM

Glad to see you're making a second attempt at building this! I'm looking forward to seeing this masterpiece finished! :)

The signature you have requested is not available at the moment. We apologize for the inconvenience.


#14 ~stεεlspectrum~

~stεεlspectrum~

    You ready to ride the Fist O' Pain?

  • 7526 posts

Posted 25 August 2013 - 08:20 PM

Too bad I couldn't finish in time for Summer Heat :( 
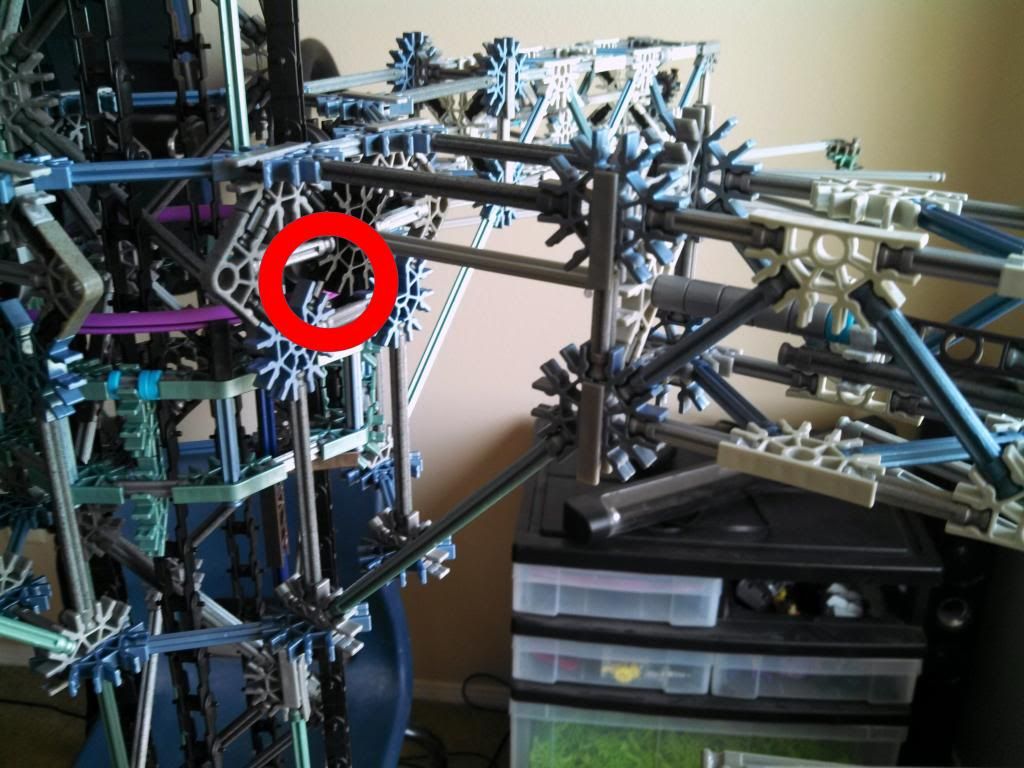
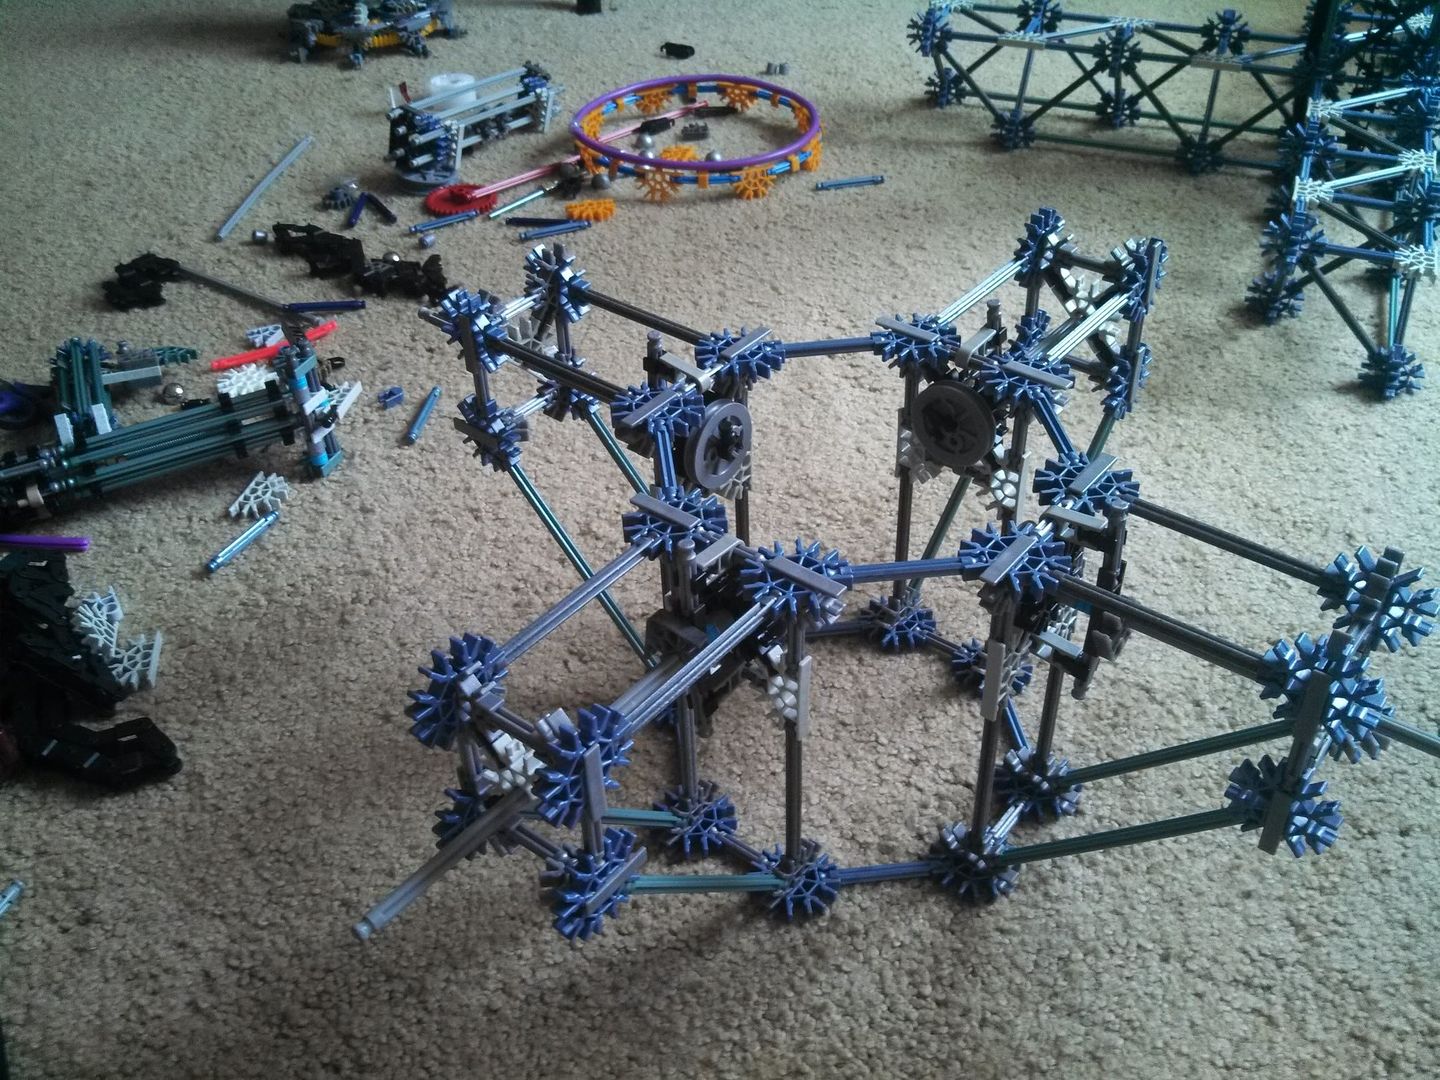
Oh well, I wasn't really expecting to finish such a complex model in only 2 weeks. Nonetheless, progress has been made!
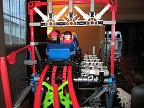
The cars alone took 960 pieces to build.

http://i1125.photobu...17.jpg~original

I added 2 motors that power the rotations of the arms. They're on opposite sides, meaning that 2 of the wheels are powered and the other 2 roll freely along the tube ring.

http://i1125.photobu...01.jpg~original

I removed the chains and opted for a much simpler method for guiding the carriage up and down the tower. There are rails on the inside of the hub that keep it aligned.

http://i1125.photobu...19.jpg~original

Last but not least, I added a pulley system to lift the carriage up and down. (Doing so with chain links was far too difficult and unreliable.)

http://i1125.photobu...17.jpg~original

At the base of the tower, the string hooks around a wheel and goes off to the side, where it's wound around a winch.

http://i1125.photobu...49.jpg~original
http://i1125.photobu...05.jpg~original

I also built a gearing transmission which does two things. Mainly, it gears it down because the winch requires a TON of torque (those arms are heavy!). It also allows me to switch the direction of rotation since I'll be using a drill as the motor.

http://i1125.photobu...00.jpg~original

Here the red gear on the left is shifted over, switching the direction of rotation:

http://i1125.photobu...49.jpg~original


And last but not least, a test video :)


http://www.youtube.com/watch?v=upcgiE54PrA


~ stεεl


#15 ForgotToGrowUp

ForgotToGrowUp

    Lead Engineer

  • 1732 posts

Posted 26 August 2013 - 08:09 AM

Wow! This is going to be awesome!

The mechanics of this are very well done. Love the cars!

Comet Recreation still underway.

Proof you never grow up if you keep playing with toys!


#16 Jumpge

Jumpge

    Stopping by every now and then!

  • 3930 posts

Posted 26 August 2013 - 10:01 AM

Yet again you've amazed me to the point where I don't know what to say. Great work.

Posted Image


#17 Helmut

Helmut

    Das Beste oder Nichts

  • 3012 posts

Posted 26 August 2013 - 01:18 PM

Woah, that looks awesome! Good work on the mechanics, it turns perfectly smooth.

Posted Image