This is THE tutorial for making your cars look better.
It contains:
1:. How to convert your backcars into middlecars.
2:. How to take your stickers off / clean them before painting
3:. How to paint your cars
4:. How to make restraints for your cars
5:. How to put modified stickers on your cars
And here is part one:
How to convert your backcars into middle-cars
This will guide you into a perfect converted backcar.
What you’re gonna need:
A backcar
A frontcar
A thin saw
Knife
Screwdriver
File
Something like a bench-vice
Here’s what you gotta do:
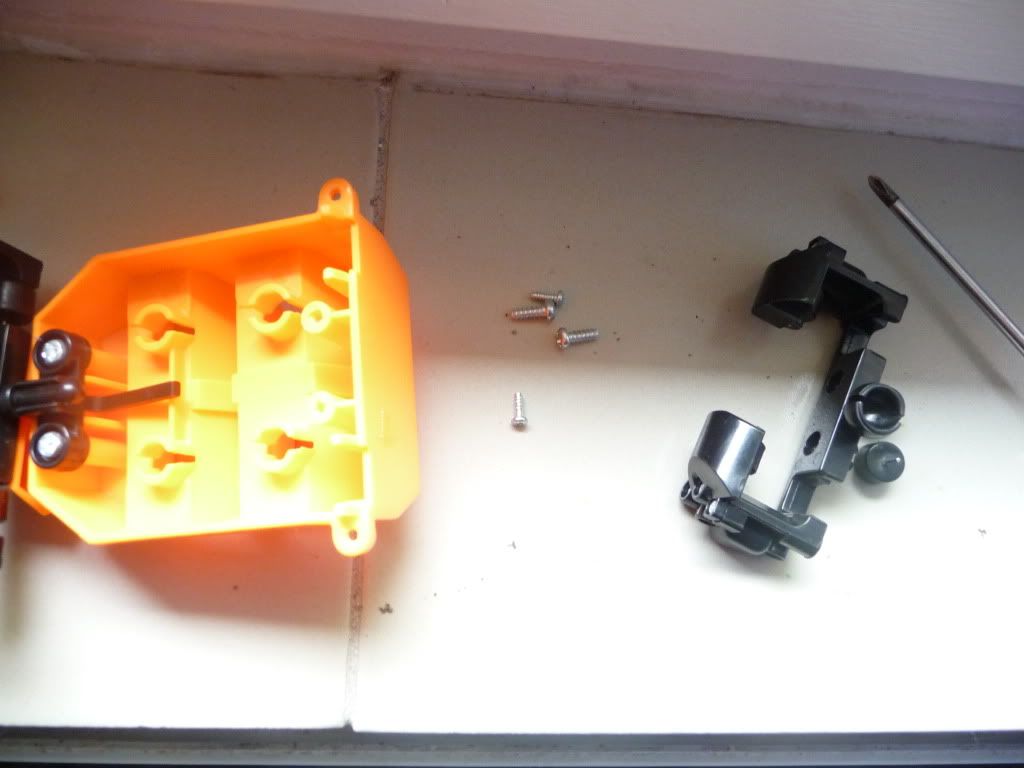
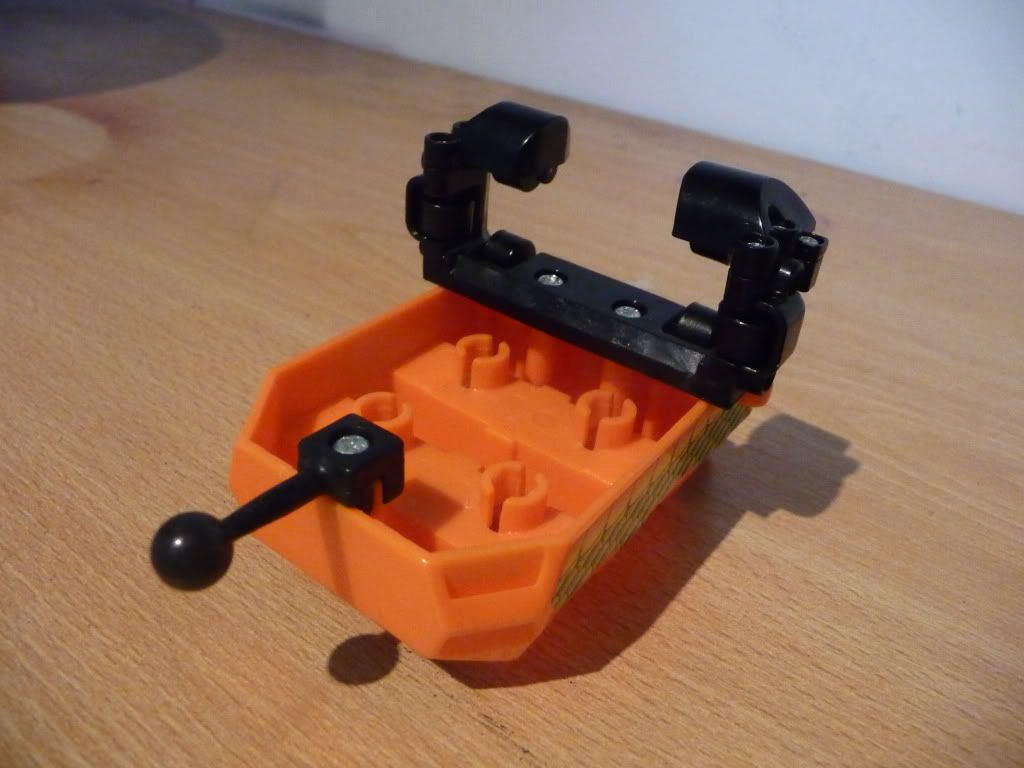
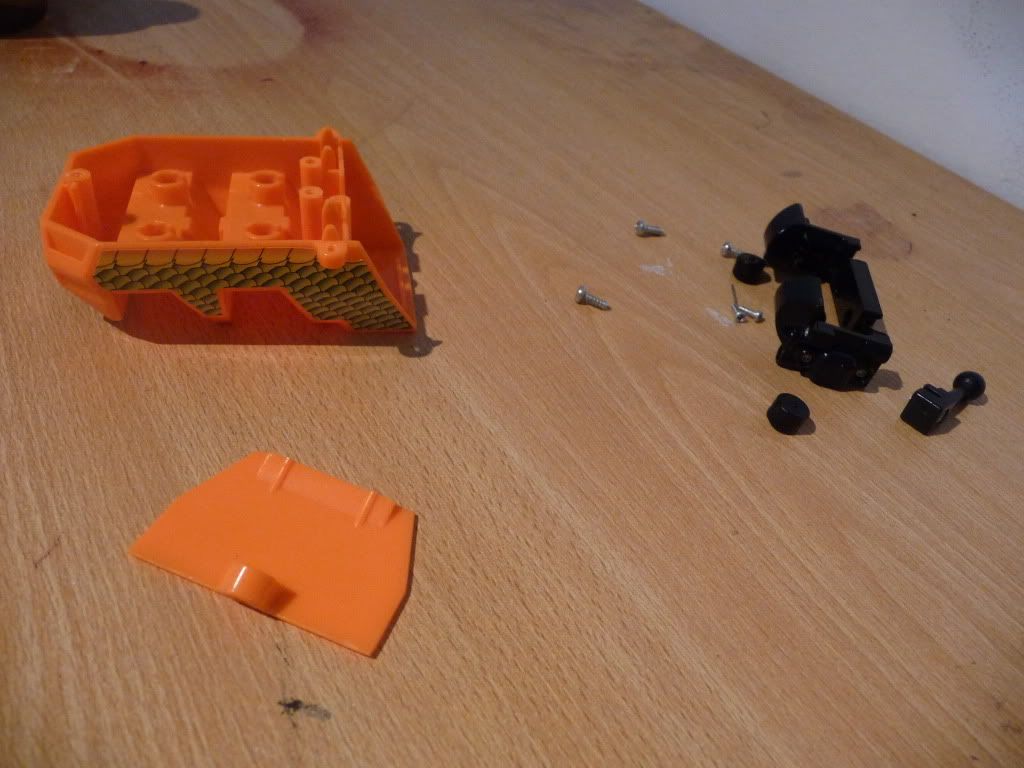
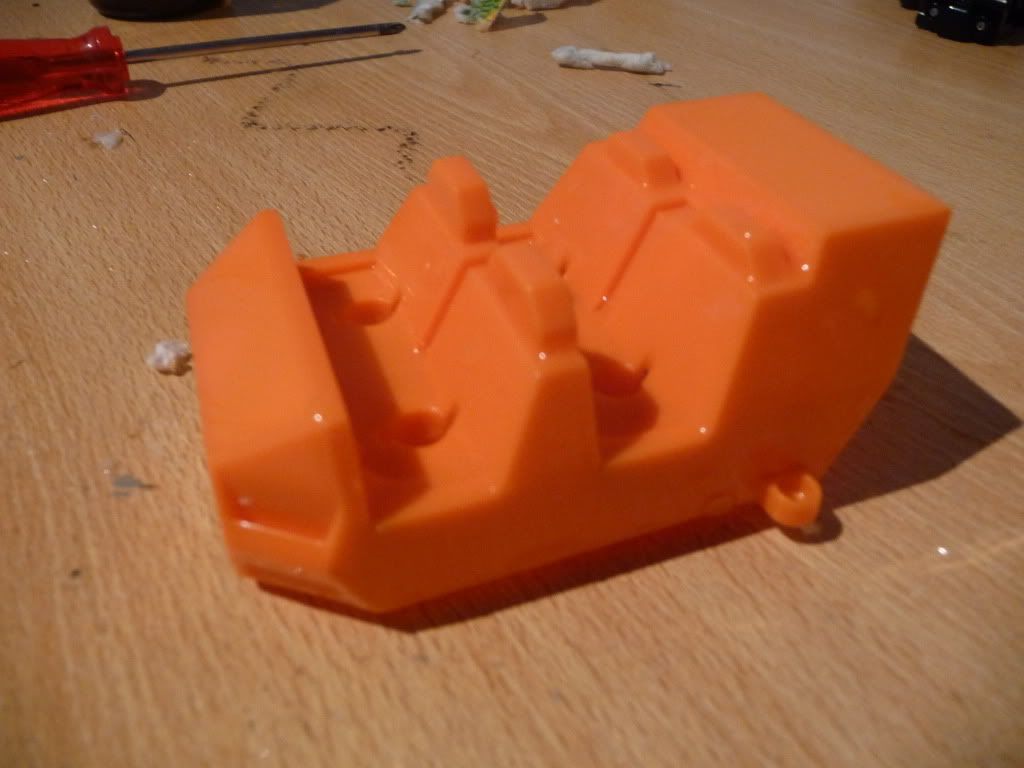
First, screw the wheels and little plate with the “Screaming serpent” sticker on it off.
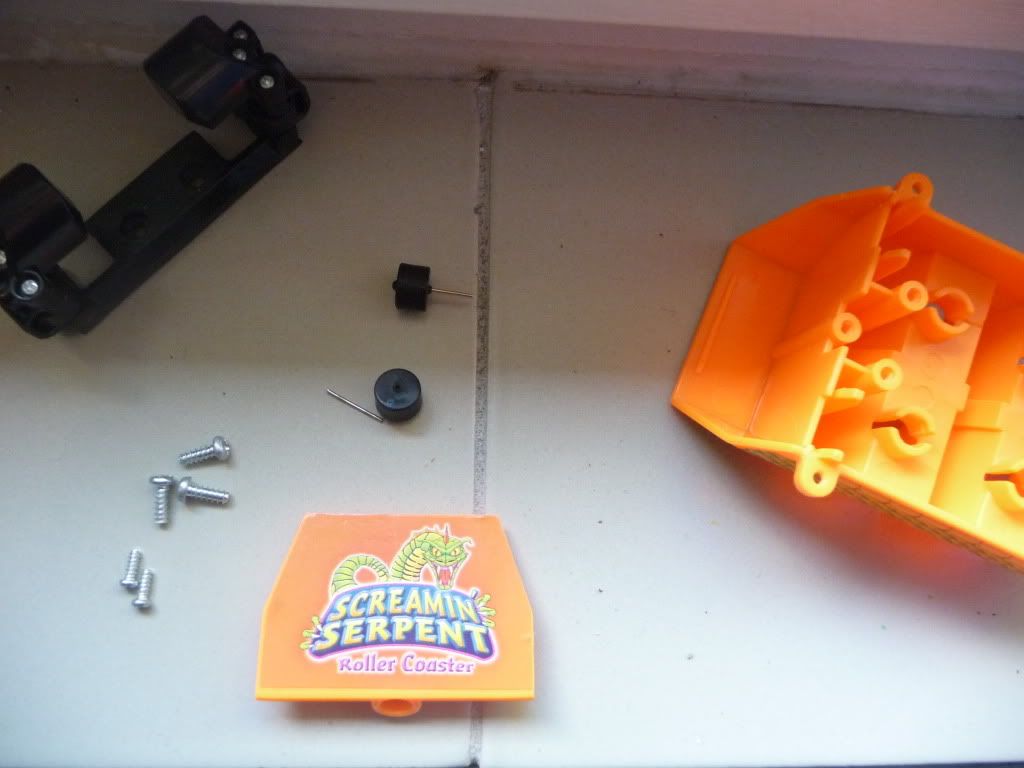
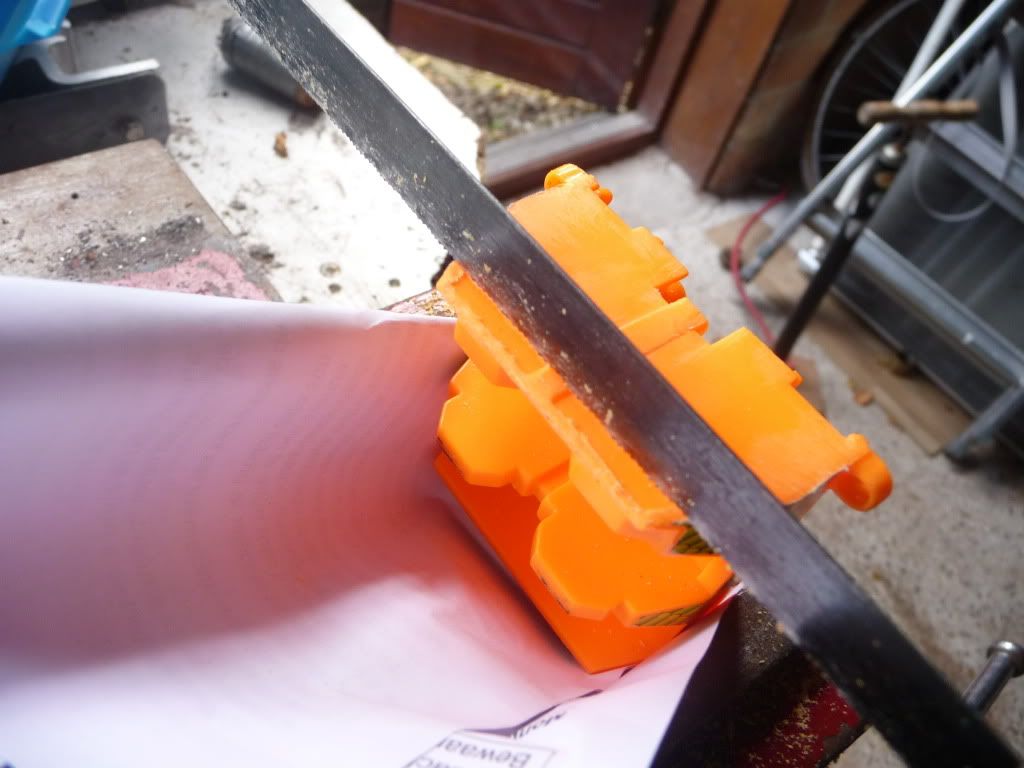
After that, take the saw, and saw the remaining plate off, like this:
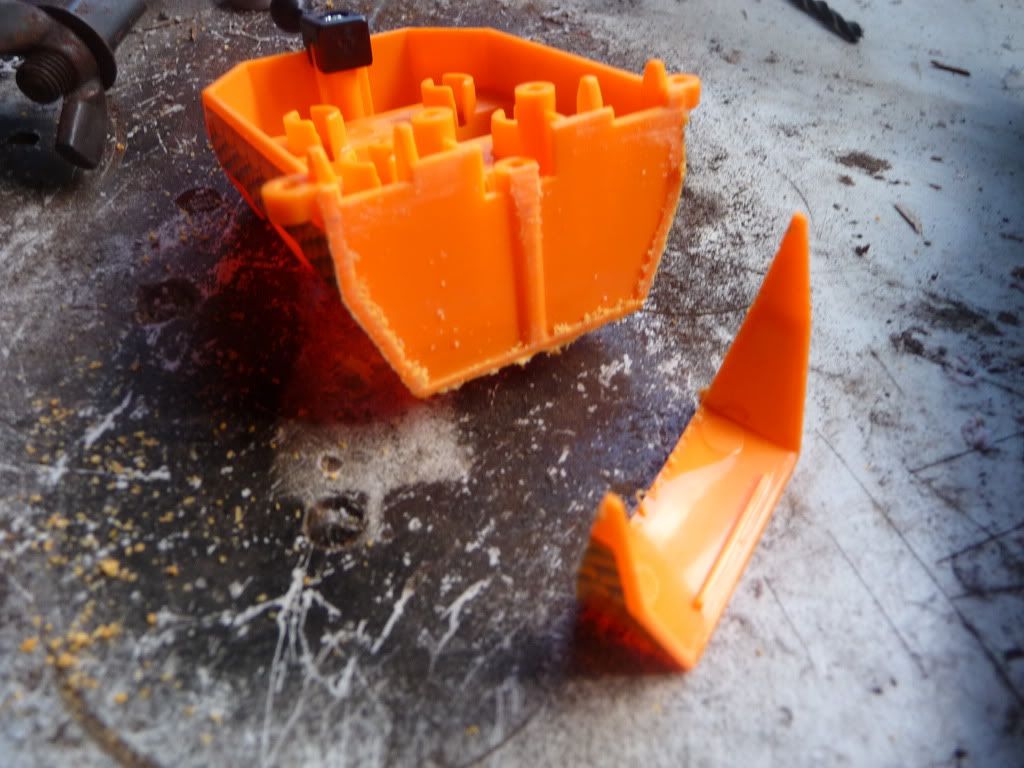
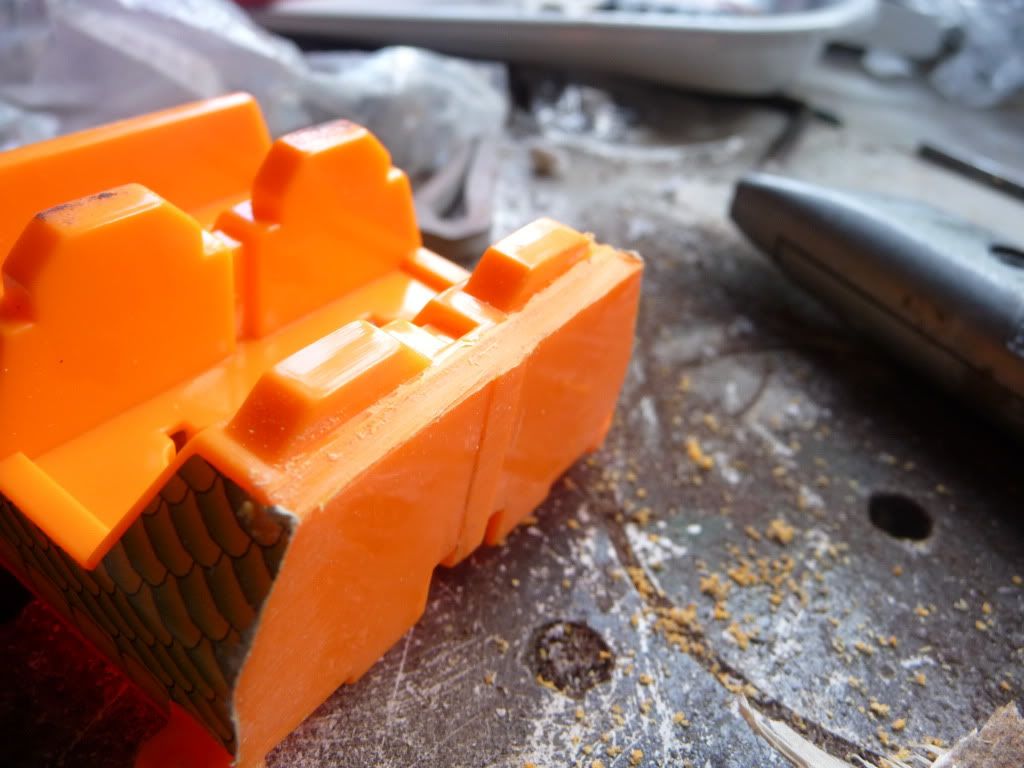
Now take the file, and file off the remaining edges:
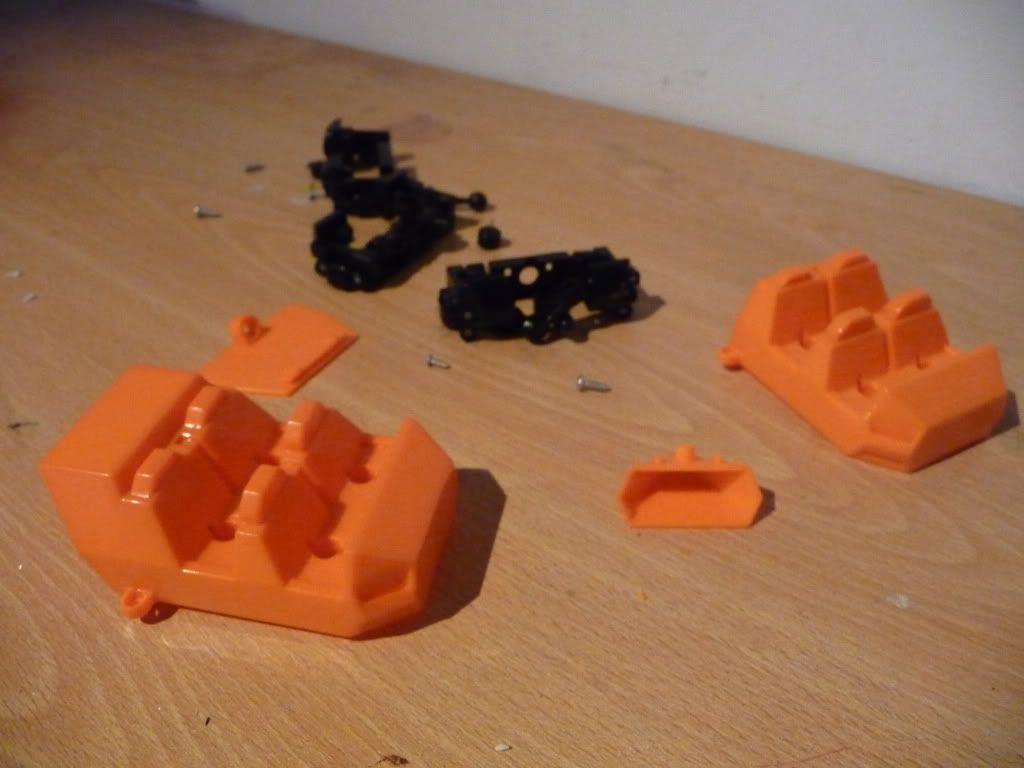
Put the car in the bankvice (You can put a piece of paper between it, so the stickers won’t be damaged)
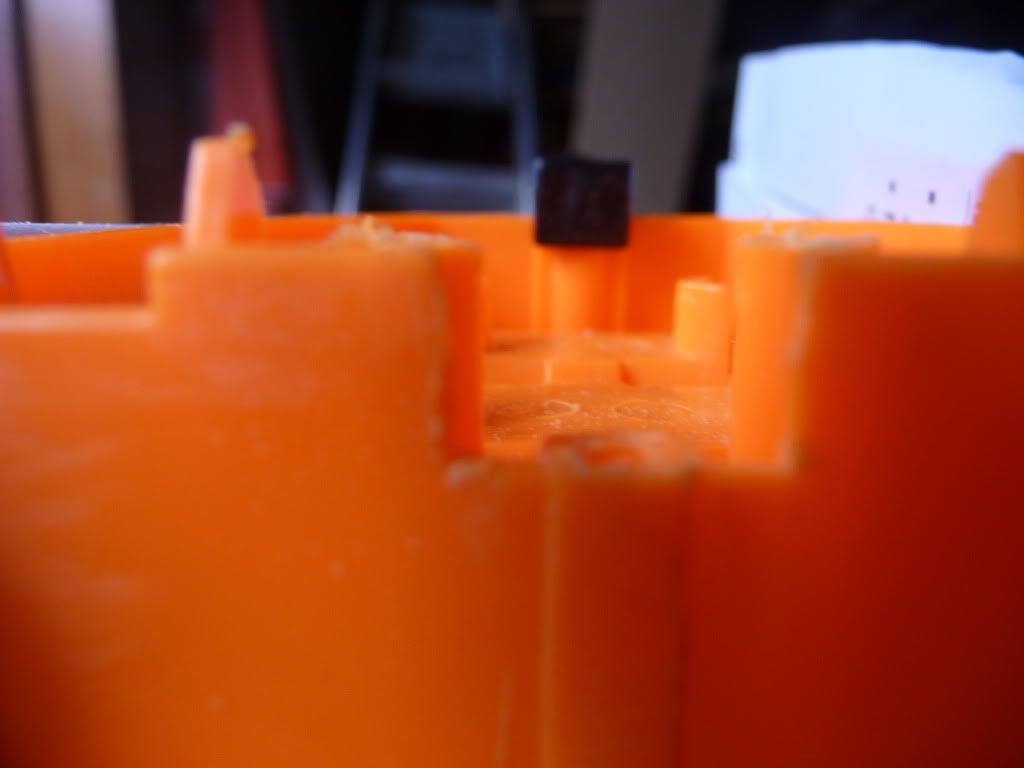
Now saw off the little edge which will remain after sawing off the back-part
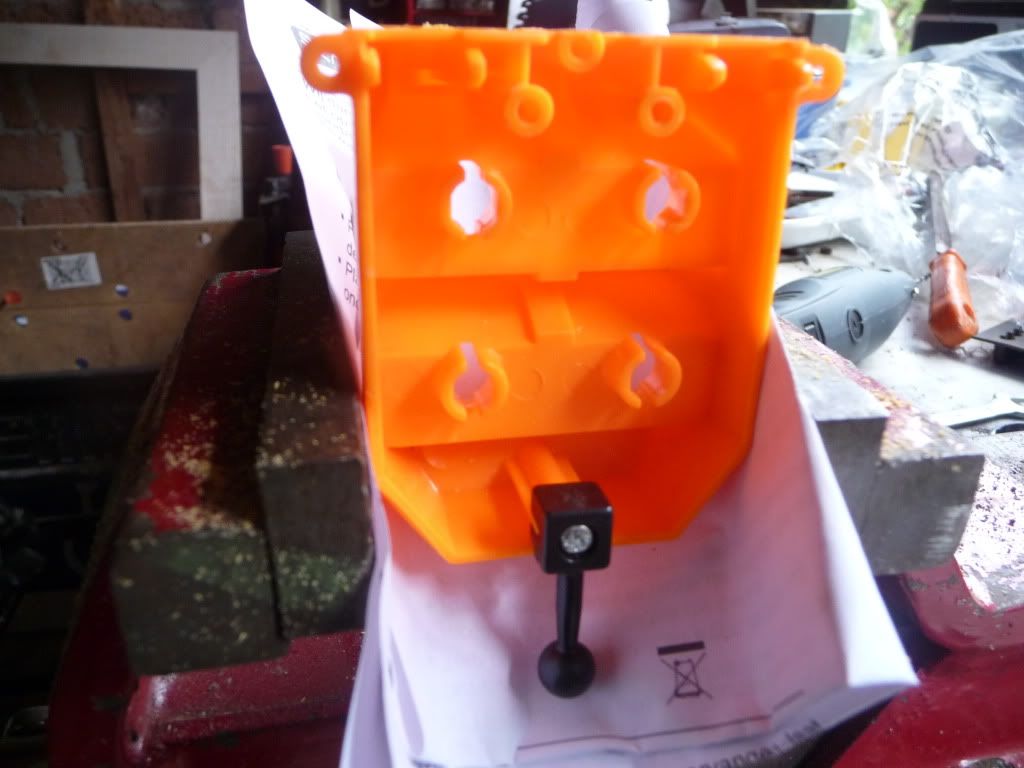
Put it in the bankscrew like this:
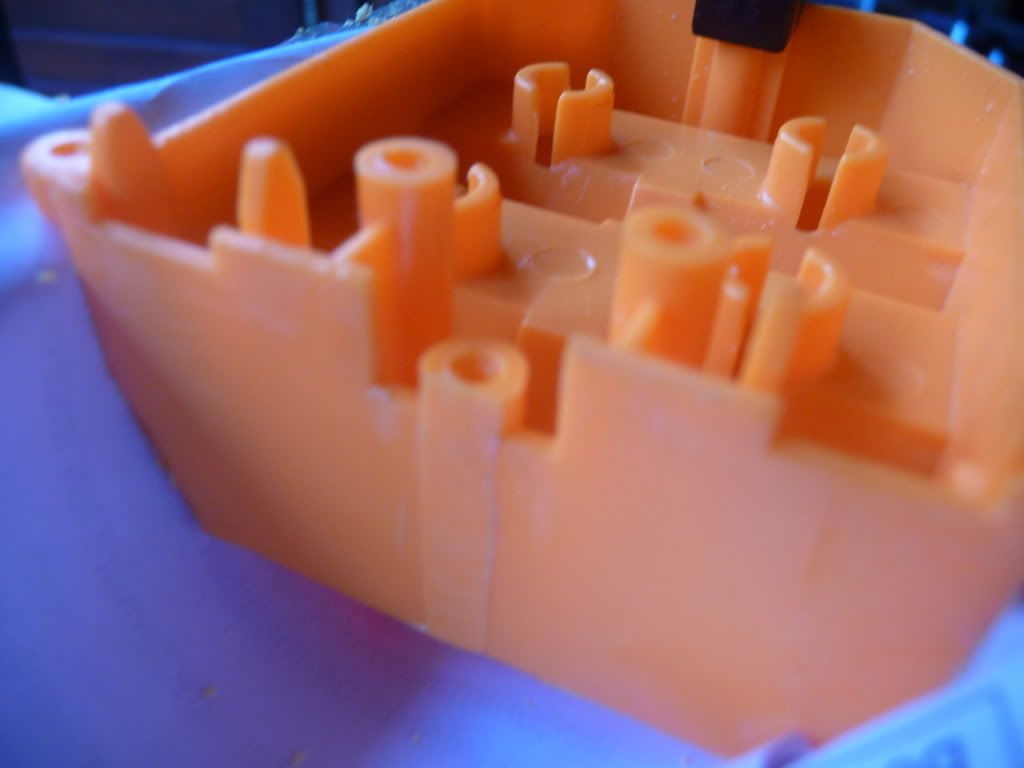
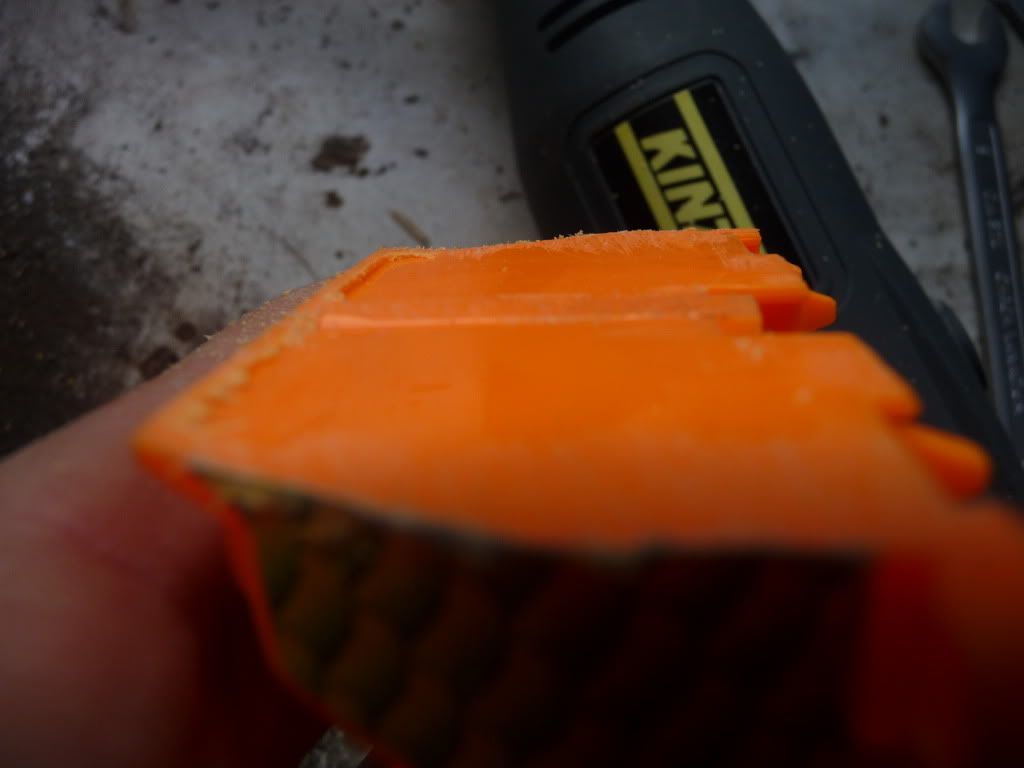
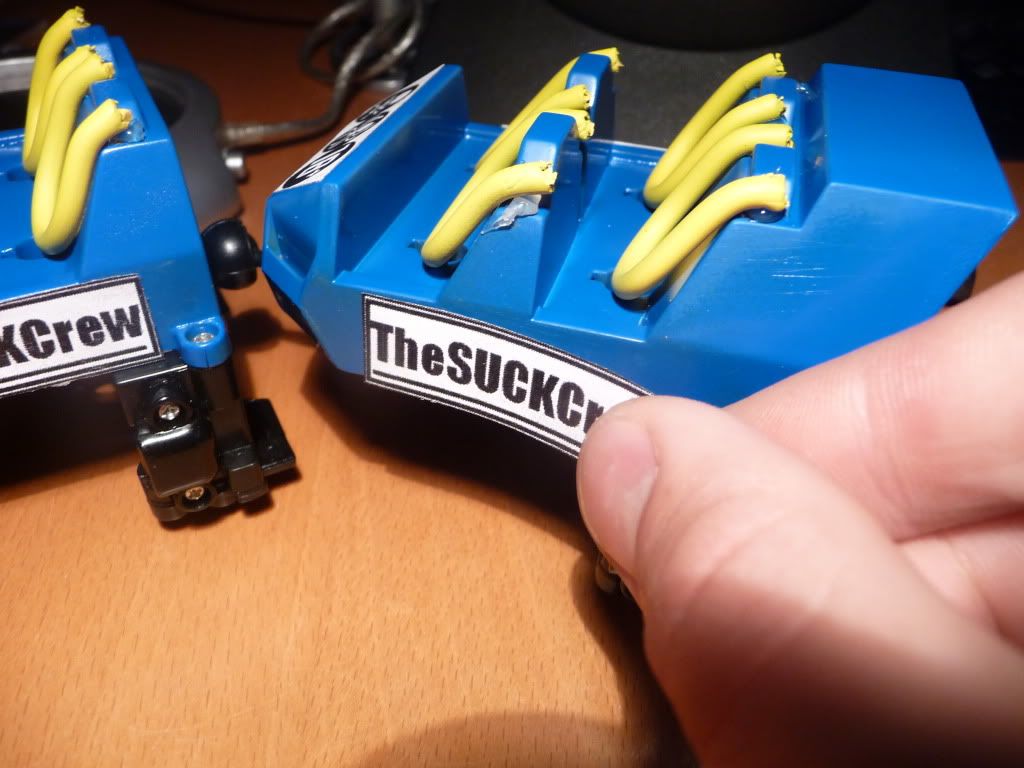
Now saw off the tips of the plastic tubes where normally the screws would go in (This is the most important thing of all):
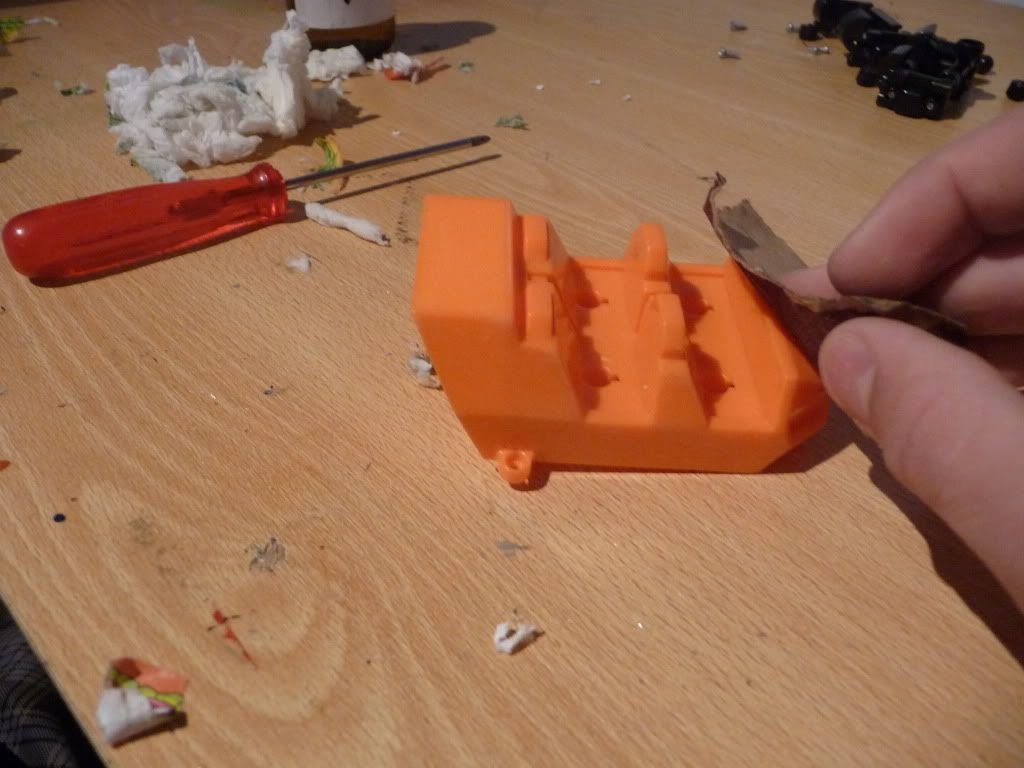
Take the knife and cut off the edge of the sticker, like this:

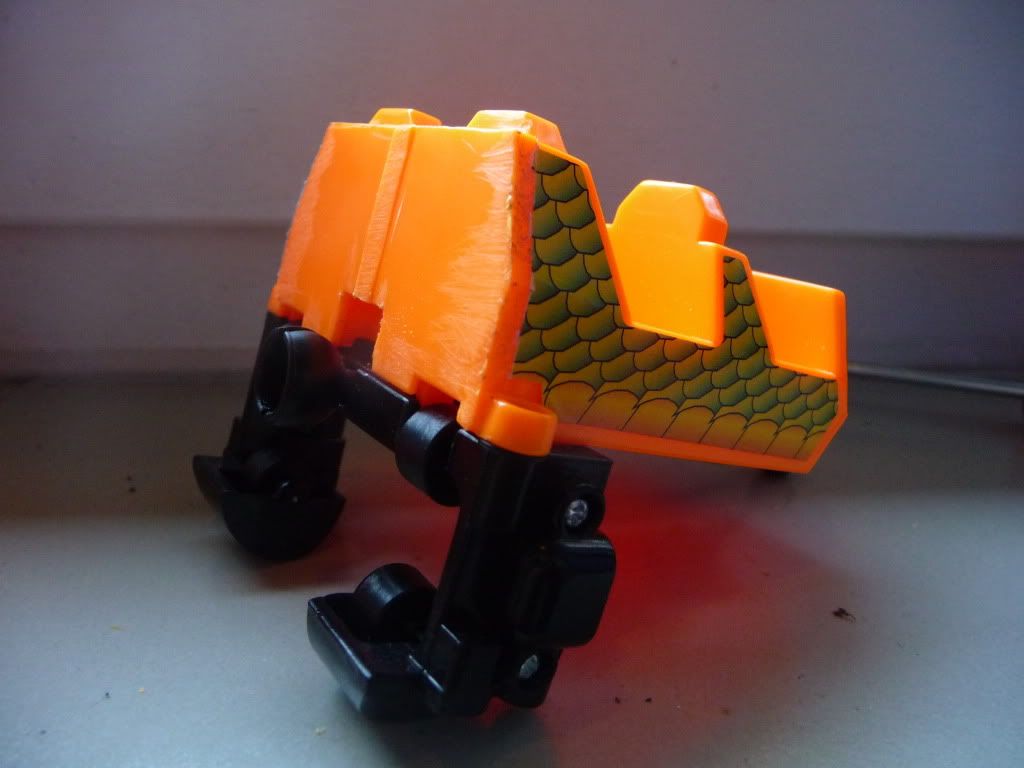
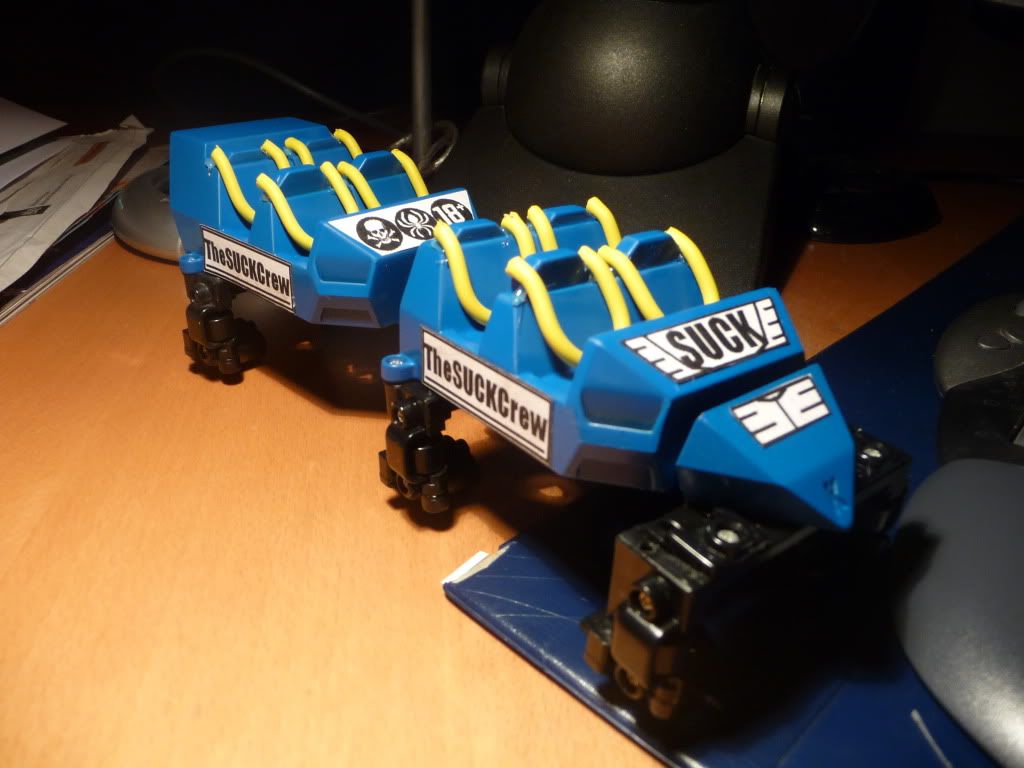
Screw the wheels from the frontcar:
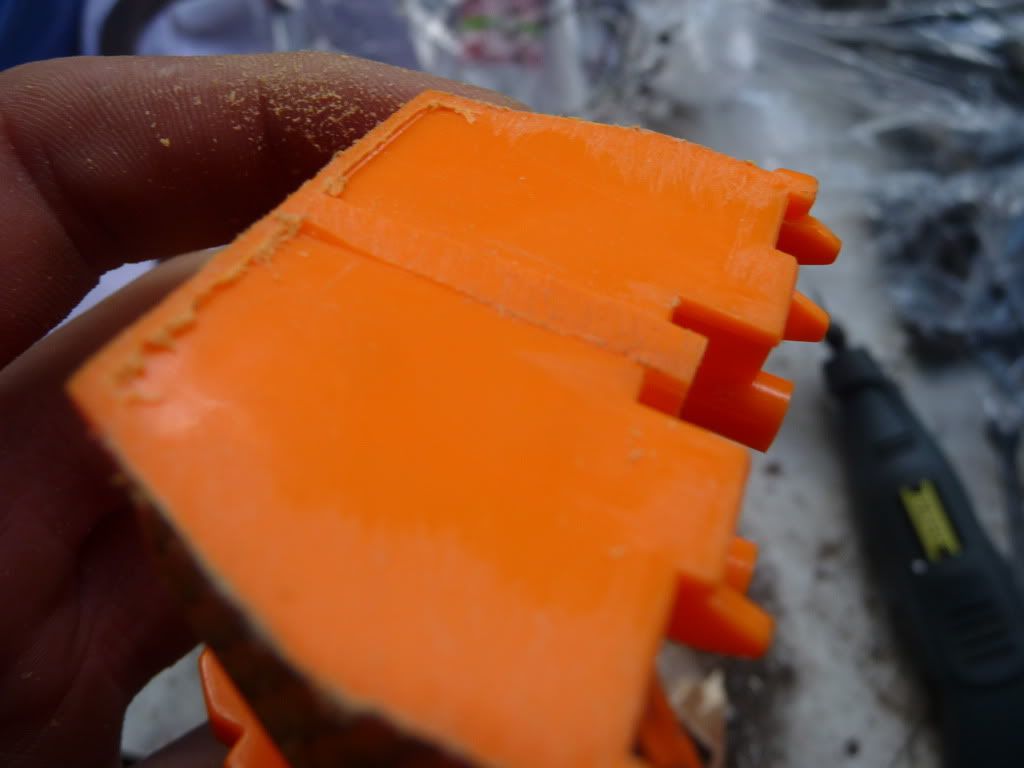
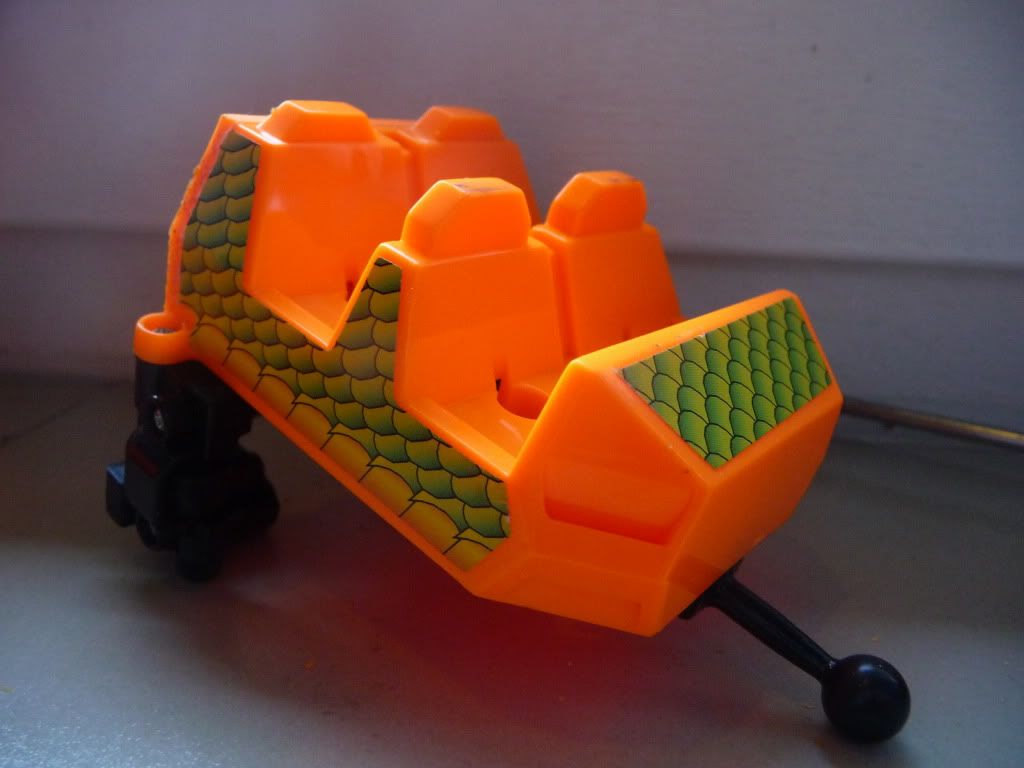
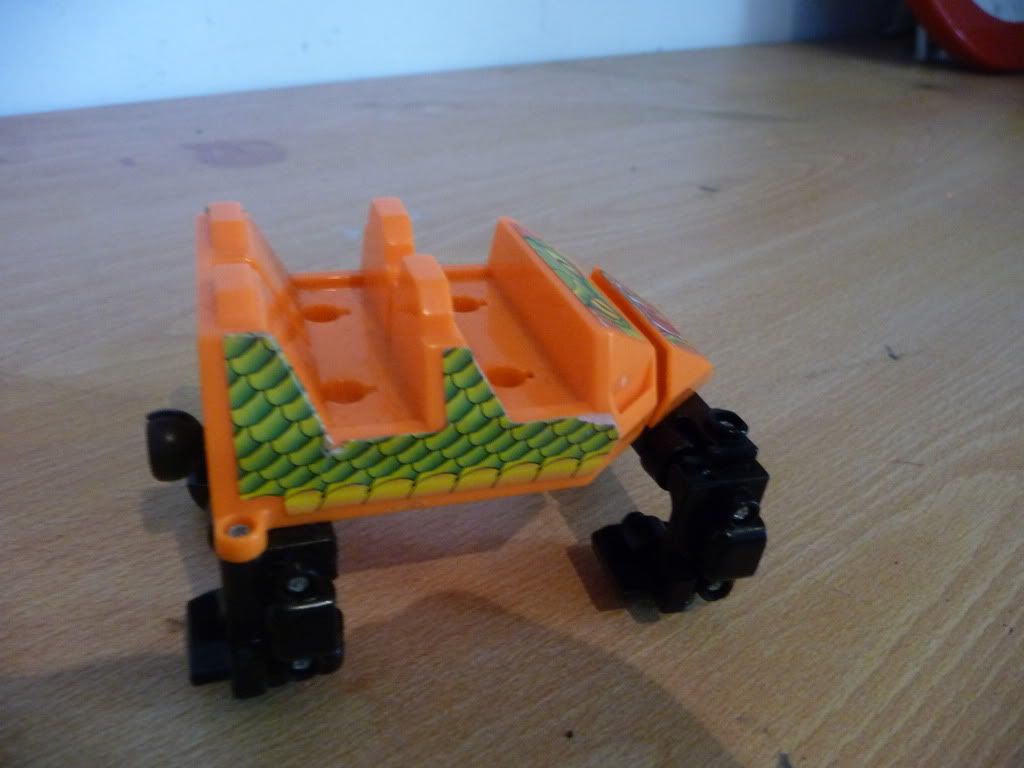
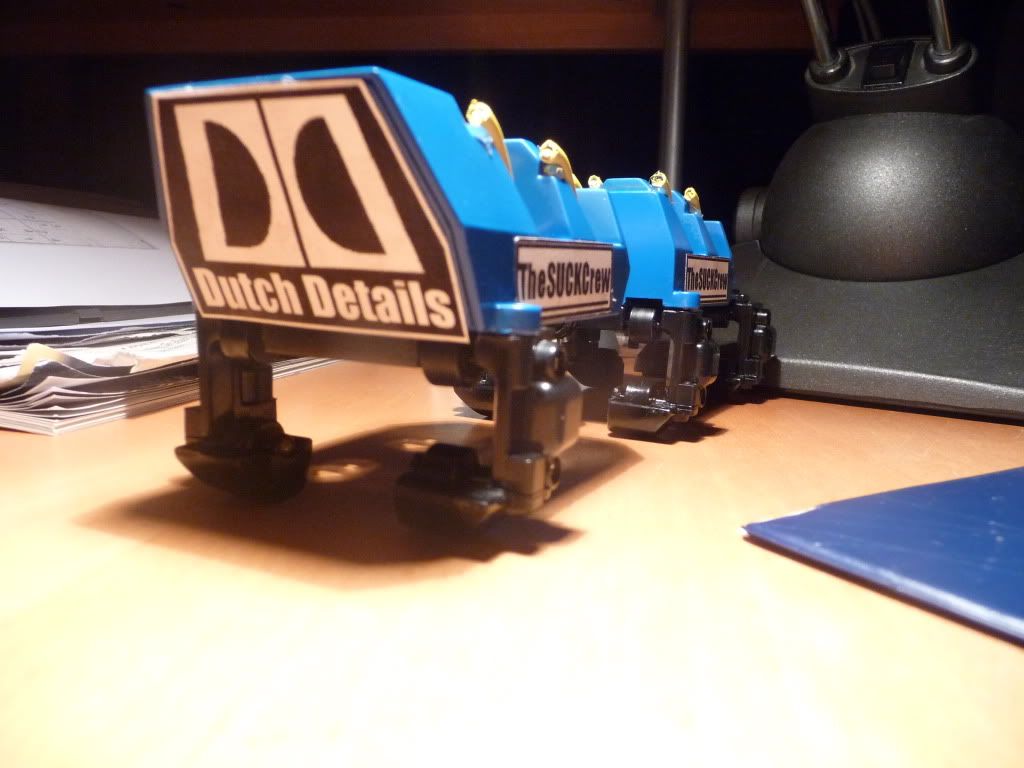
Screw the wheels from the frontcar on the backcar and this is your result:
That was part one, I hope you enjoyed!
How to unsticker / clean your cars before painting them
This will guide you into total clean cars, so don’t forget to do this before painting!
What you’re going to need:
Screwdriver
White-spirit
Kitchen roll
A little tub (Only for option 2)
Hot water (Only for option 2)
Before start, you can choose between 2 options:
Option 1: only take the stickers off, not cleaning the whole cars, but it will not be neccessary to take them apart
Option 2: take the cars apart, and totally clean them (Recommended if you’re going to paint them after this)
Option 1:
First, take your car:
After that, take some of the kitchen roll and put some white-spirit on it like this:
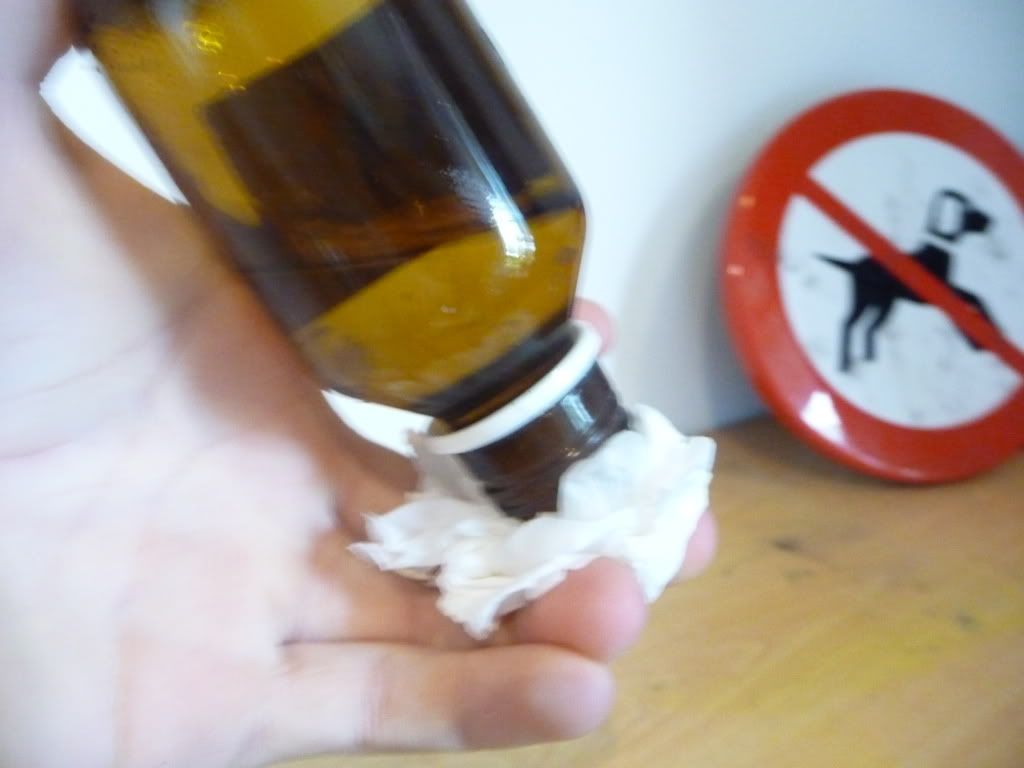
Now rub the piece of kitchen roll on the sticker
Do this untill the stickers starts to loose its contact with the car, and then scratch it off.
There will remain some glue, and you can rub that off with the kitchen roll.
This should be your result:
Option 2:
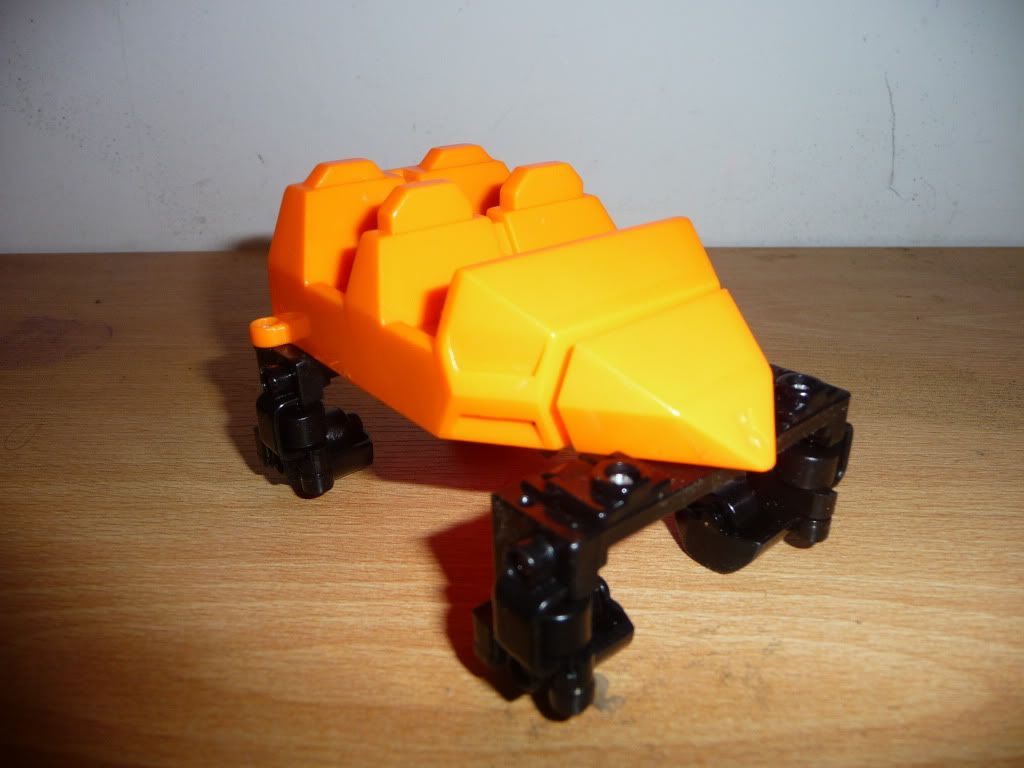
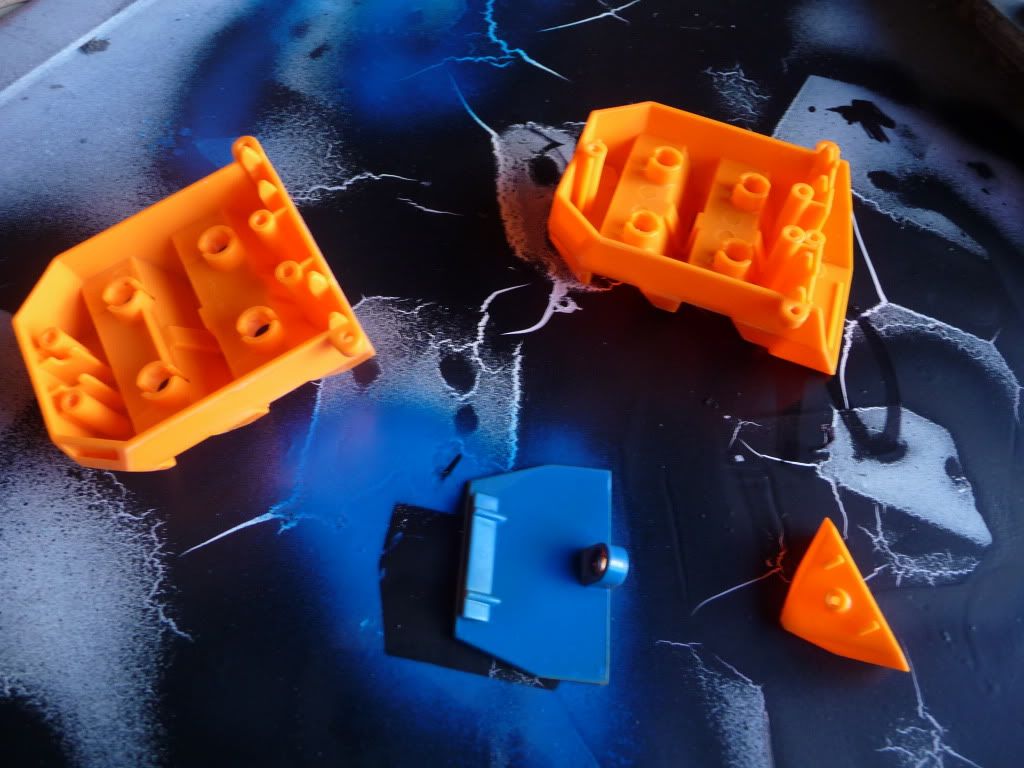
First, take your car apart, untill you only have the orange plastic parts left:
Now take the small tub and fill it with hot water, some white-spirit, and a little bit of soap and put the plastic orange parts in it:
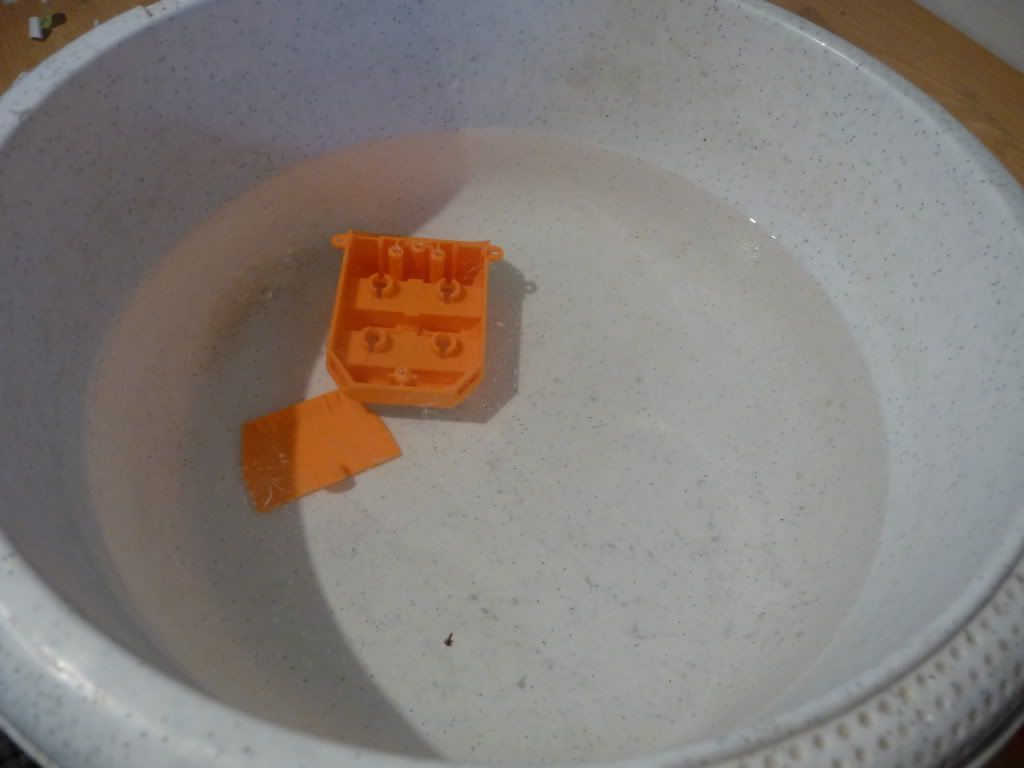
After 30 minutes, you can take the parts out of the water and the stickers should come off, if they don’t you’ll have to scratch them off (This will be easy).
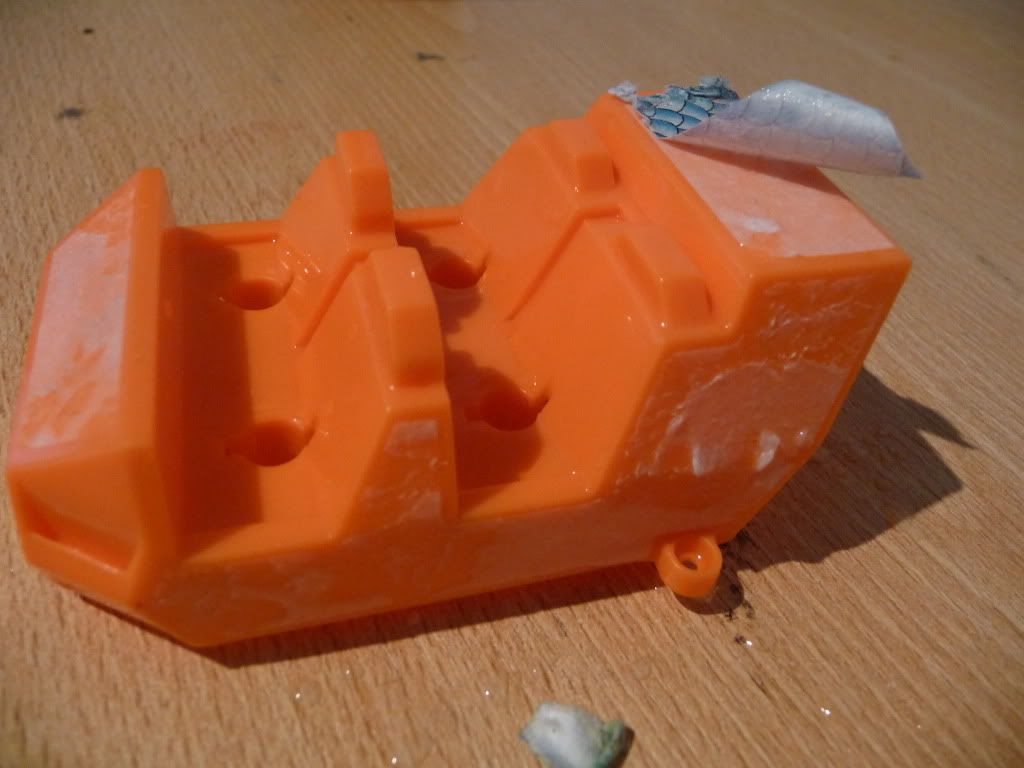
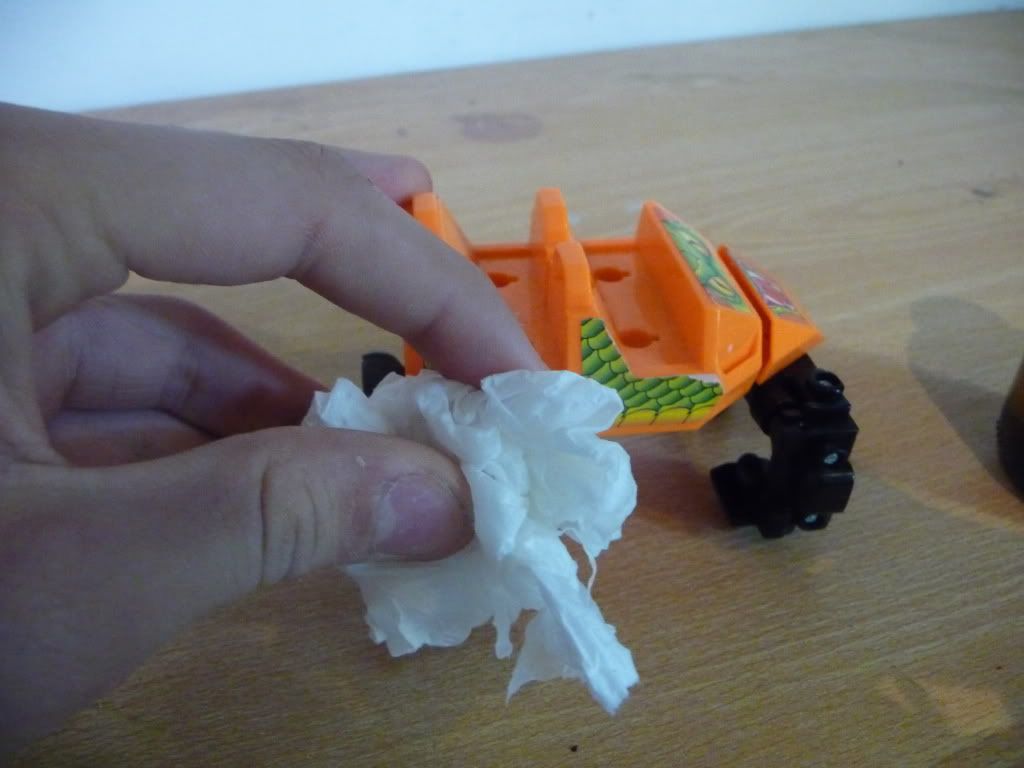
There will be some of the stickers left, so you can rub that off with a piece of kitchen roll with white-spirit on it.
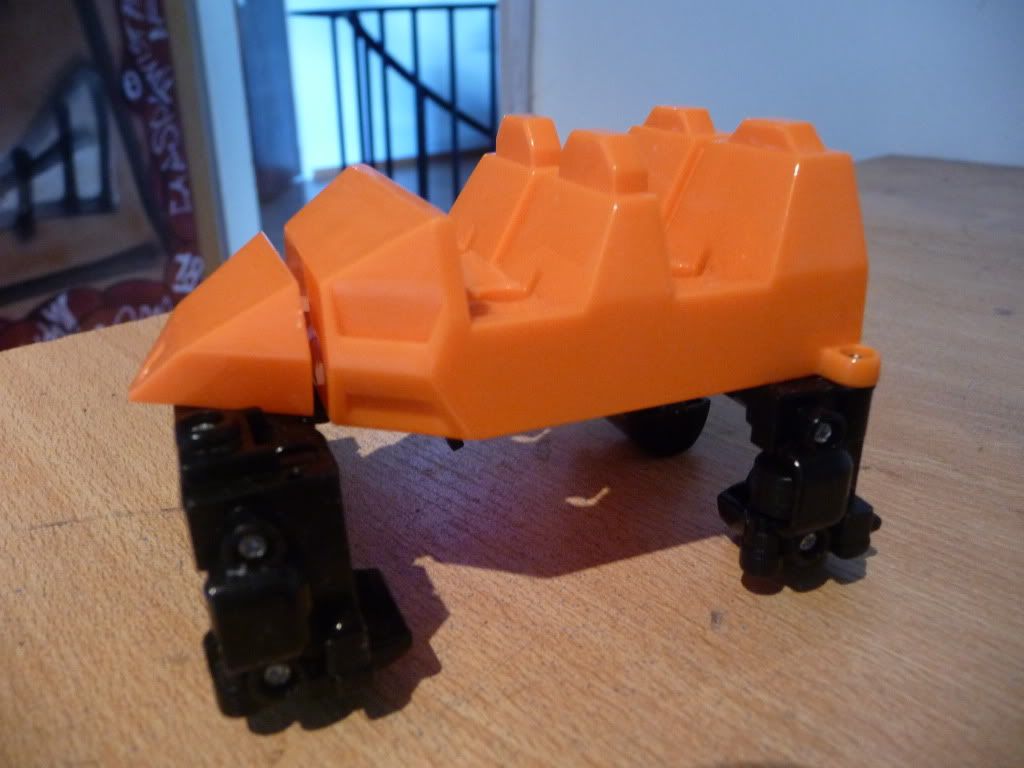
This is your result:
How to paint your cars
This will guide you into perfectly painted cars.
What you’re gonna need:
Your cars cleaned like in Part 2.
A screwdriver
A place where you can use spraypaint
Sandpaper (More as 120p)
Any kind of plastic spraypaint
So, to begin, take your cleaned cars and screw them apart.
Take the sandpaper and rough the surface of the cars up, so the paint stays on it better
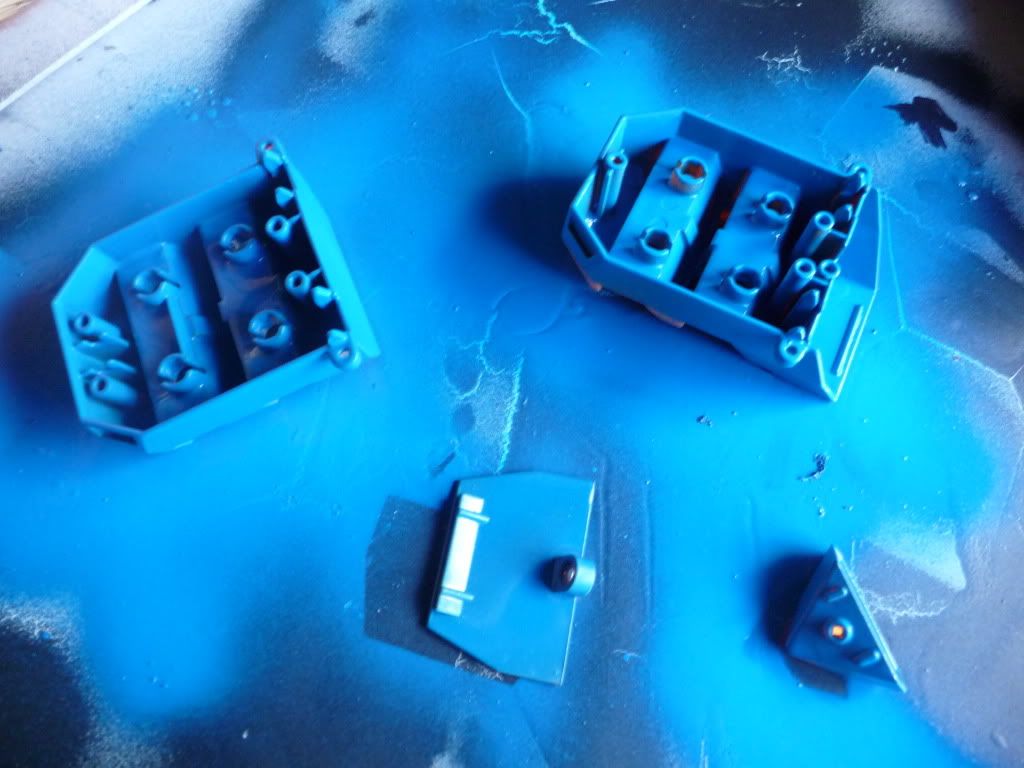
Now lay the parts you’re going to paint on the place where you want to paint them.
Make sure to lay them so the most visible part is facing to the ground.
It’s smart to test the paint on the back of the back-plate from a backcar
Now spraypaint it
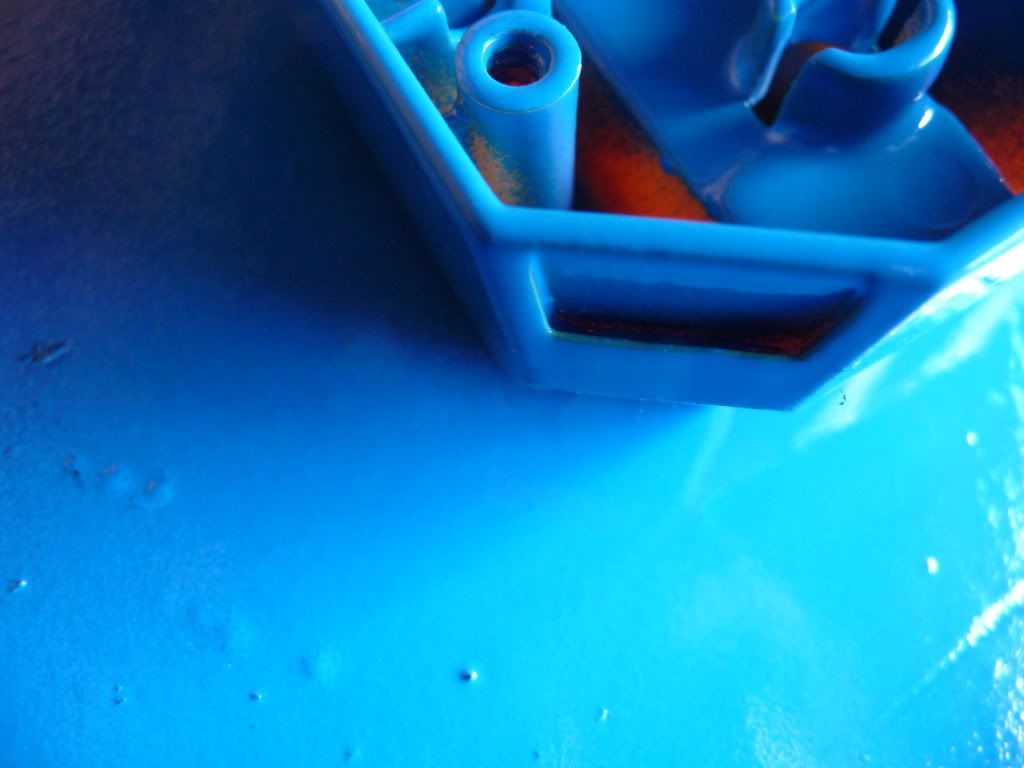
Make sure to paint the little holes on the front of the cars good, if you don’t do that it will ruin your cars.
After 30 minutes, you can flip all the parts over, and paint the other side of them
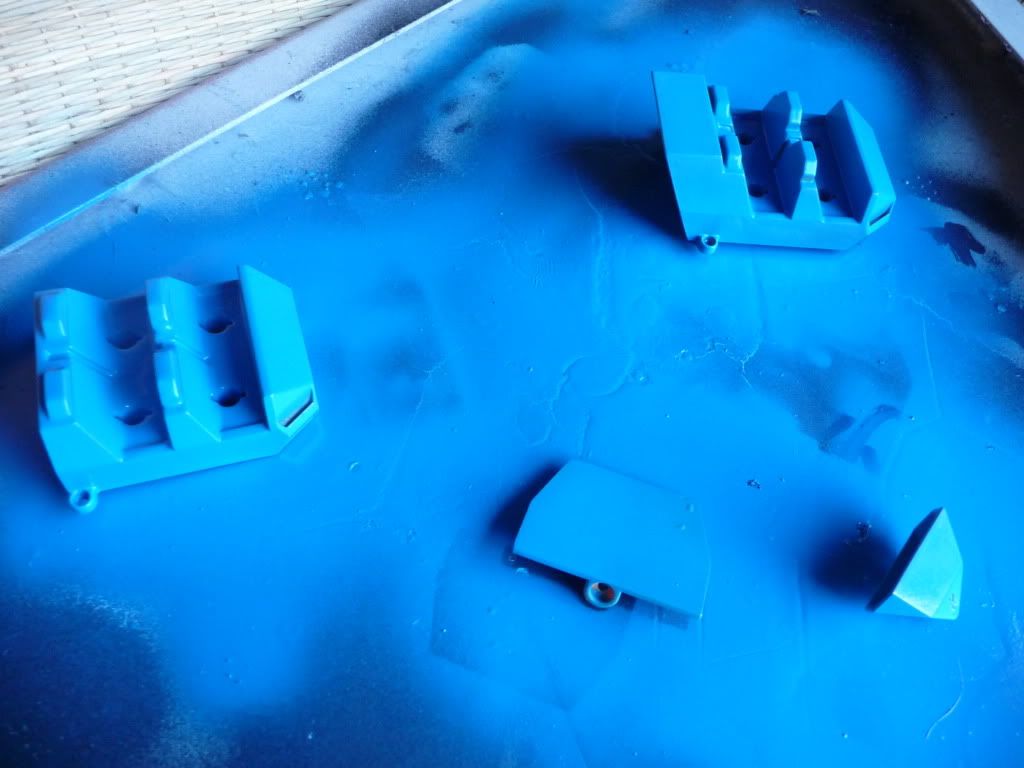
Wait another 30 minutes, and check if there are no bad looking spots.
If so, you can spray some more paint on those spots.
If not, you have to wait 24 hours untill the paint is dried up totally.
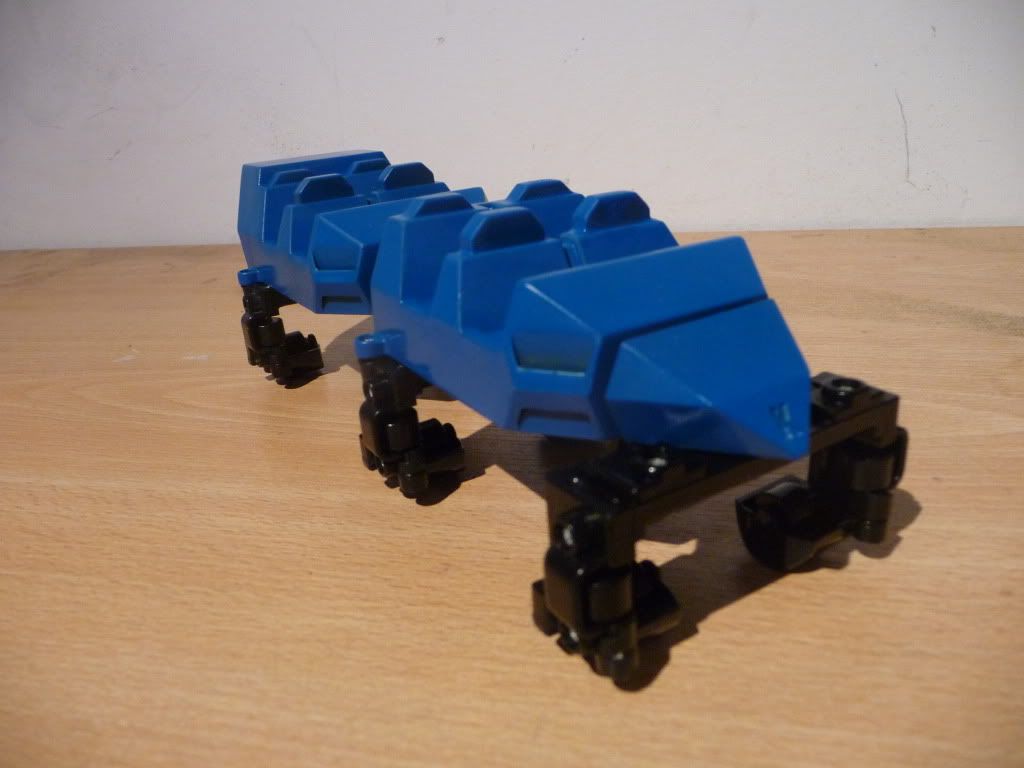
Now you can screw the wheels on again, and here you go, the result:
How to make restraints for your cars
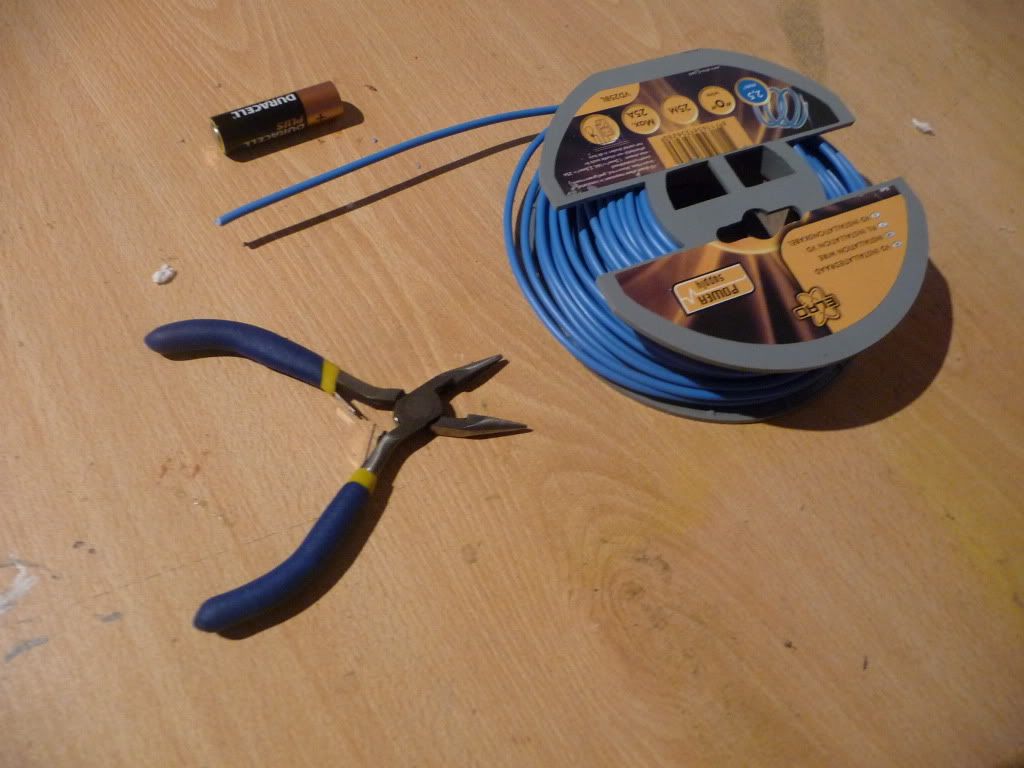
This is what you will need:
A thick electricity wire
Forceps
One AA-battery
Spraypaint
Hotglue gun
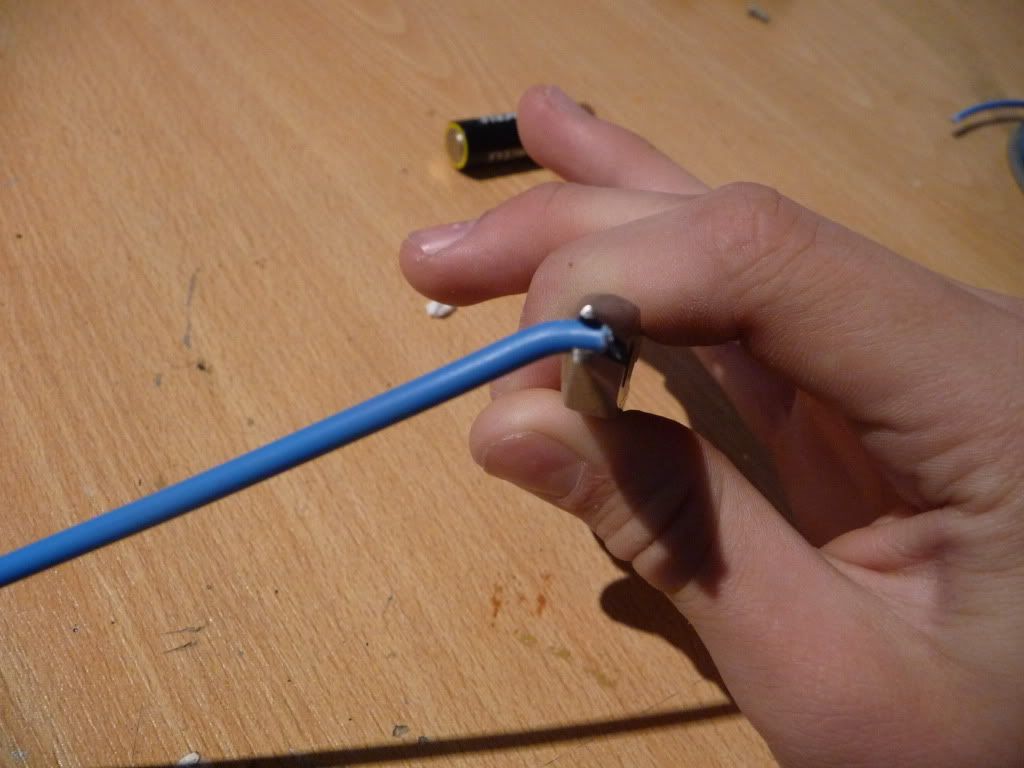
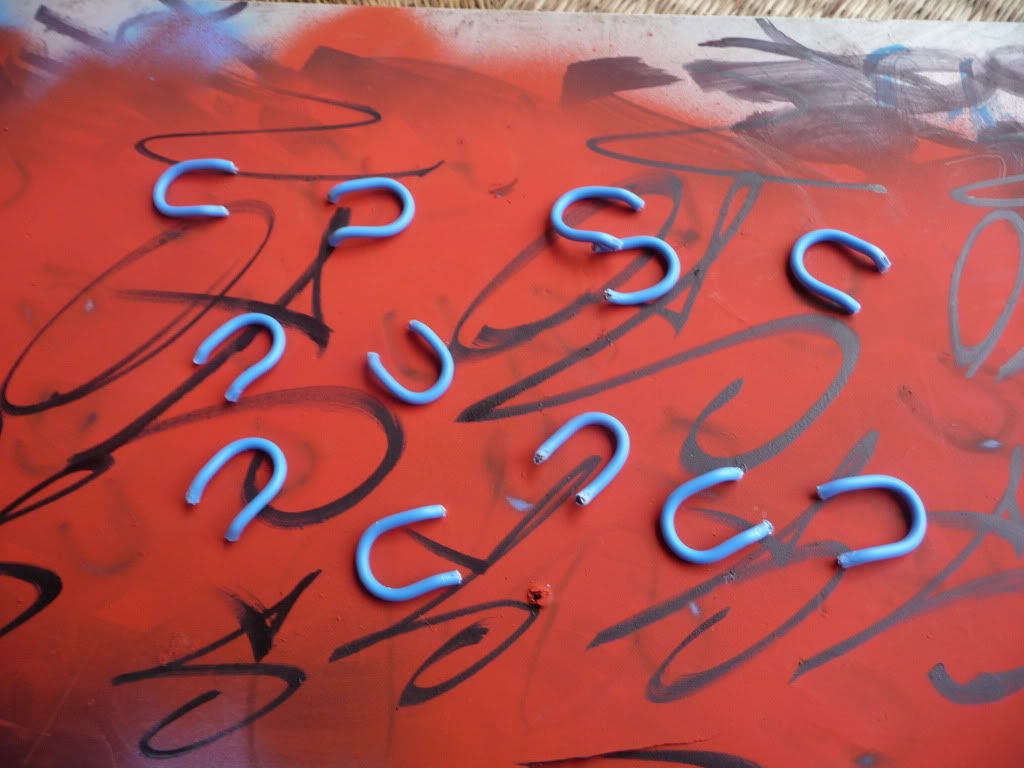
First, take some of the electricity wire (+/- 30 cm).
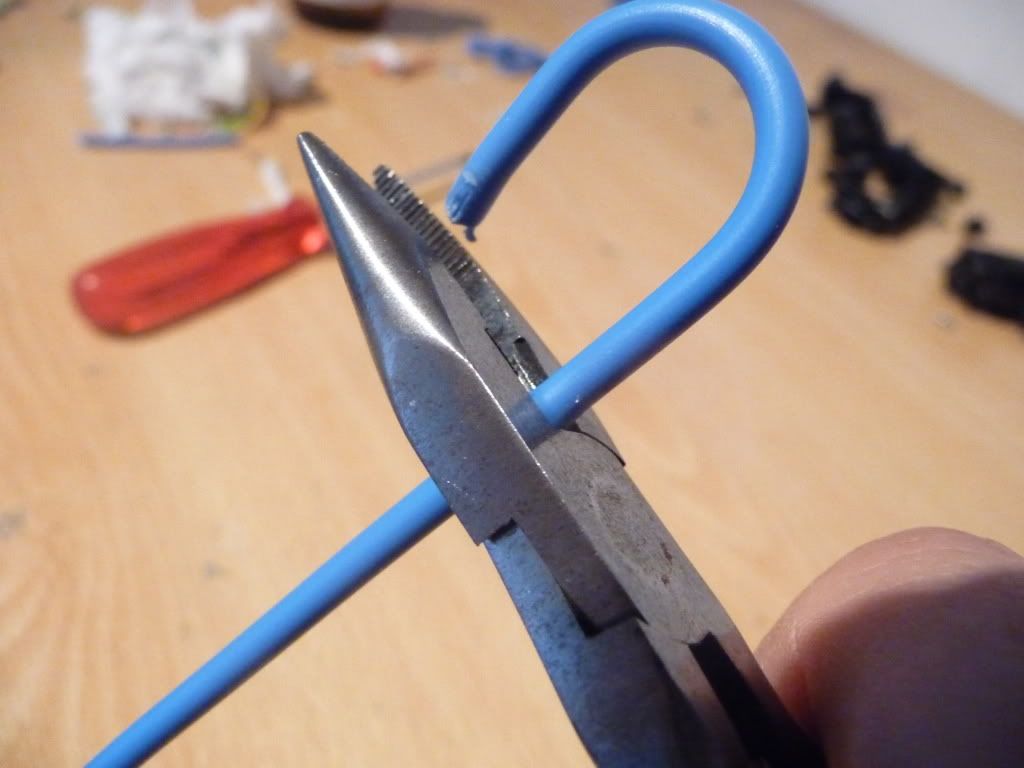
After that, you’ll have to bend the tip of the wire the forceps, like this:
Take the battery and bend the wire around it from about 1 cm from the end of the wire.
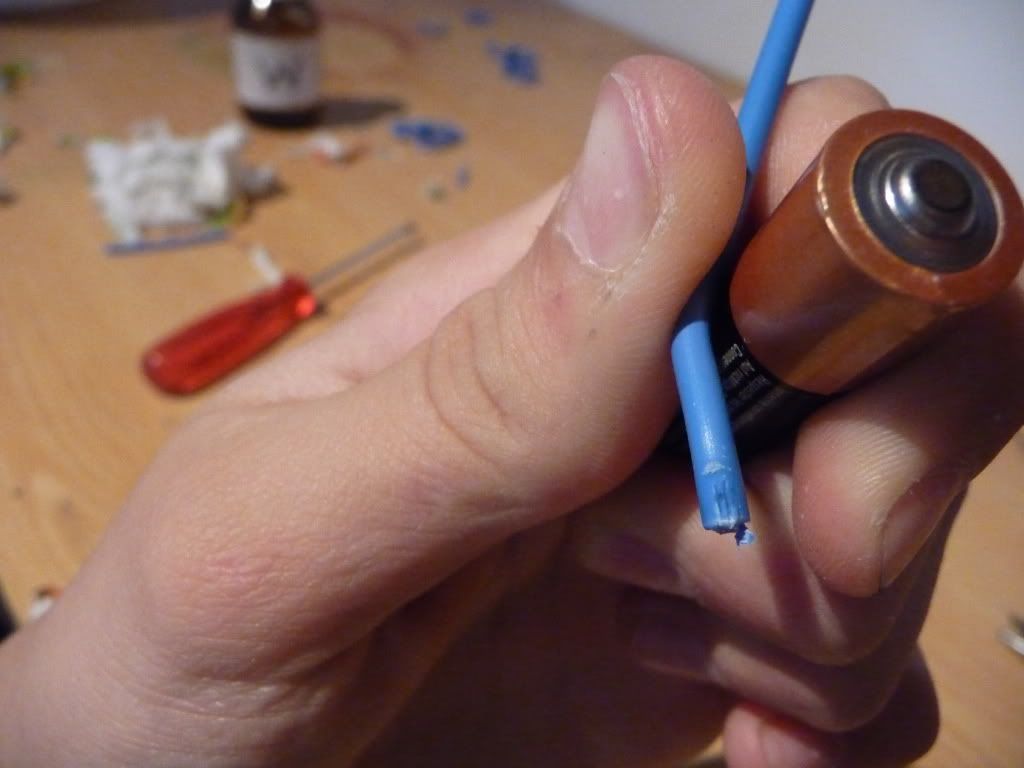
Bend it untill it is 180 degrees
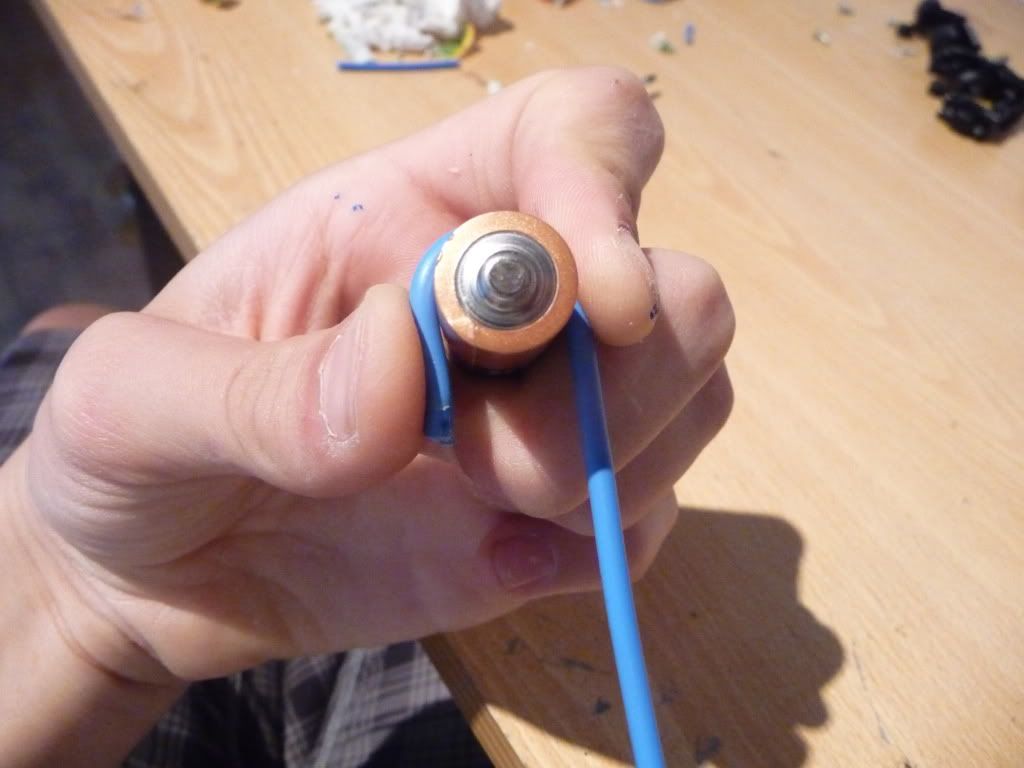
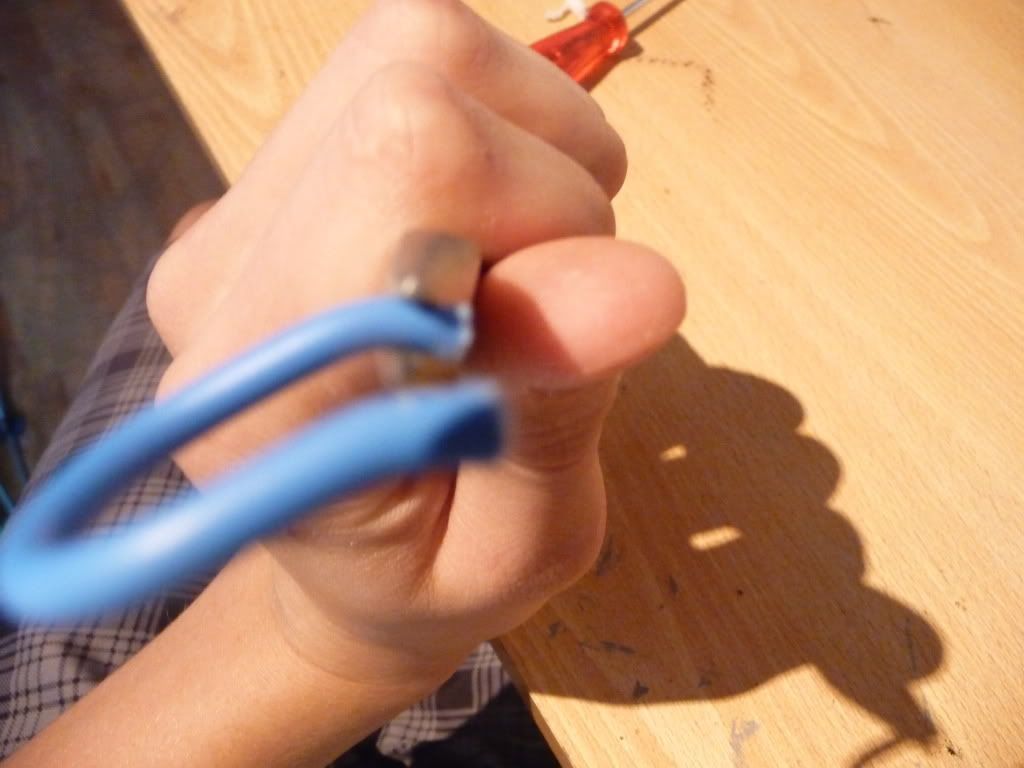
now cut off the rest of the wire on at the same height as on the first part (It has to look like an symetrical U).
After that, bend the end of it like you did at the beginning
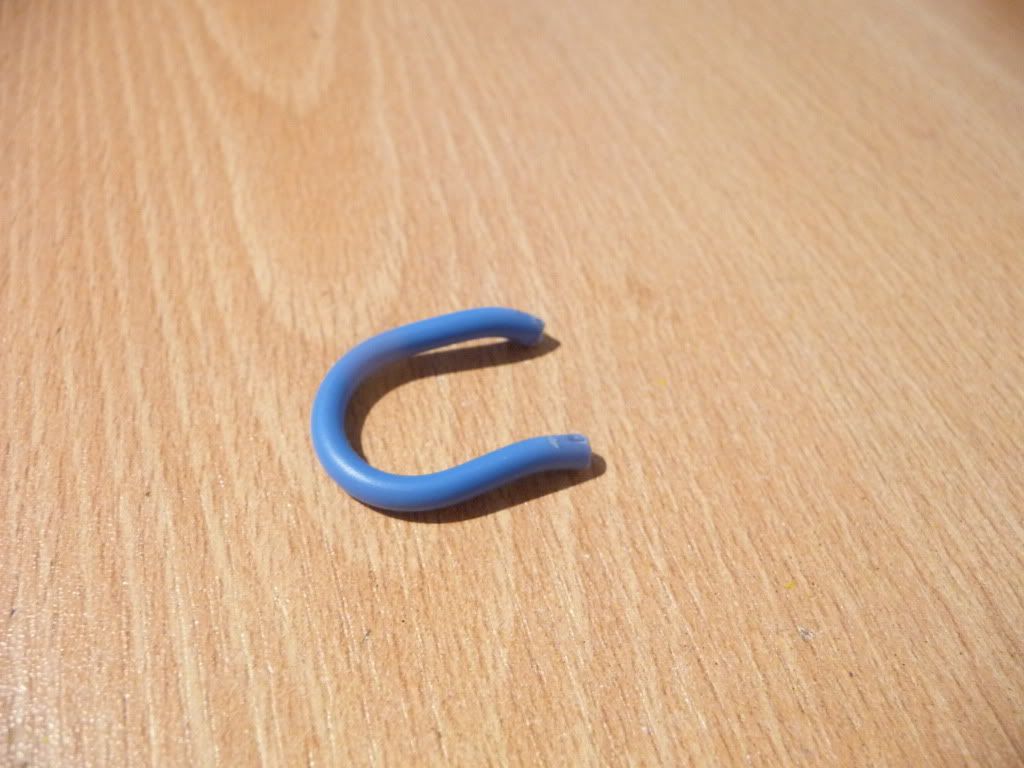
This is what you should have:
Repeat this untill you have one for every seat, plus 4 spares.
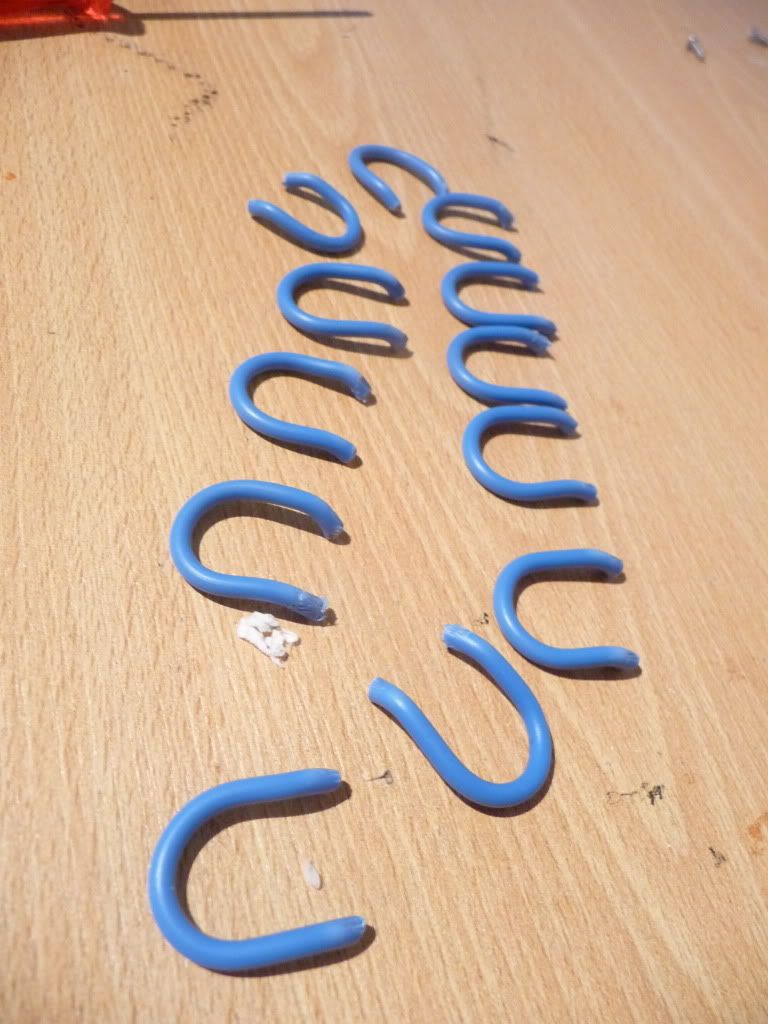
While trying this, you will probably mess up a lot of them.
That doesn’t mind, just throw those away and make some new one.
Now you can choose, are the restraints looking good as how they are looking right now, or do you want to have them into another color?
I’m going for another color:
Lay the restraints on a place where you can use spraypaint without messing up the area you’re in.
Make sure to lay them upside down.
Now spraypaint it.
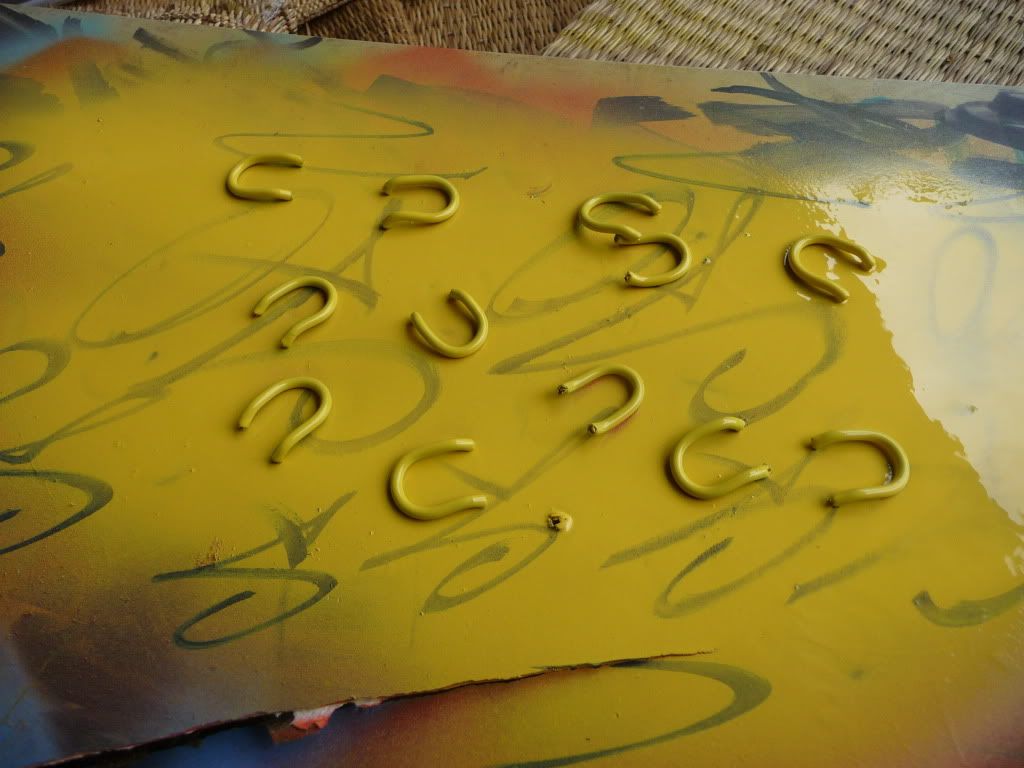
After 10 minutes you can flip them all over, and paint the other side of them.
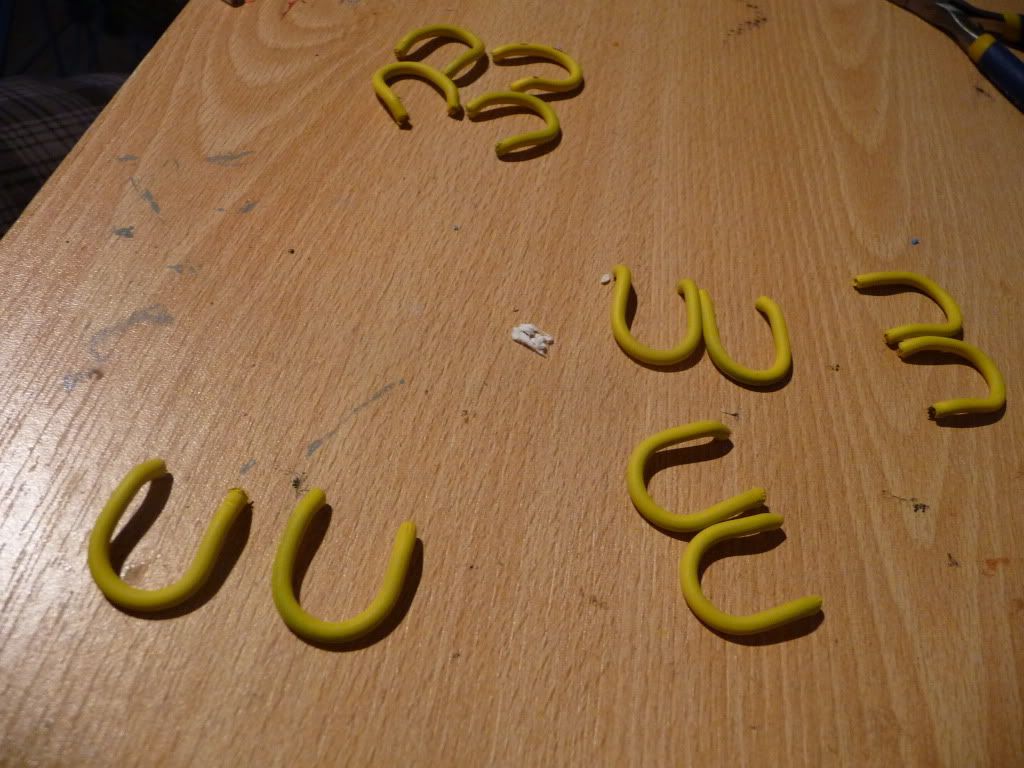
Wait till they dried up, and then you can start making pairs of the ones that look the most like eachother
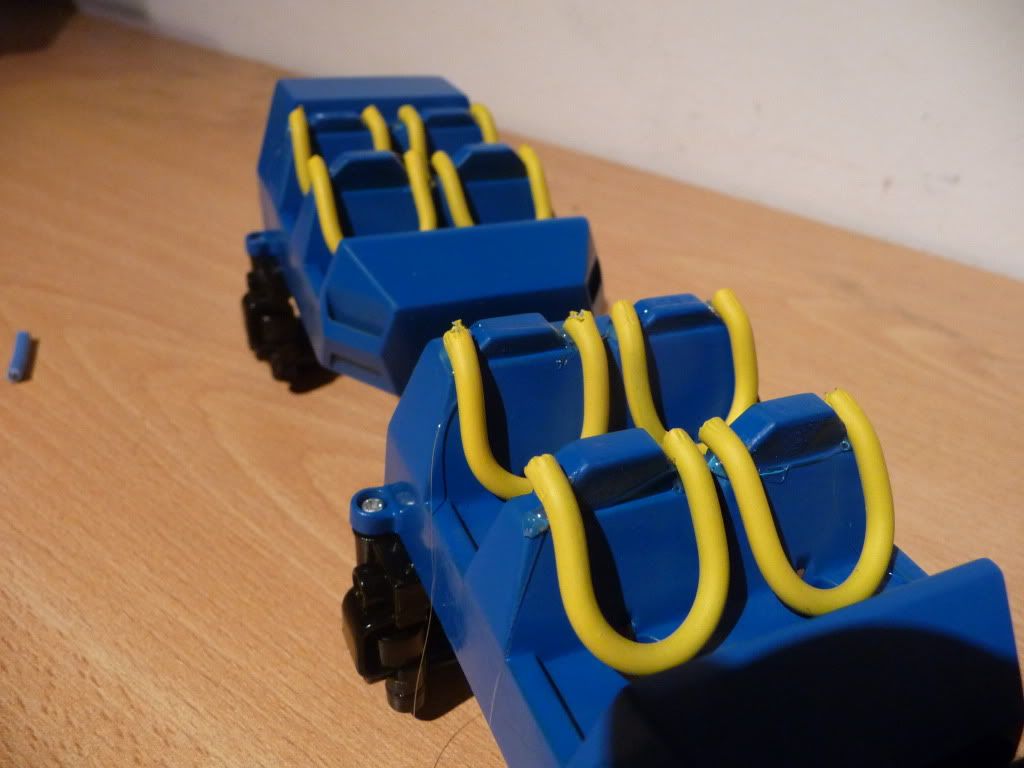
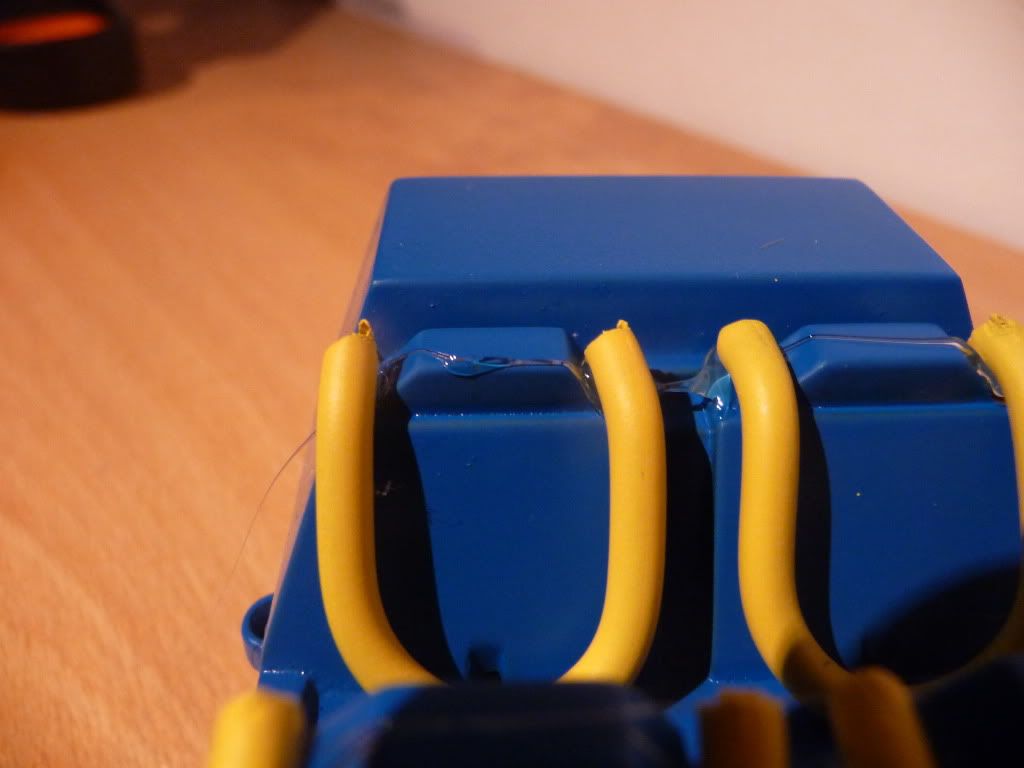
Now take the hotglue-gun and put glue on the left and right on the headsupports in the seats.
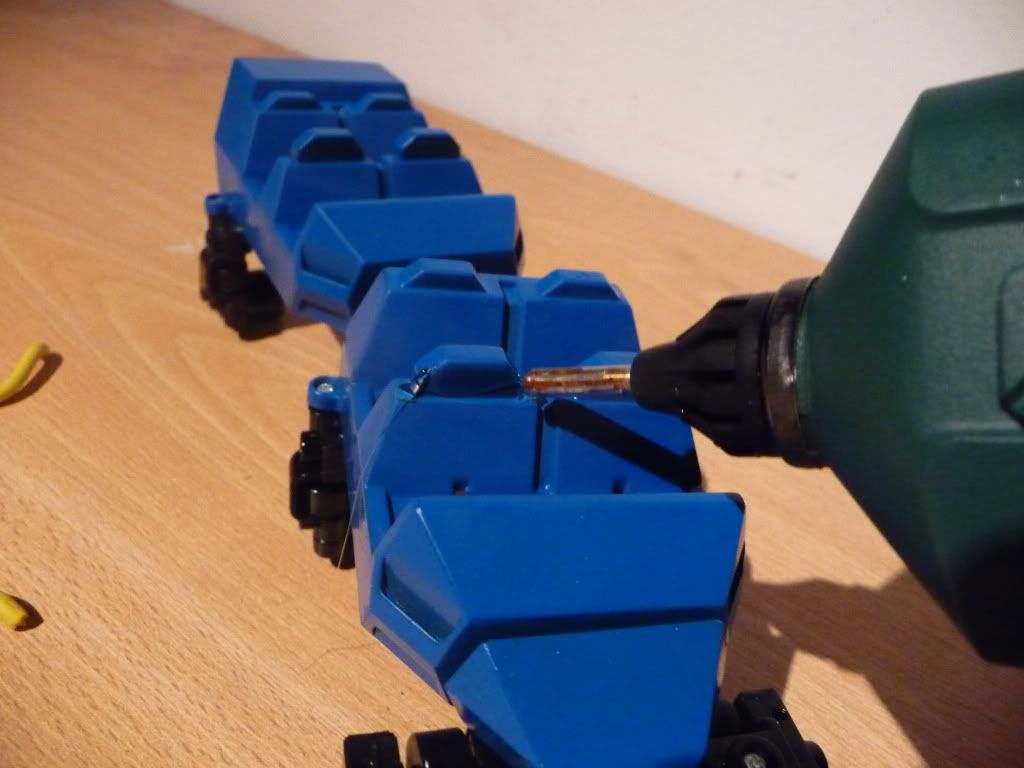
Put the restraints on.
Do this with all the restraints. It should look like this:
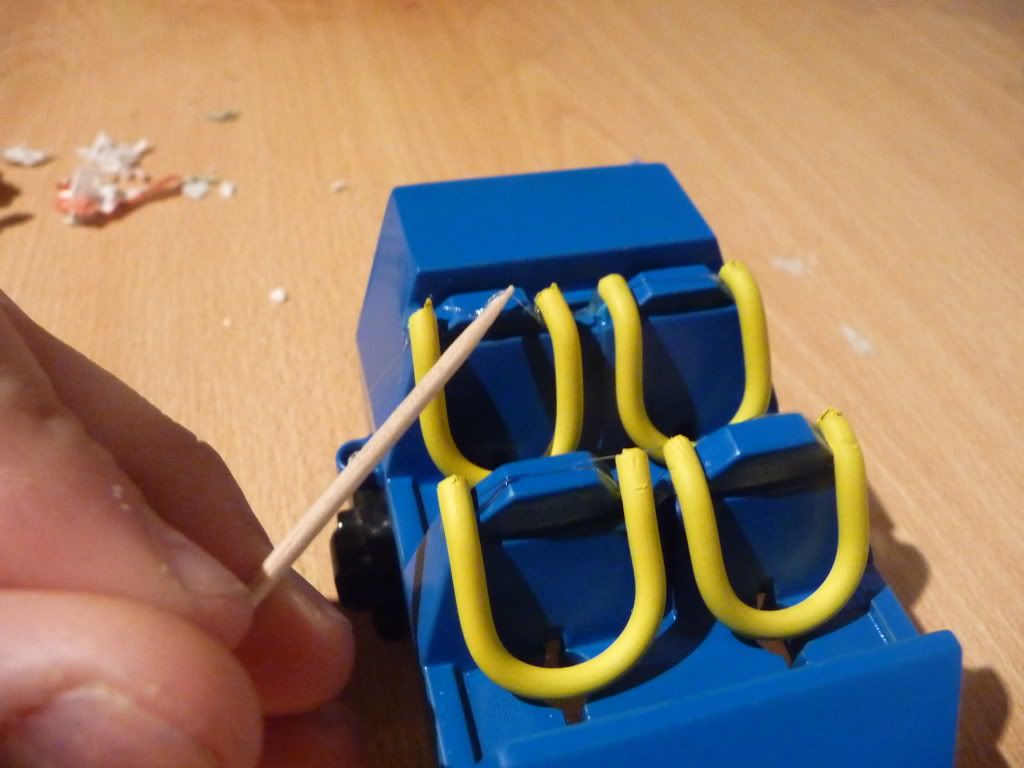
There can be a few of those annoying glue-strings on the headsupports, which you can take off with a tooth-picker:
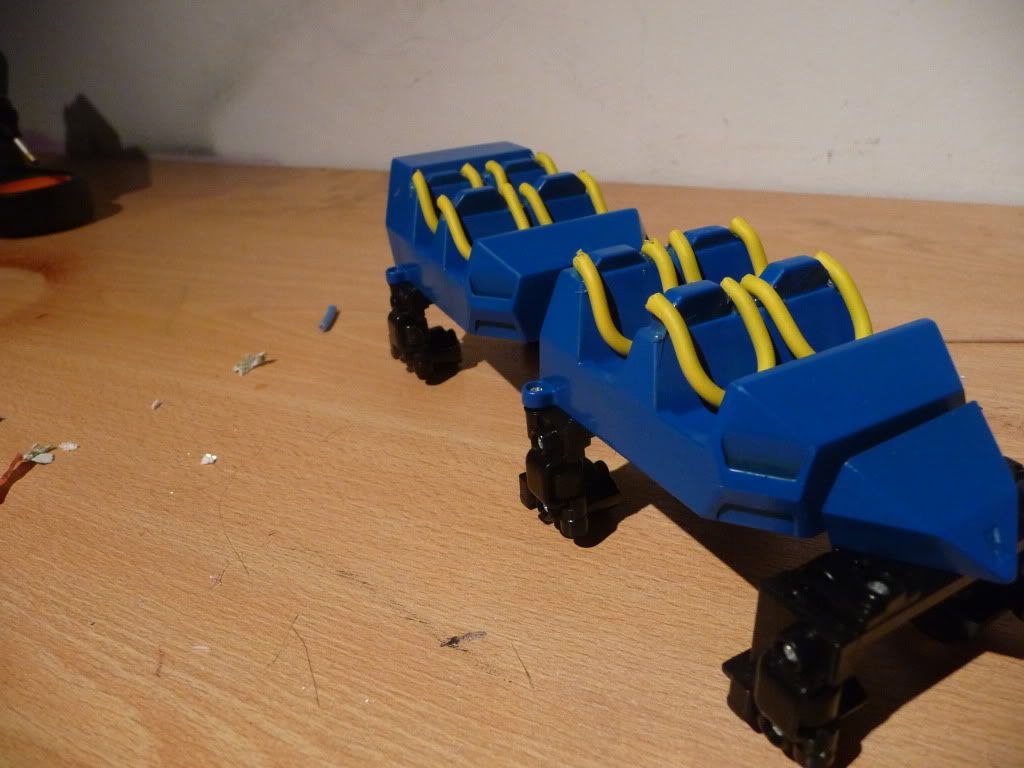
This should be your result:
How to sticker your cars
When you’ve done all that, it will look really cool when you also have your own stickers on it.
Here is what you’re gonna need:
A printer
My PDF with the sizes of the sticker-surfaces
Some glue/Sticker-paper
First, you have to copy this picture:
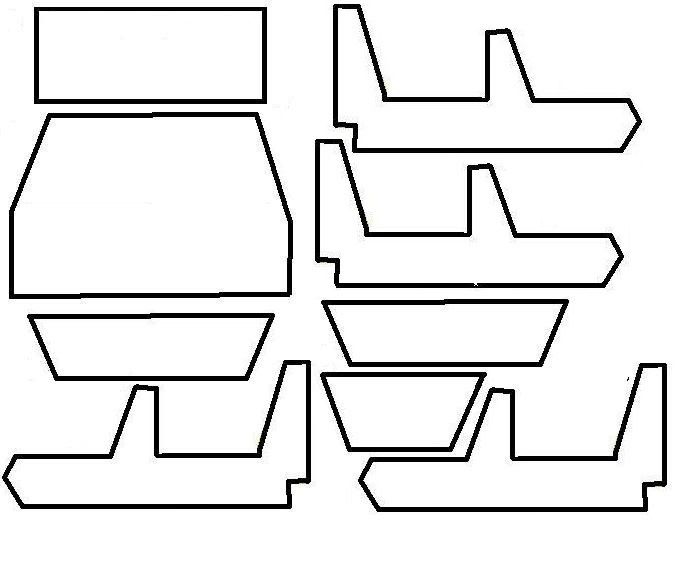
You can now fill them up with whatever you want.
After that, copy it as much as you need to.
Now print it:
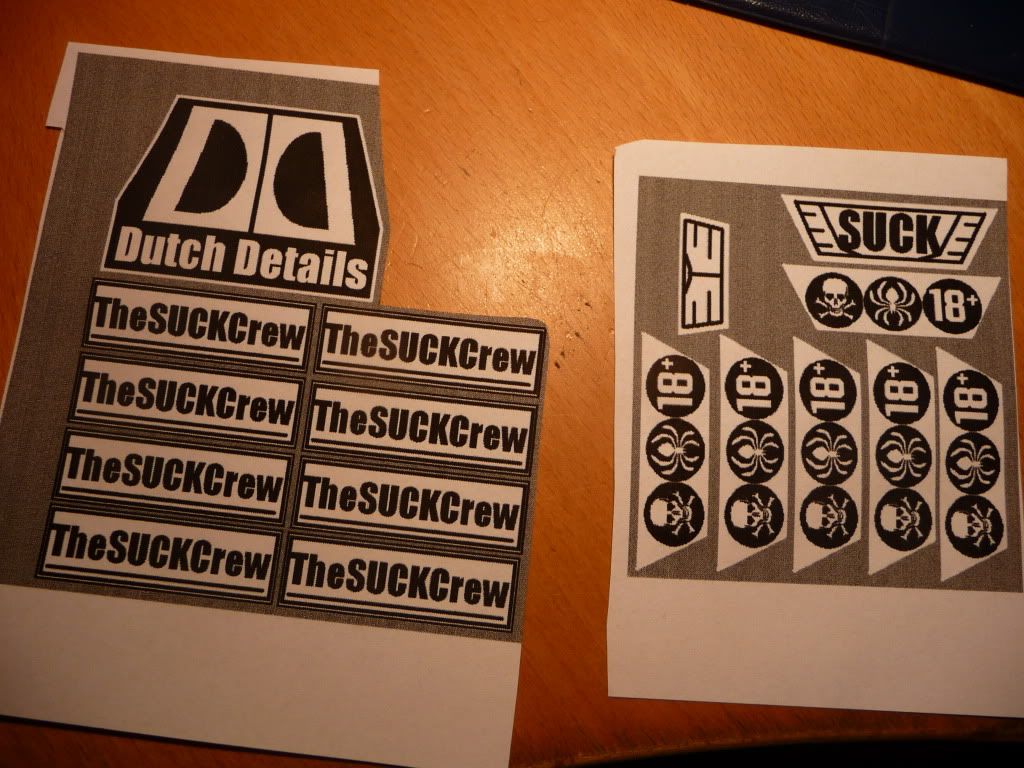
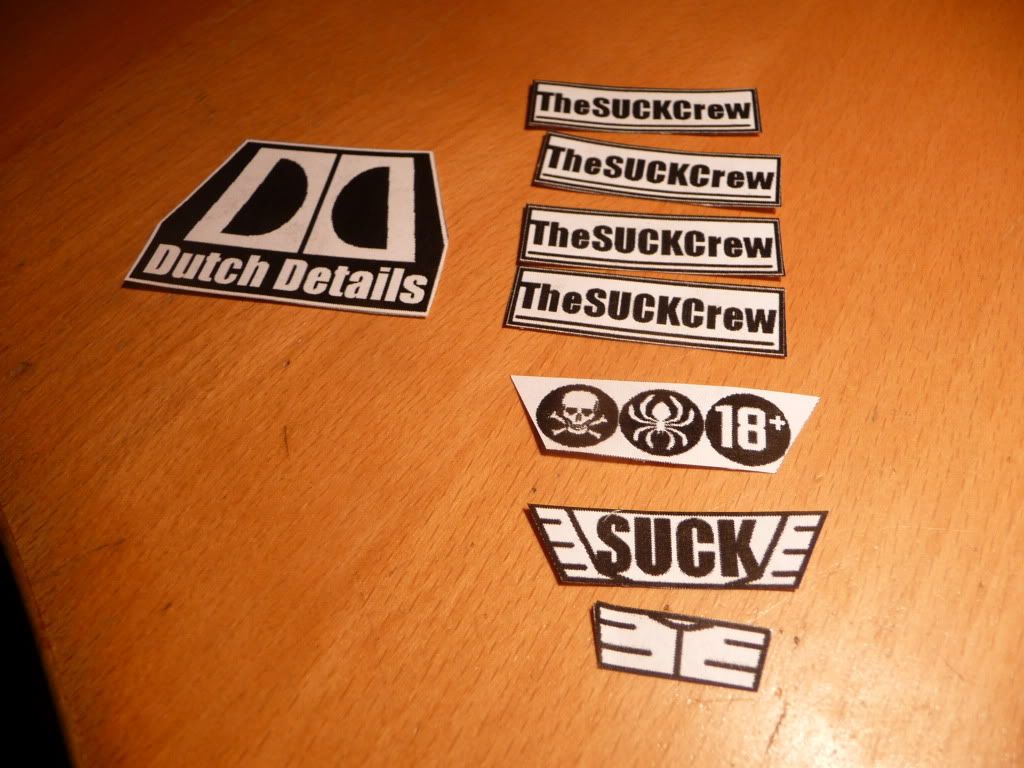
Cut out the stickers you are going to need
Put some glue on the sticker...
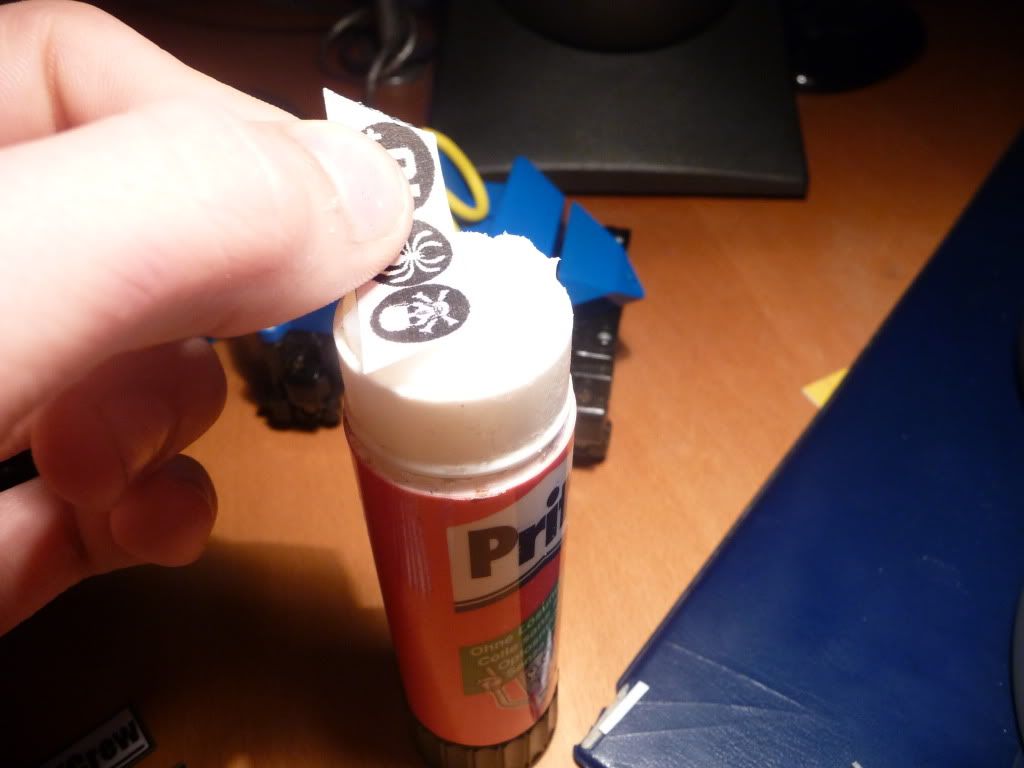
and put the sticker on the car:
This is going to be your final product:
I hope you enjoyed this tutorial, and let the god of “Pimp my ride” be with you!
-Wannabe-Xzibit.


 SSCoasters Moderator