Beginning Tips From the Maker
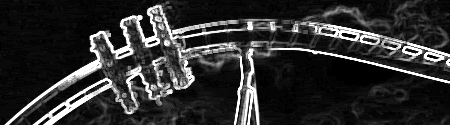
In this tutorial, you will learn how to make an Arrow 4-D Roller Coaster car for the Knex’ Screamin’ Serpent. These cars are based off of the famous Arrow 4-D Coaster, the only one in the world at this time is called X, and is found at Six Flags Magic Mountain. The coaster itself combines the flying aspect of a coaster, along with a unique twist, as your riding, your car spins around. A common misconception is that the cars spin freely, but this is not true, they are controlled by a 4th rail; but we won’t go into that much detail. The cars on the Knex model are free spinning so they are not controlled by anything except for gravity. Please note that this tutorial is meant for people who have had experience building Knex’ coasters, since this will require some skill to master.
Step 1

The required materials are:
8 Half-Moon connectors
8 Small black rods
6 Brown connectors
4 Small Silver rods
2 Light Blue Spacers
4 Silver Spacers
4 Tan Spacers
6 45° Grey Connectors
2 135° Green Connectors
2 Blue Rods
2 Blue Rod ends
1 Long Grey Rod
1 Screamin’ Serpent Car
Step 2

Take one brown connector, one small black rod, and one 45° grey connector, and attach them as shown in the image. Do this 4 times, each of these are the seats in which the figures will sit in when riding your coaster.
Step 3
Take one blue rod and attach two of the seats that you created in the previous step, then take 4 half-moon connectors and attach them as shown in the image. Do this 2 times. This is now the entire side of one of the cars, up to two figures can now ride side-by-side.

Now put one Blue rod end onto the end of the long grey rod, after that, put one blue spacer and a tan spacer with the pointy end facing inwards. Then slide on of the completed seats down, make sure it fits in with the tan spacer. Then add another tan spacer to the other side, make sure that the pointy end is inverse from the first one, this will make sure the seat does not rock back and forth. After that, slide in two of the silver spacers. It should look like the image shown.
Step 5

Now you need to make the part that will go on the car and support the seats. You need to attach one 135° connector to a silver rod, then attach a small black rod to the other end. Attach a 45° connector to the end of the black rod, then attach another black rod to the end of the 45° connector, finally attach a brown connector and another small silver rod. Do this 2 times. It should look like the picture shown.
Step 6

This part is tricky if you have never created custom cars before. What you need to do is attach the two silver ends into the slots where the figurines would normally sit, the end part should be about ¼ inch farther in than the front, it should look like the picture. Do this 2 times.
Step 7

The car so far should look like the picture. There are only a few more steps, the next part will be a little tricky so just hold in there, it will be worth it.
Step 8

Now you need to thread the long grey rod with one complete seat in through the brown connectors. Then pretty much do a mirror of what you did in step 3, putting the two silver spacers in, then a tan one, then the seat, another tan and finally the blue spacer and the rod end. Right now your car should look like the picture.
Step 9(final)

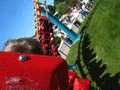
Congratulations, you have just finished making an Arrow 4-D Car.