This topic is locked
EDIT:*** For the Poll, Option one should read: "I used this system: It did work" ***
Hello everyone!
After many questions, research, PM's, and experimenting later, I am now willing to put my tutorial for how to install magnets into your track and cars to use as brakes. I had a major problem with brakes on my newest coaster, Orange Rush, since the cars were custom and fragile, so this is a good and innovative system.
I will warn you that this tutorial is a bit more advanced than other tutorials, so if ANYONE has any questions about this, please post them in this thread or feel free to PM me!!
The parts you will need for all 3 parts:
- Magnets (preferably 1/4 by 1/4 by 1/4 inch cubes)
- Cardboard cut to 1/2 by 1/4 inch if using 1/4 cubes. If not, then make the width (1/4) bigger or smaller.
- Hot glue gun and glue
- K'nex rods (size varies to situation)
- K'nex connectors (depends on which car)
- Either a custom car or a SS car
The tutorial will be broken up into 3 different sections- Installing the Magnets into your track, installing the magnets into a front SS car, and installing magnets into a middle/end SS car.
Please read through the entire tutorial to see how many magnets you should dedicate to your cars and track!
---- ----- ----- ----- ----- ----- ----- ----- ----- ----- ----- ----- ----- ----- ----- ----- ----- ----- ----- ----
Part 1: Installing the Magnets into your track:
The parts you will need for this part of the tutorial:
- Magnets (preferably 1/4 by 1/4 by 1/4 inch cubes)
- Cardboard (cut to 1/2 by 1/4 inch)
- Hot glue gun and glue
- K'nex rods (size varies to situation)
- K'nex connectors (depends on which car)
- Track going to be used for the brake run
Step 1:
Get your cardboard that is cut to 1/4 by 1/2 inch
Step 2:
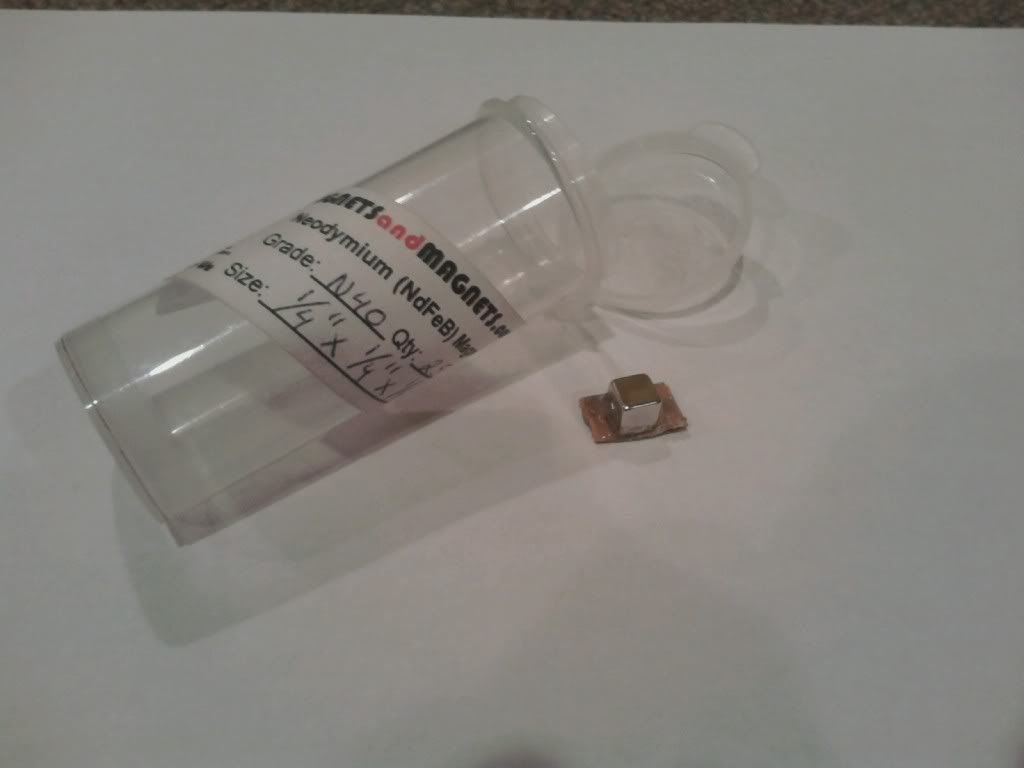
Get your magnets (I am using N40 Neodymium Magnets)
Step 3:
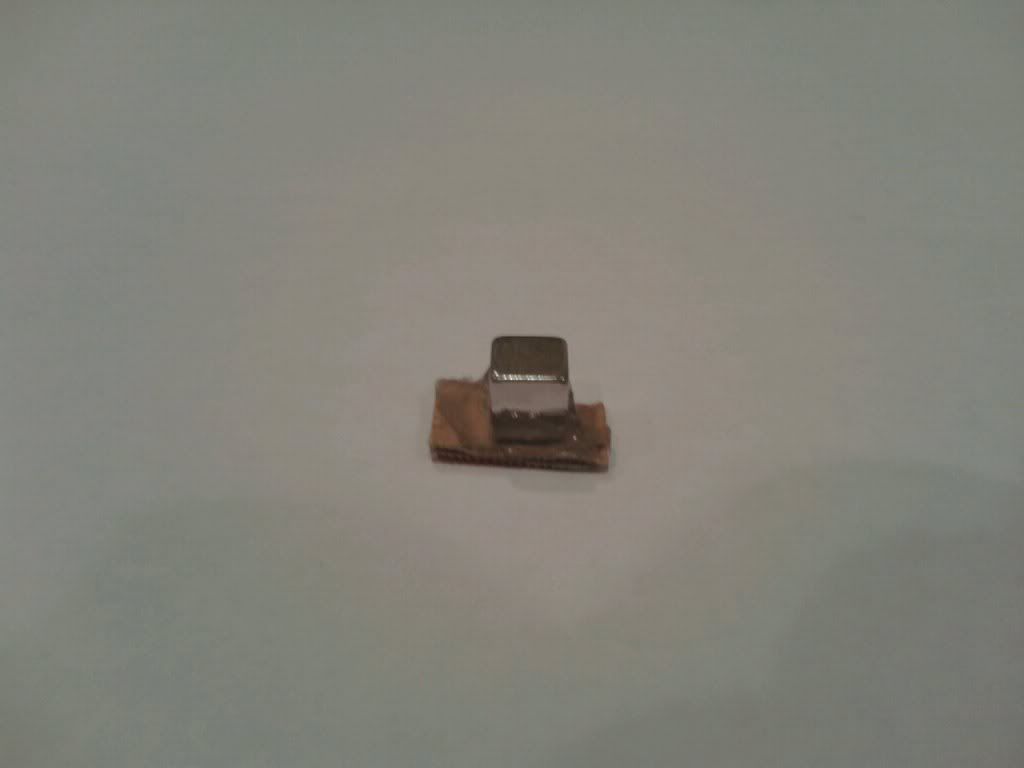
Put magnet's side with the poles facing the carboard (either North or South, does not matter right now- to find the magnet's poles, let it attract/ repell to something metal/other magnets; those 2 sides are the poles.) down onto the carboard, and hot glue them in place. Do NOT use all your magnets for this step! You will need some magnets for your car(s)!
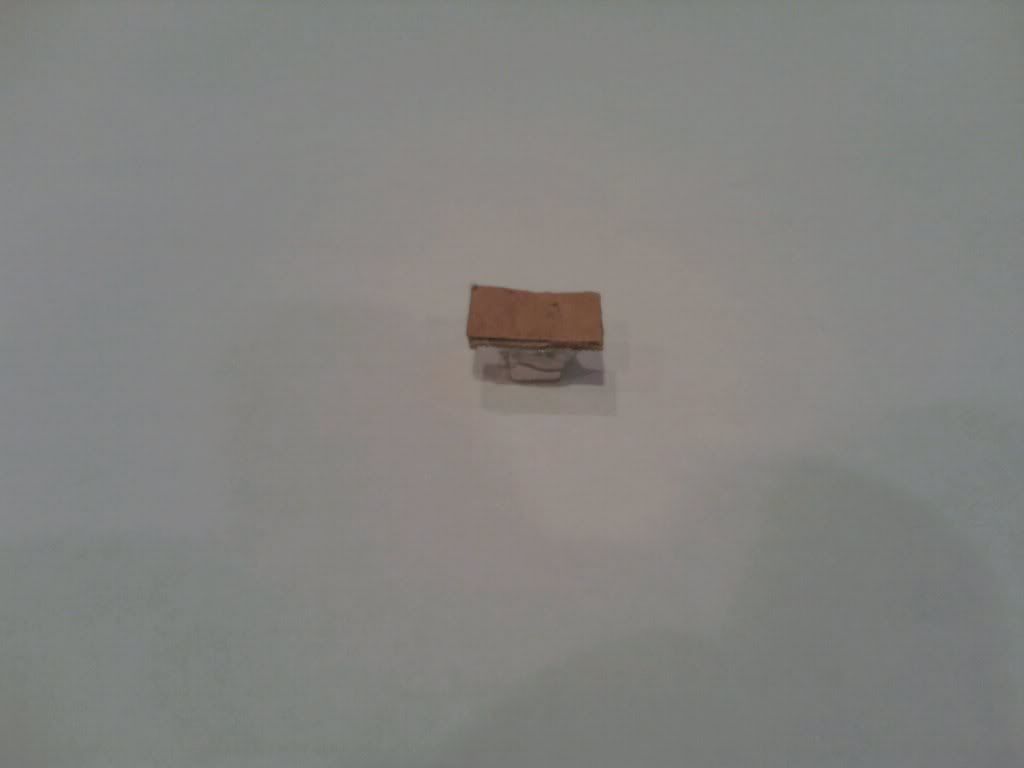
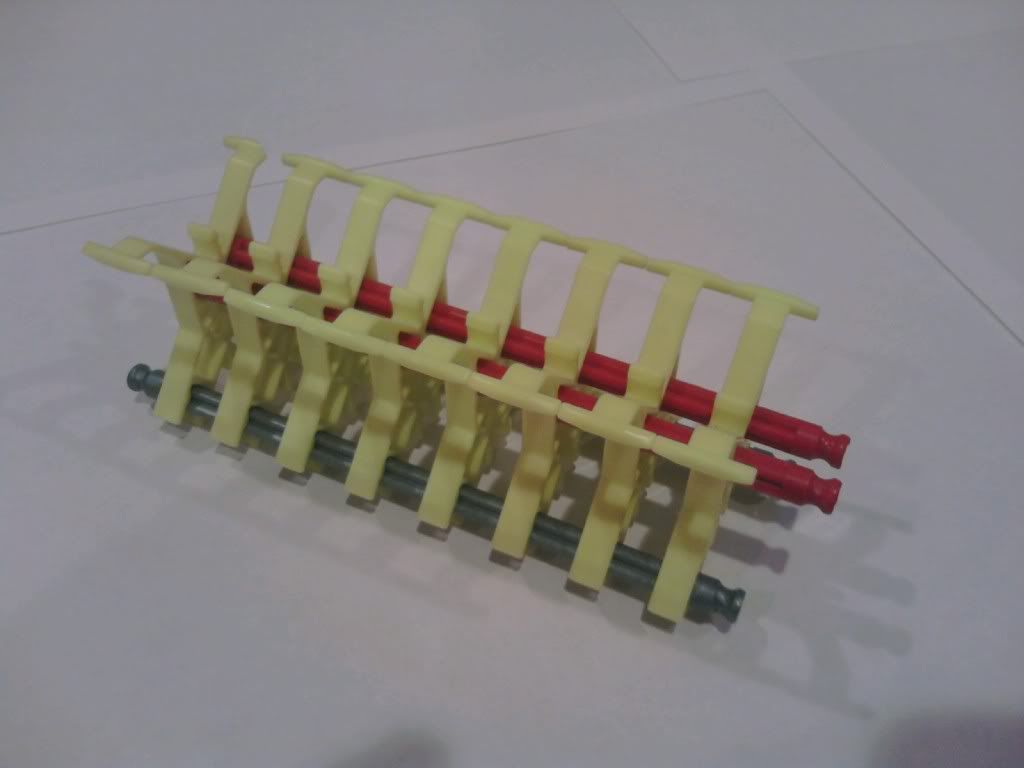
Step 4:
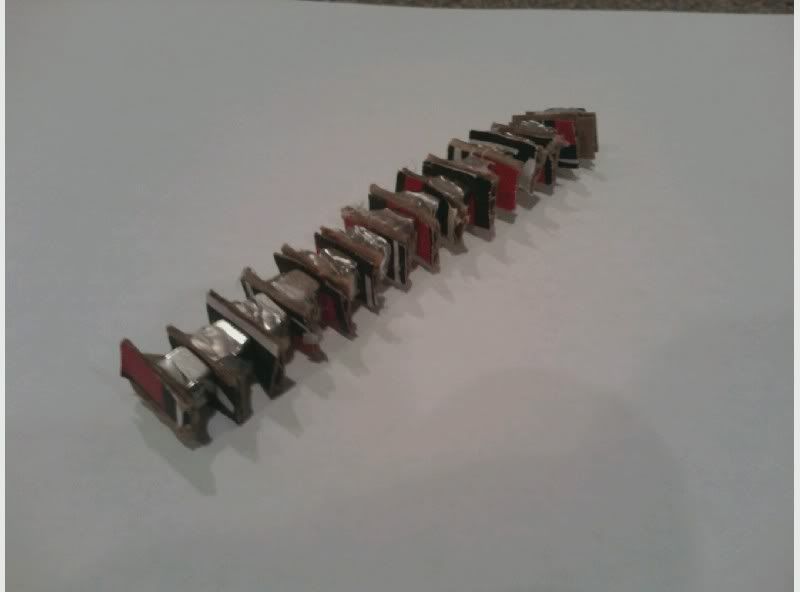
After making as many as you need, make sure to "test" to make sure that your magnets are all facing the same direction (the poles). If you did everything correct, you should have something like this so far:
Step 5:
Find the part which you need to make brakes on.
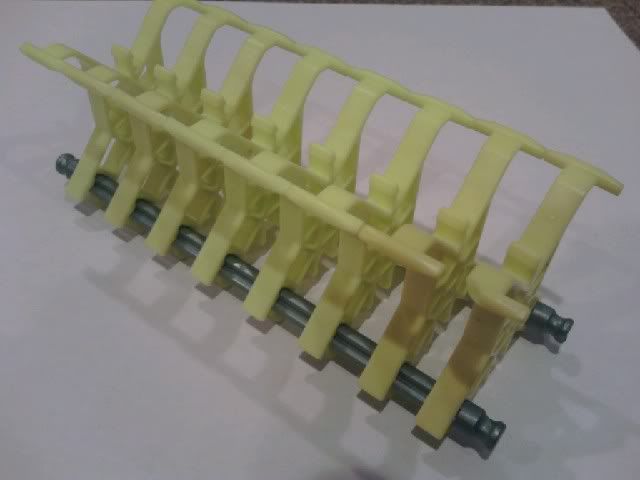
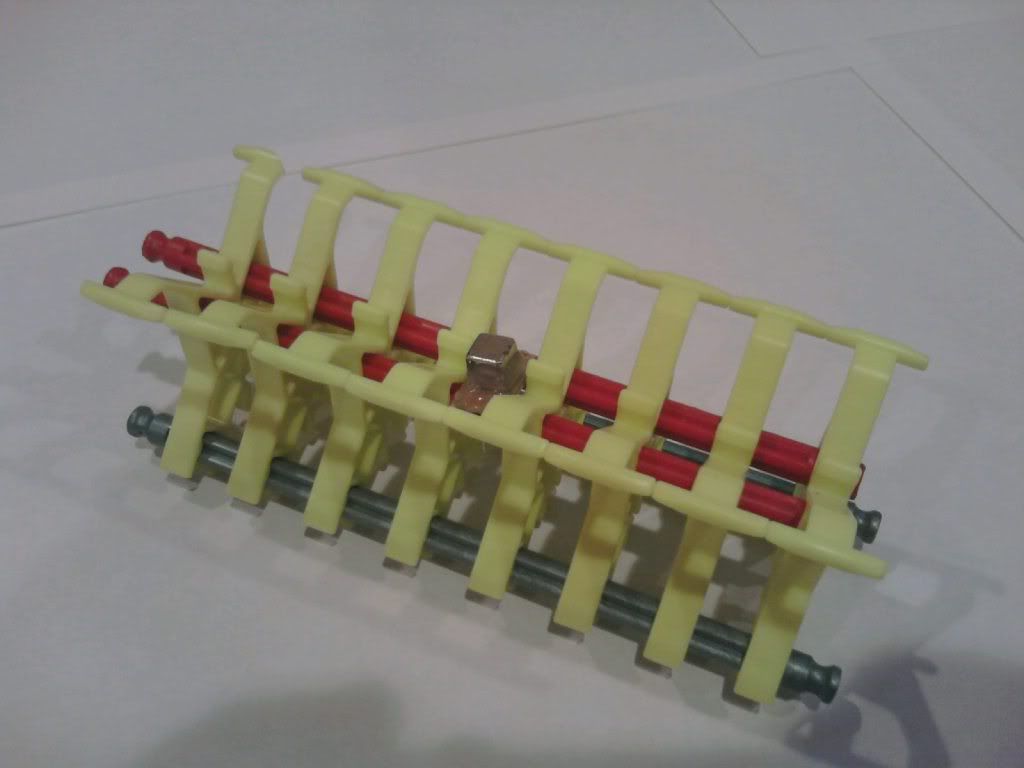
Step 6: Grab 2 of any size of rods and any type (flexi / stiff) and insert them into the top two holes of the X-ties. You can use multiple rods if necessary.
Step 7: Put a very small amount of glue onto to two parts of the rods which you will be placing the magnet on to. Place your magnet set-up onto the hot glue; if need be, place hot glue on top of the magnet and onto the X-ties directly next to it. Let the glue dry before installing the next magnet.
Part 2: Installing the magnets into a middle SS car
The parts you will need for this part of the tutorial:
- One (or more) Magnet set up created in Part 1 of this tutorial
- Hot glue gun and glue
- K'nex connectors (two orange connectors)
- Middle SS Car
Step 1: This step has no real picture, is one of the most important, and might cause some confusion so I will try my best to word it the easiest.
[/B]
Take a single magnet and let it attract to the non-cardboard part of an already built magnet set-up. While it's still connected to the prebuilt magnet (so you know which side to glue), place a small amount of hot glue on the side of the magnet that doesn't have cardboard on it (it should look like a cardboard and magnet sandwhich). By doing this, you have now created a magnet for the car (make sure you can tell the difference; ex: write on the cardboard part for the car magnet with a sharpie.) You only need to do this step for ONE car magnet.
Step 2: Use the "car magnet" to help find the correct side to glue to the cardboard and test like in Step 4 for Installing Magnets into your Track part of the tutorial.
Back to the easier-to-understand part of the tutorial:
Step 3:
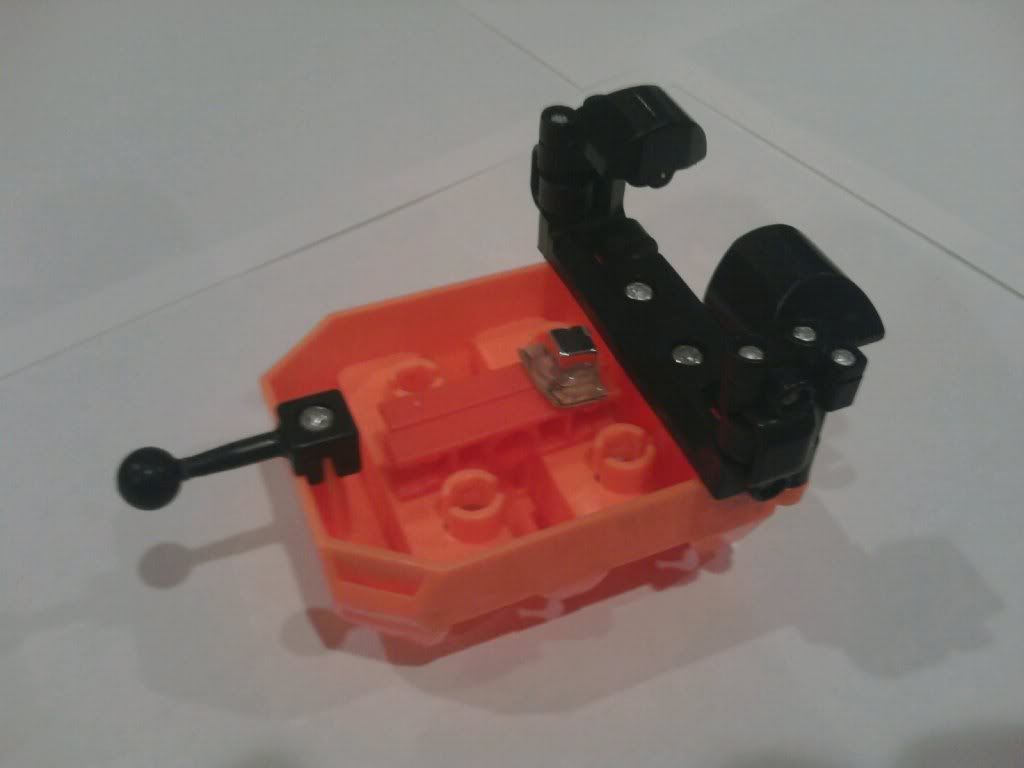
Take your middle SS car, connectors, and "car" magnets.
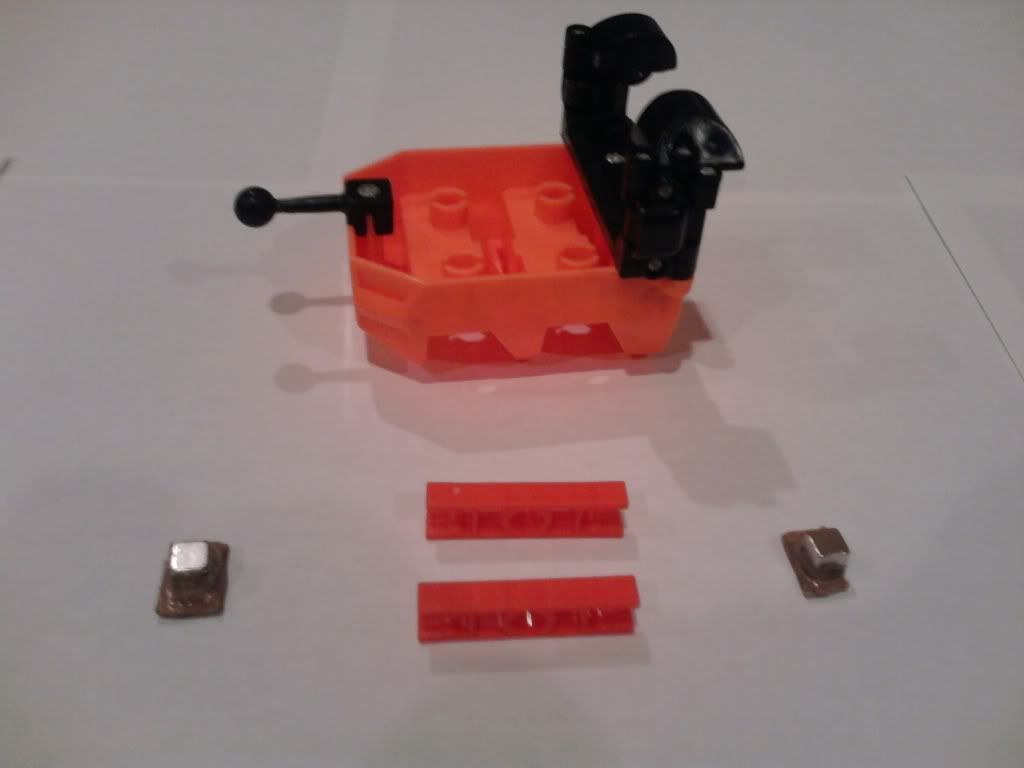
Step 4:
Place a bit of hot glue in center / back of the underneath of your car. Put your orange connectors with the connecting end facing the back of the car.
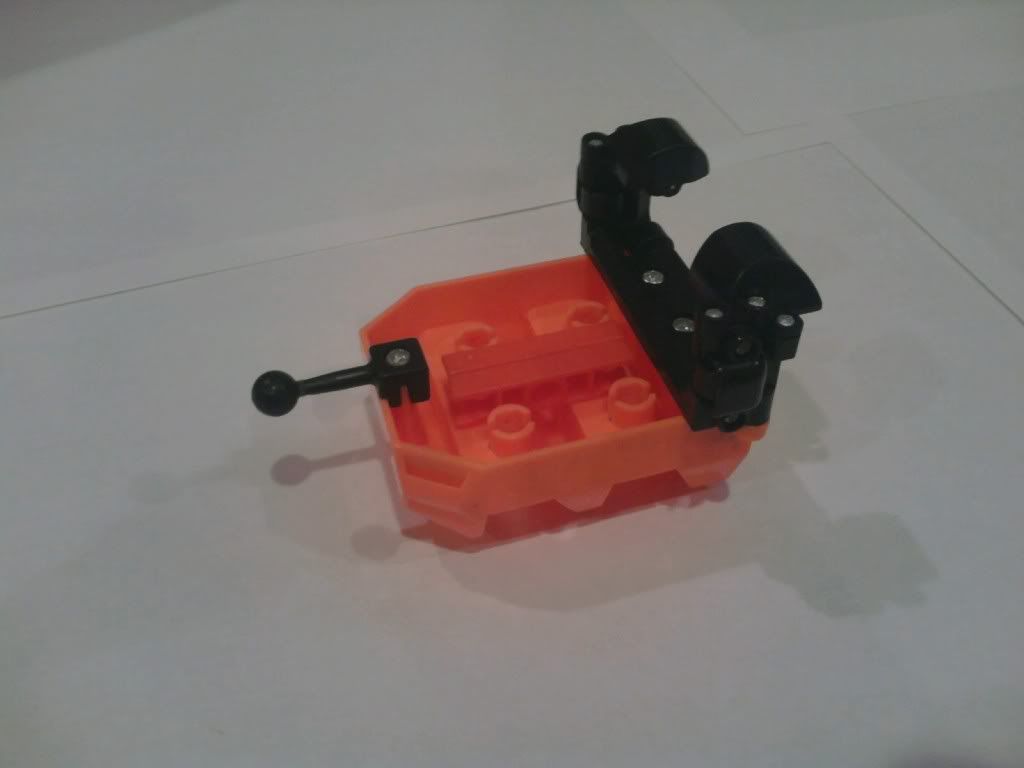
Step 5:
Glue your magnet set up. You can always add another/more magnet set-ups, but I suggest only installing one right now. You haven't tested it yet but now you can!
Part 3: Installing the magnets into a middle SS car
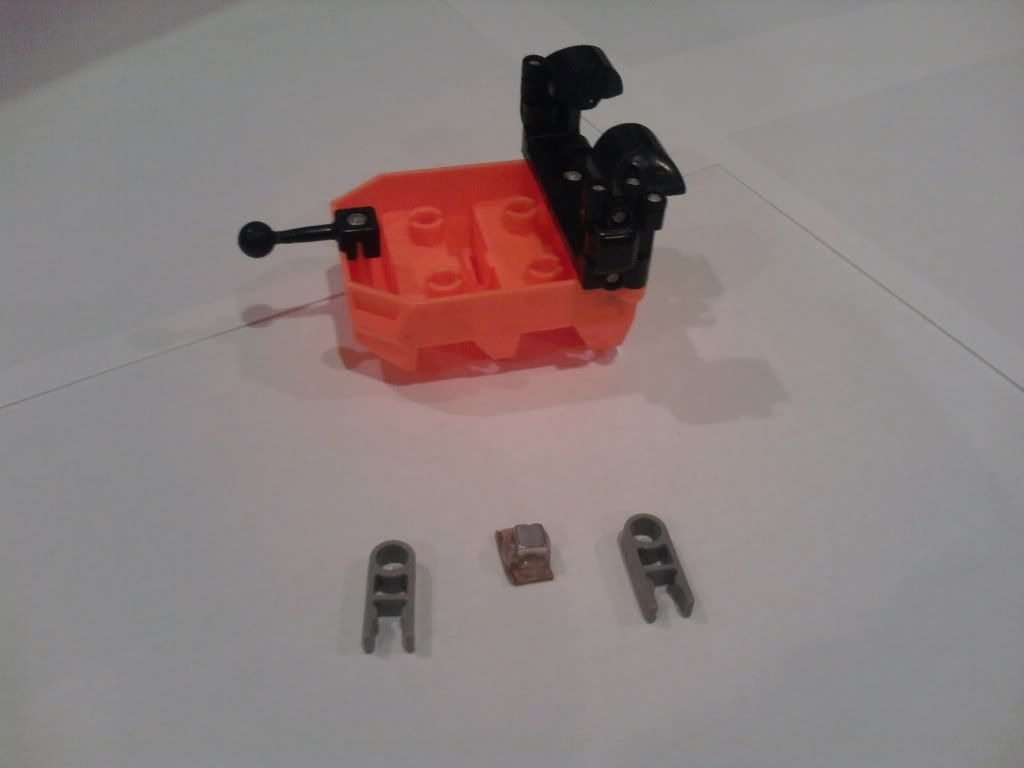
The parts you will need for this part of the tutorial:
- One Magnet set up created in Part 1 of this tutorial
- Hot glue gun and glue
- K'nex connectors (two single grey connectors)
- Middle SS Car
Step 1: Collect your front SS car, one magnet set up, and the grey connectors.
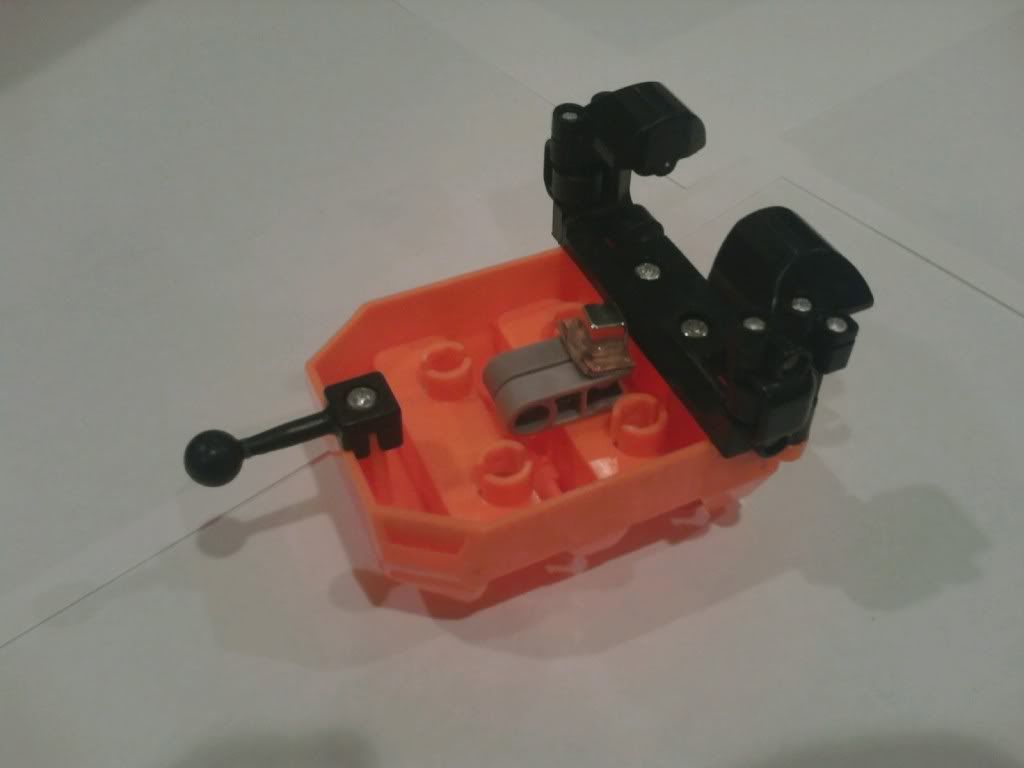
Step 2: Place a bit of hot glue in center / back of the underneath of your car. Put your grey connectors with the connecting end facing the back of the car.
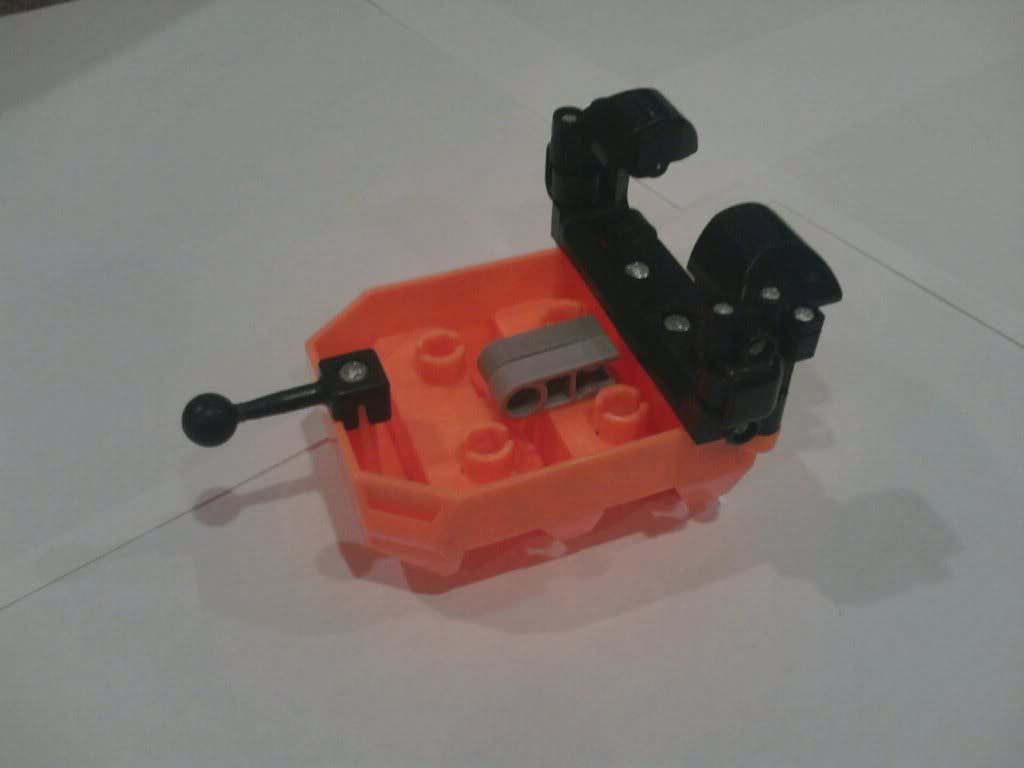
Step 3: Glue your magnet set up. You can always add another/more magnet set-ups, but I suggest only installing one right now. I suggest testing the car's magnets to ensure there are enough in the car/track.
And that's it! If you have followed the pictures and steps, you have created a working, magnetic braking system!
FAQ'S and Tips:
- Always install magnets on the track one at a time. Test after installing new magnet before installing any more.
- If your magnets are slowing down your cars, then making them speed up, your mangets are most likely facing the wrong direction. Repeat Part 1 of this tutorial
- If your magnets are coming out of the track, car, or both, place hot glue over top of the magnets. Make sure the hot glue goes over the connectors adjacent to it.
- The magnets in your car can be larger as long as they don't stick out too far and the poles face the right direction.
- As far as my testing has occured, these magnets can not be used as a launch / transport. They can be used as a chain dog if you install magnets on your lift (what I did in Orange Rush).
Again, feel free to ask any questions about any problems, tips, or suggestions you have.
Next tutorial? A braking system identical to Milli Force.
Enjoy!

 SSCoasters Moderator