Thanks for posting this RWT!!! This will be in my next coaster.
38 replies to this topic


#22

VV Khan
-

-

- 1673 posts
HI!
Posted 06 July 2009 - 10:33 AM
I'm glad he brought this back up, more people need to see it.
+-+ VV Khan +-+
[SIGPIC][/SIGPIC]
Thanks Rollerdude!^
[acexxaced] 8:03 pm: why couldnt suzy tide a bike?
[acexxaced] 8:03 pm: *ride
[VV Khan] 8:03 pm: dunno
[RollerBoaster] 8:03 pm: She broke her leg
[acexxaced] 8:03 pm: because she had no legs
[Jplaz] 8:03 pm: shes a woman
Jplaz = Win.
[SIGPIC][/SIGPIC]
Thanks Rollerdude!^
[acexxaced] 8:03 pm: why couldnt suzy tide a bike?
[acexxaced] 8:03 pm: *ride
[VV Khan] 8:03 pm: dunno
[RollerBoaster] 8:03 pm: She broke her leg
[acexxaced] 8:03 pm: because she had no legs
[Jplaz] 8:03 pm: shes a woman
Jplaz = Win.
All the cool kids have cancer.
#23
JohnMillerFan96
-

- 144 posts
A.K.A: RCT3Dude96
#24
RightWayTrey
-
-
- 702 posts
Automatic or nothing
Posted 06 July 2009 - 08:43 PM
If you mean to pull the train into the station instead of using a tire drive like I did in the video, then yes, that will work fine. But if the chain pulls the train all the way out of the station without stopping, IMO it defeats the point of the automatic station gates.could you use a chain to get the car through the station?
I tried to build this, but I didn't have ANY of the pieces like half way through. I'm using this so I can build a simpler one for those who only have Screamin' Serpent pieces. This was great! Thanks RWT!
Yeah, it does use a lot of pieces that aren't in the SS. That would be great if you could make it with just SS pieces!
I will add on to the tutorial a way to get the train out of the station sometime after I finish the corkscrew. For now I'll tell you a couple ways you can do it and give a pic of how I did it on the Corkscrew.
1. If you're using two trains you can just have one train push the other out.
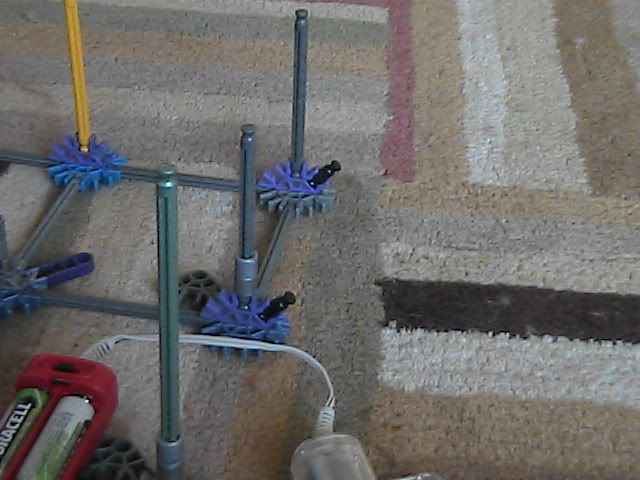
2. You can add a rotating arm on the station gates which hits an automatic switch (see "Auto on/off Switch" in sig) just before the motor powering the gates shuts off.
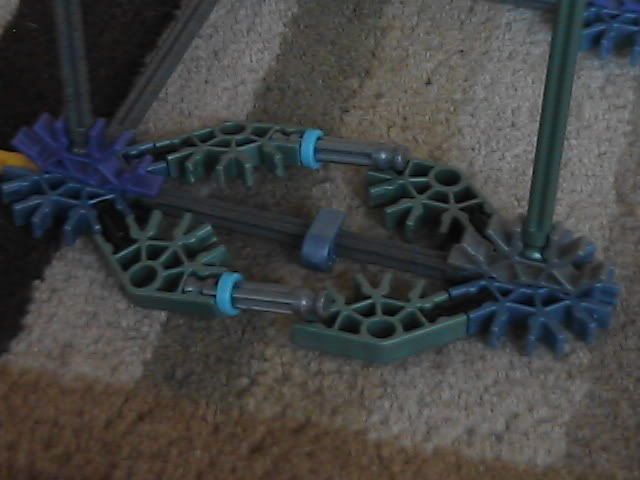
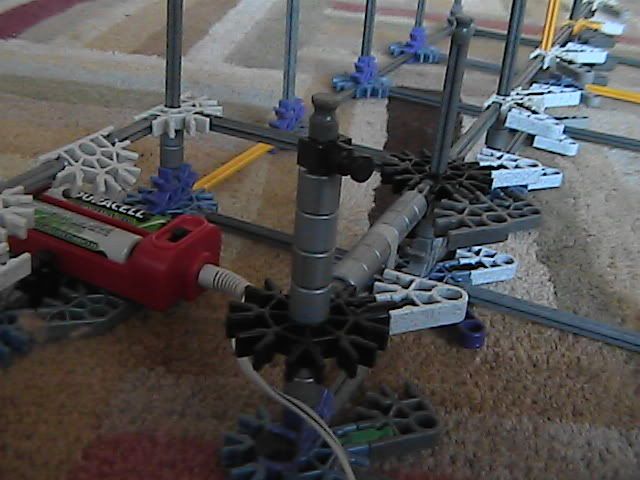
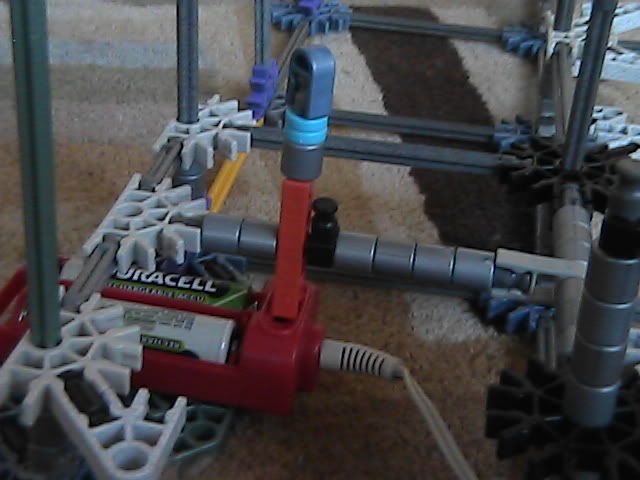
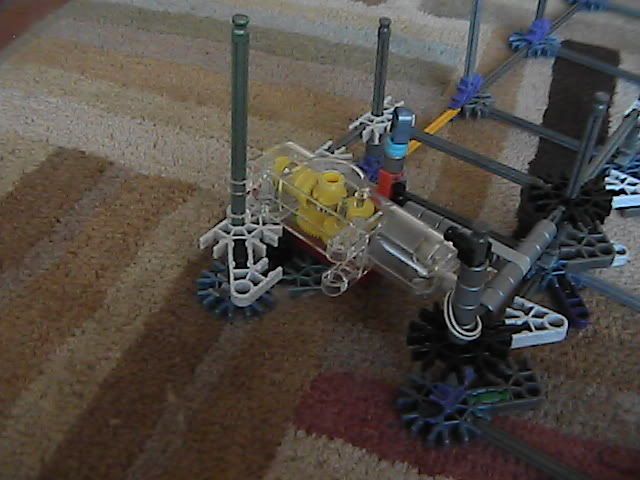
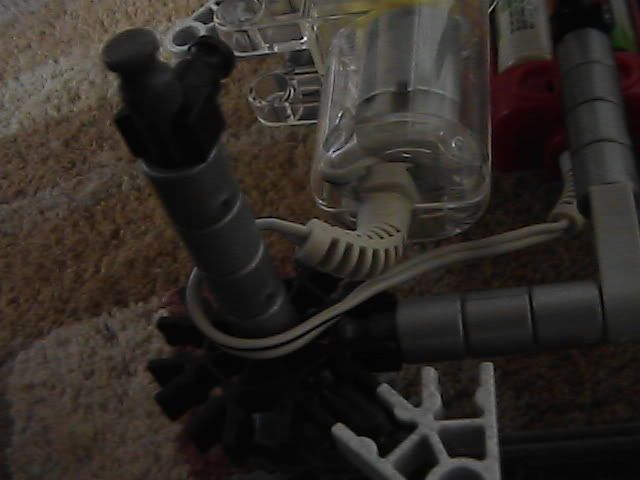
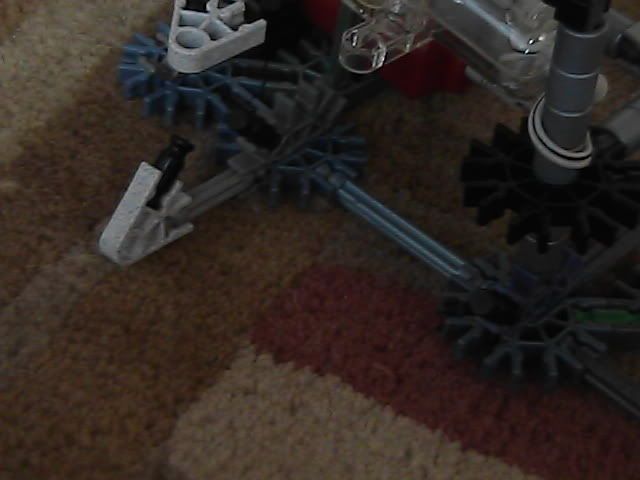
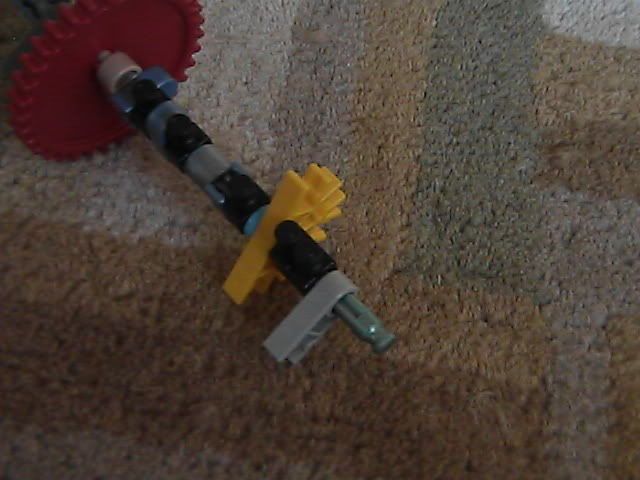
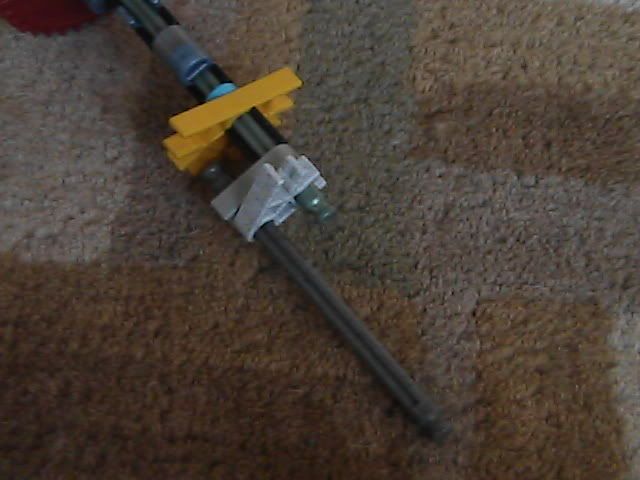
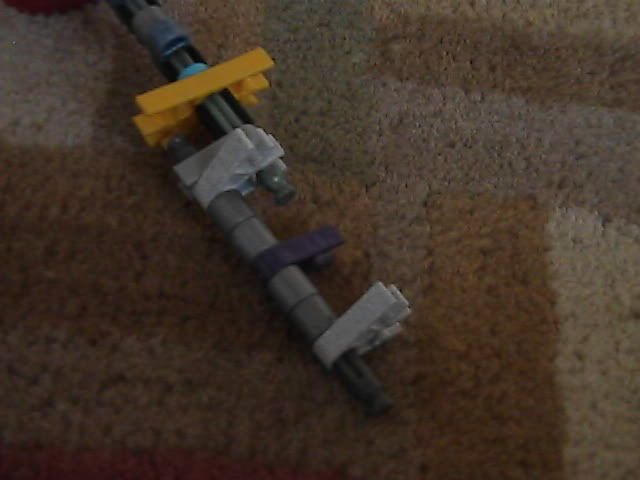
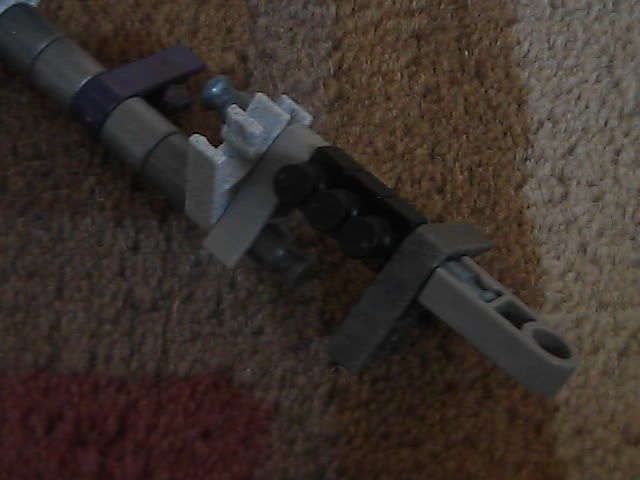
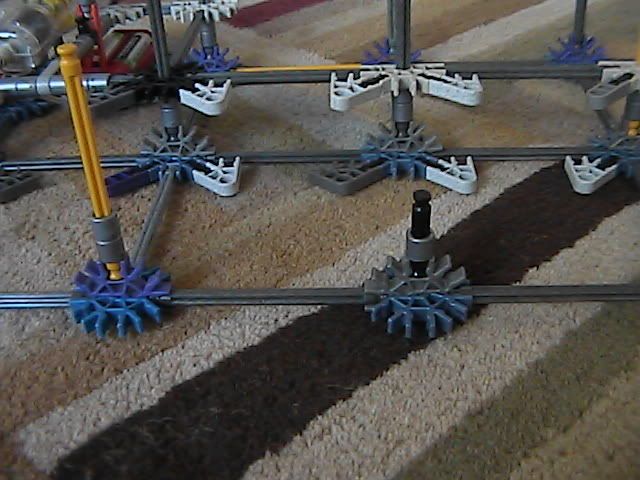
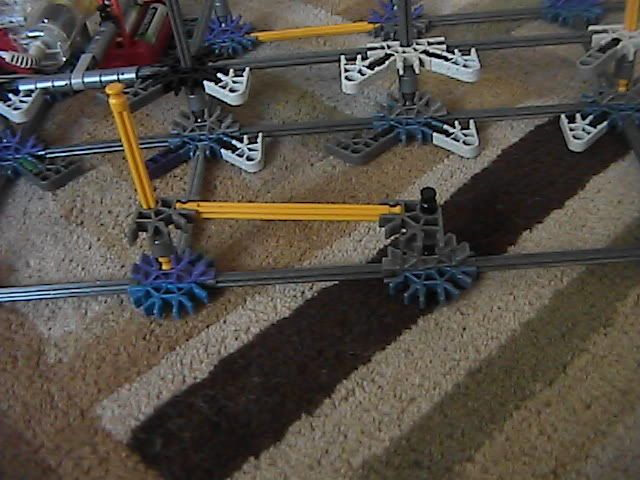
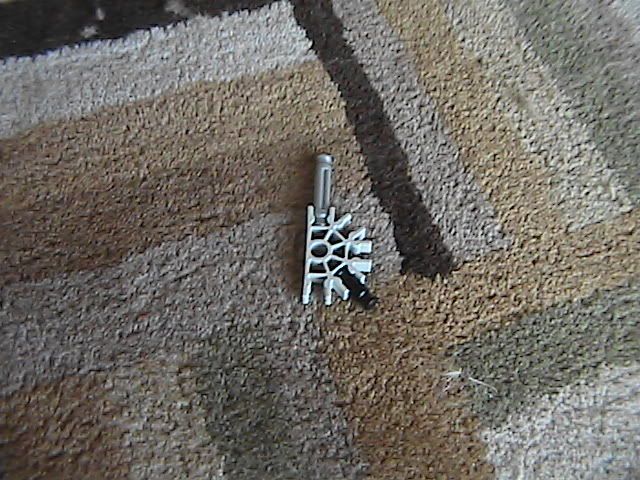
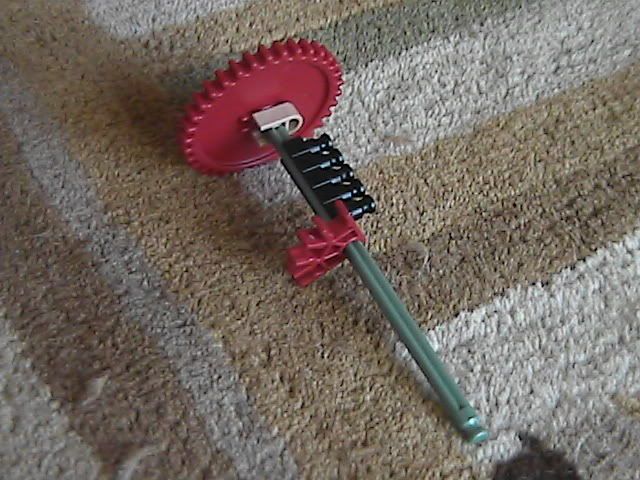
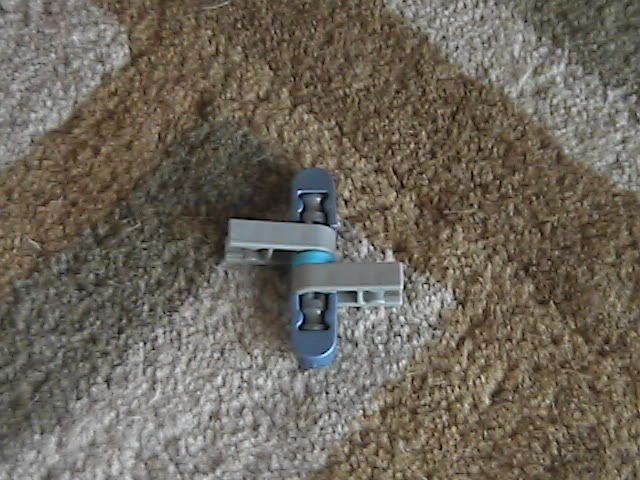
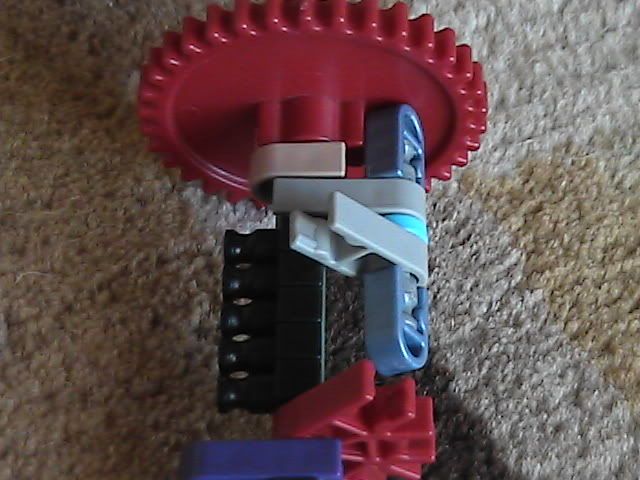
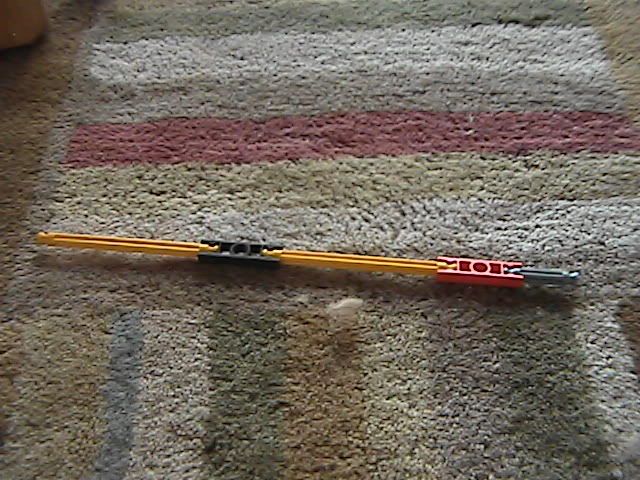
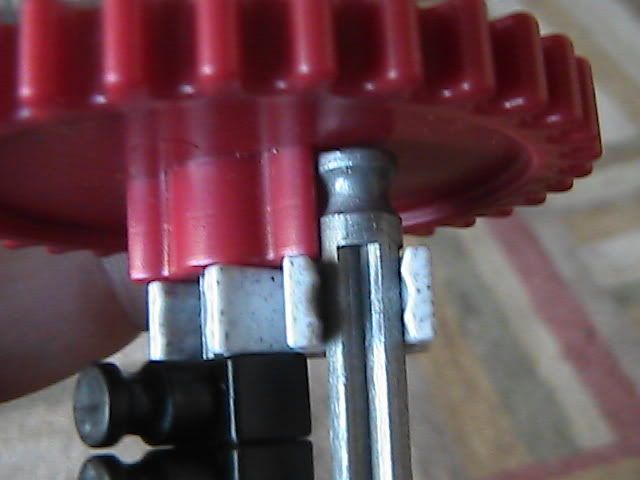
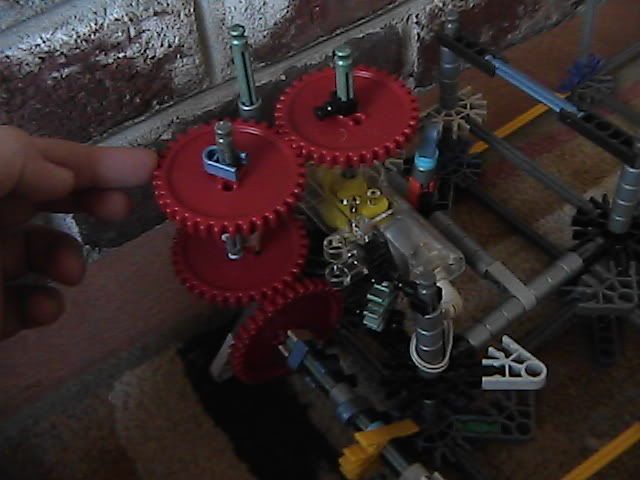
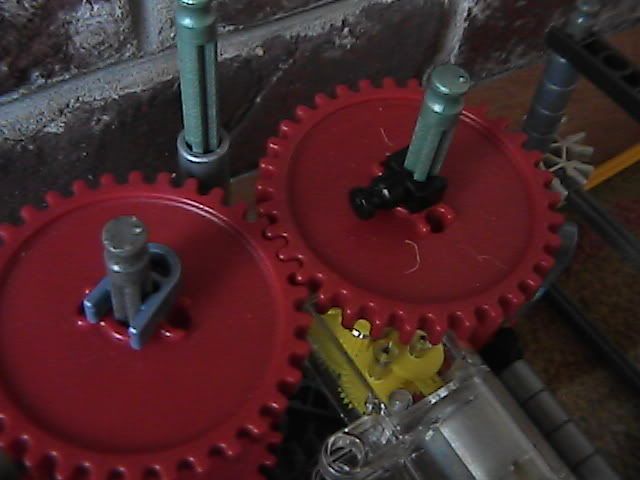
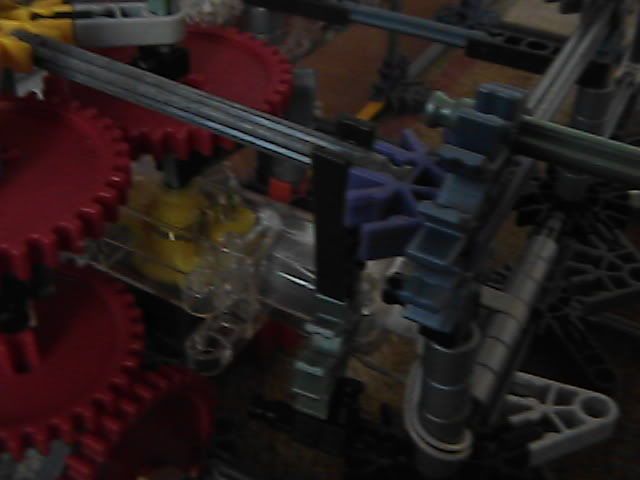
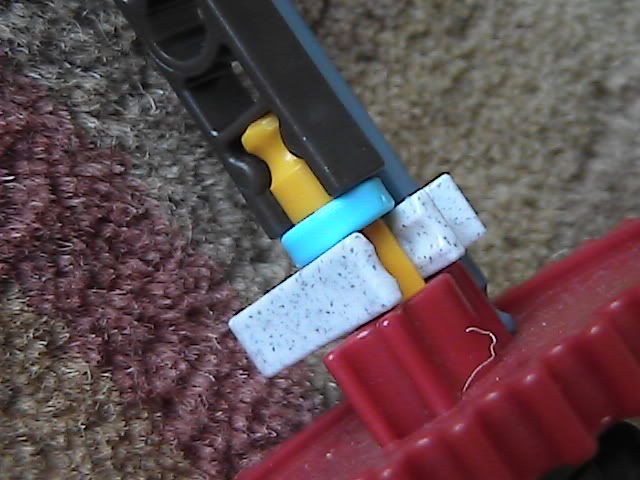
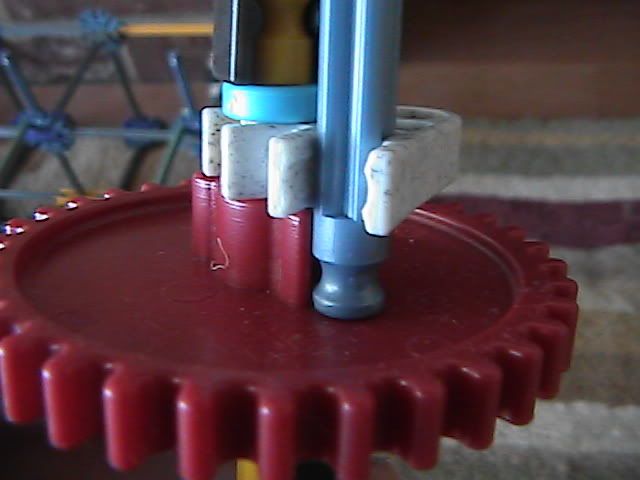
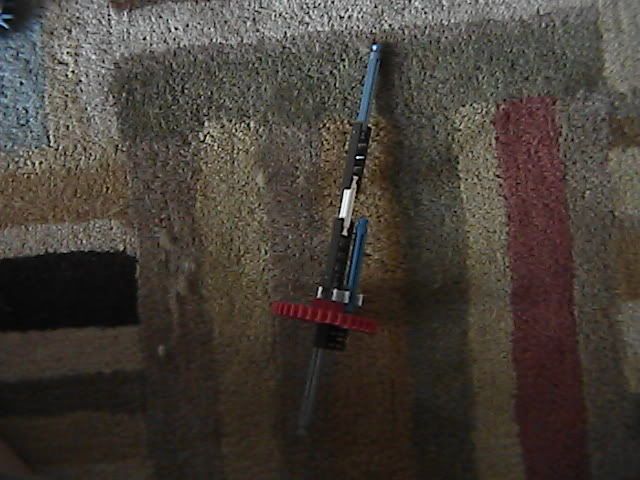
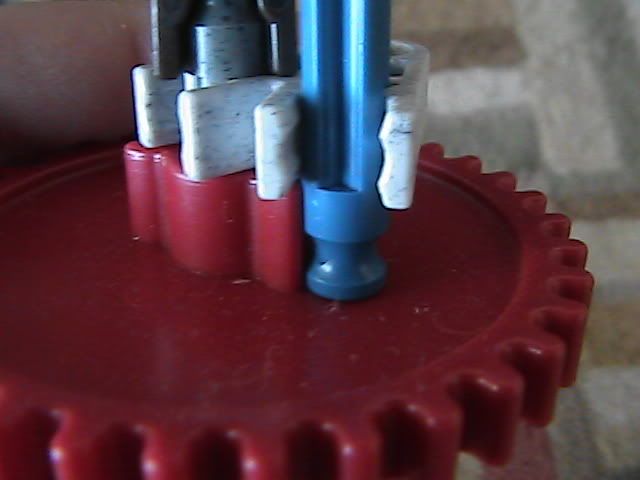
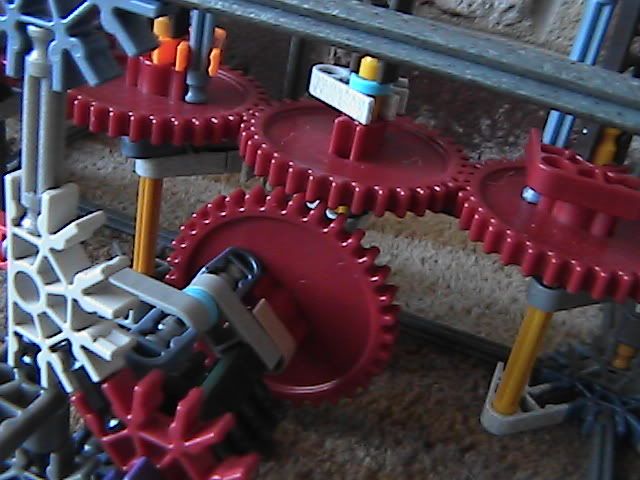
Here's a pic:

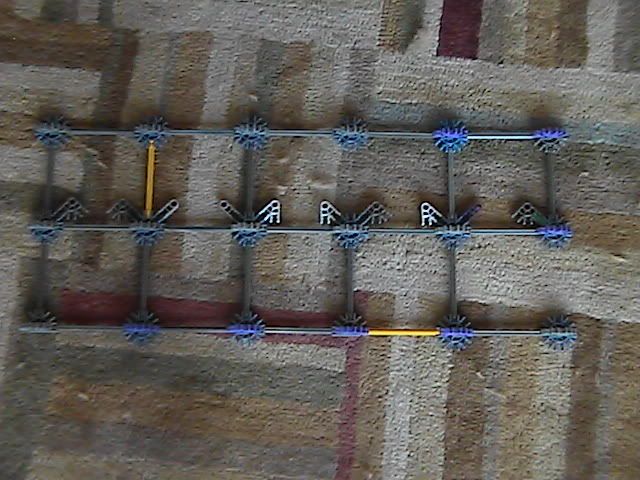
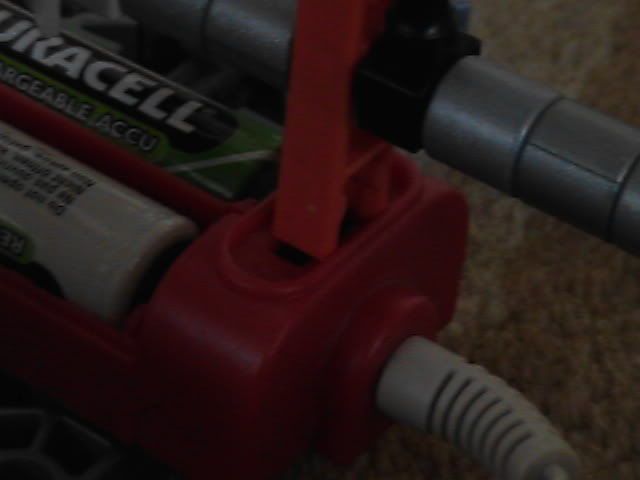
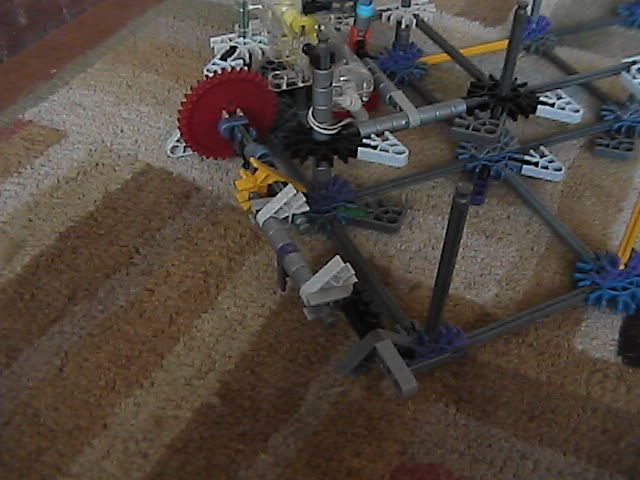
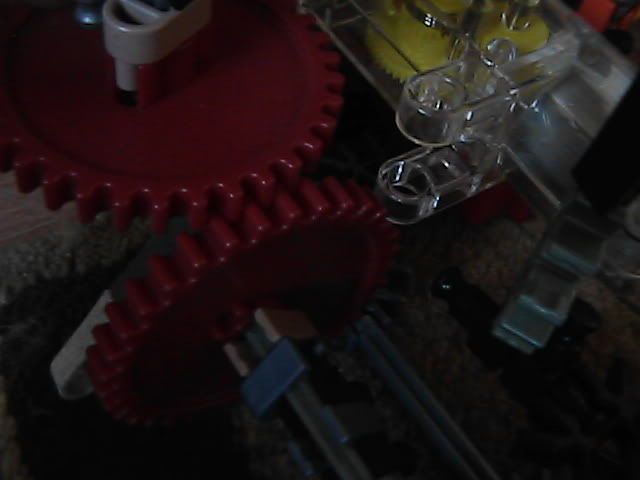
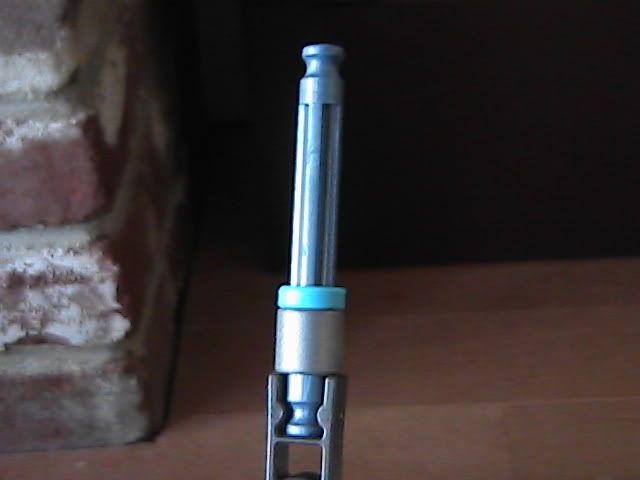
The piece in the blue circle is turned by the motor that powers the gates. It turns on the red motor in the picture, and the piece in the red circle, which is powered by the motor in the picture, turns the motor off.
If what I wrote is too confusing, All I did was have a rotating arm on the station gates motor turn on an automatic switch. Then just hook up this automatic switch to a chain or tire drive in the station.
And if you still don't get what I'm saying, wait for the tut I'm gonna make.

Valleyfair Recres:..........My Tutorials:......
................Steel Venom................Automatic Station Gates.......
..........Corkscrew...................Automatic Drill Launch....
...Round About................Auto on/off switch..
#25
big builder145
-

-
- 384 posts
Build'n Big
Posted 07 July 2009 - 01:06 PM
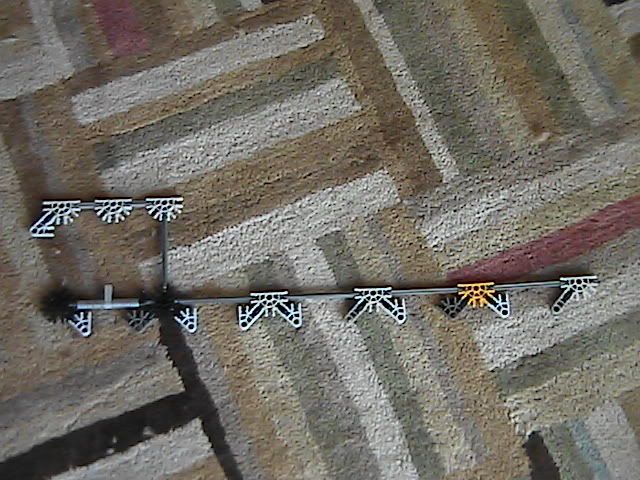
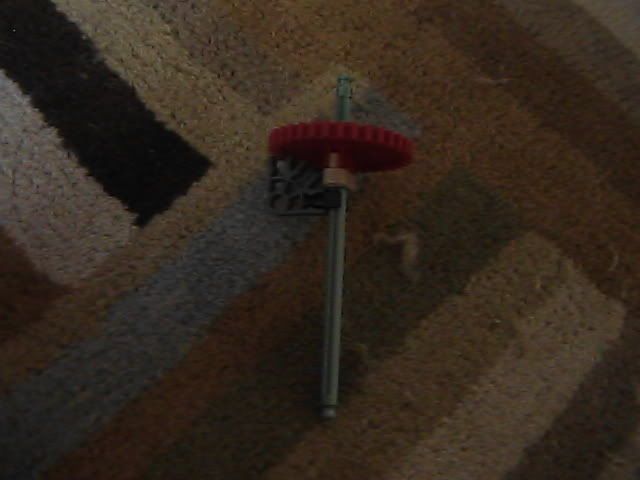
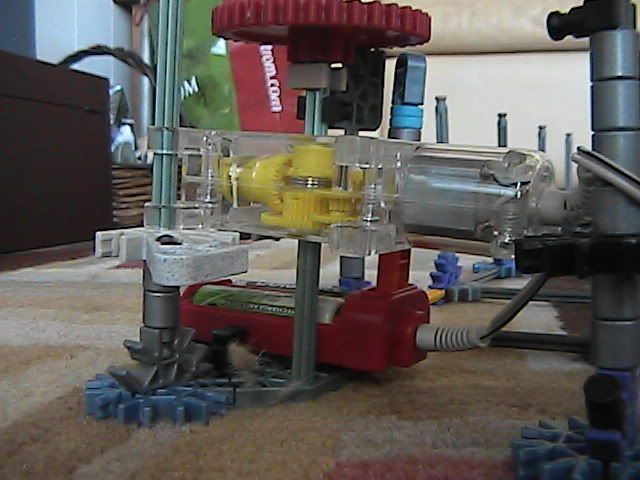
I think that this is the easiest way of making it automatic. Is just by adding a few gears and a chain you could use a tire drive for this
How it works is by the orange gear that only has teeth on half of it is controlling when the chain moves so when it is not meshing with the other gear the chain doesn’t move but otherwise it dose.


How it works is by the orange gear that only has teeth on half of it is controlling when the chain moves so when it is not meshing with the other gear the chain doesn’t move but otherwise it dose.
[SIGPIC][/SIGPIC]
92% of teens have moved on to rap. If you are part of the 8% that still listen to real music copy and paste this into your sig.
#26
RightWayTrey
-
-
- 702 posts
Automatic or nothing
Posted 07 July 2009 - 02:12 PM
^ I see a couple problems with that.
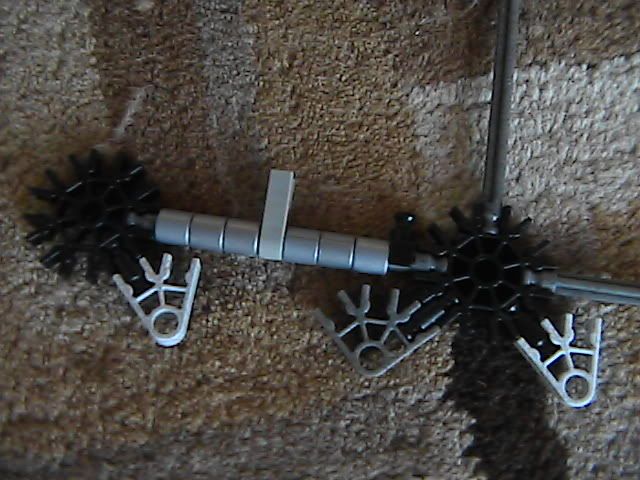
1. The orange gear will not turn an exact amount of turns, causing the teeth to always end up in different places. This means the time when the chain moves the train out of the station will always vary.
2. It allows very little time for the train to move into place before the gates open. For those who don't know, for half of the motor's rotation the gates stay shut, this half rotation can be put before or after the gates open and shut. Using your way, the half rotation has to be put after the gates open and shut, which means the gates will immediately start opening after the motor turns on. This means the train will have no time to get into the station before the gates open. The auto gates will still work, the train just won't be there the whole time they're open (which isn't a very long time).
Valleyfair Recres:..........My Tutorials:......
................Steel Venom................Automatic Station Gates.......
..........Corkscrew...................Automatic Drill Launch....
...Round About................Auto on/off switch..
#27
big builder145
-
-
- 384 posts
Build'n Big
Posted 07 July 2009 - 07:46 PM
^yeah i noticed those problems too. It was a quick fix (I came up with it in like an hour) and It isn't very reliable so I wasn't able to use it in my final vid. of Flash. The car just doesn't stop in the same place every time.
[SIGPIC][/SIGPIC]
92% of teens have moved on to rap. If you are part of the 8% that still listen to real music copy and paste this into your sig.
#28
JohnMillerFan96
-
- 144 posts
A.K.A: RCT3Dude96
Posted 30 August 2009 - 01:22 PM
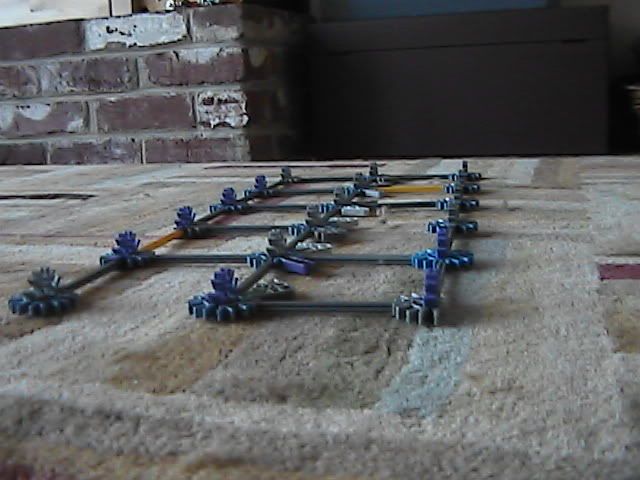
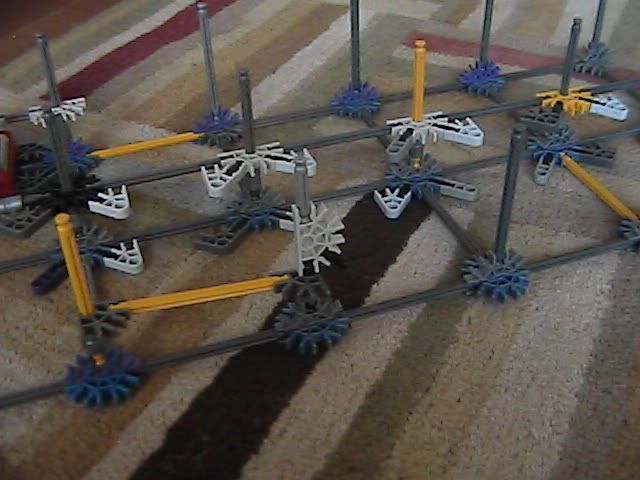
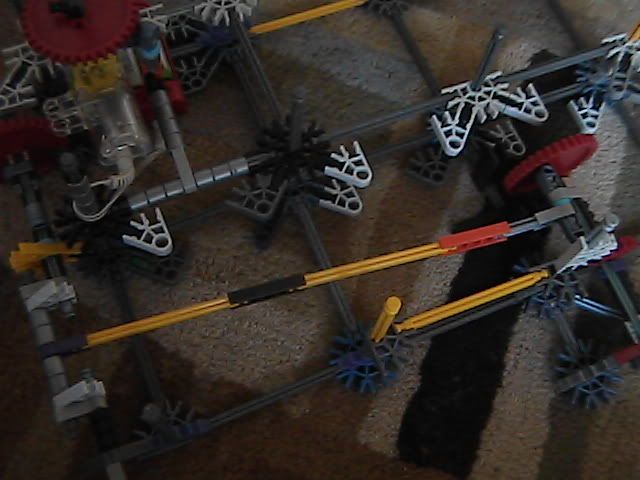
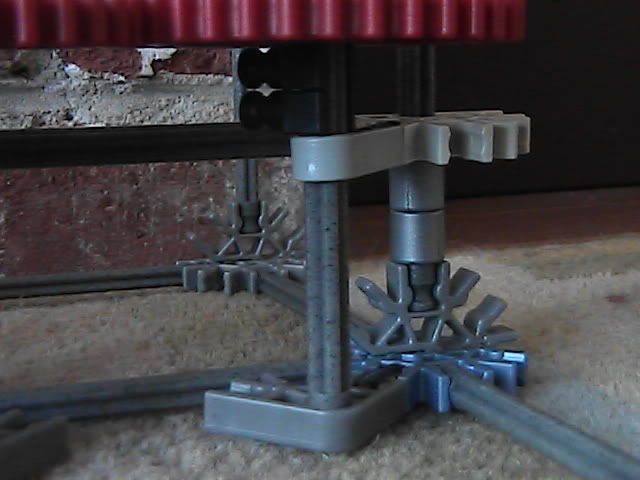
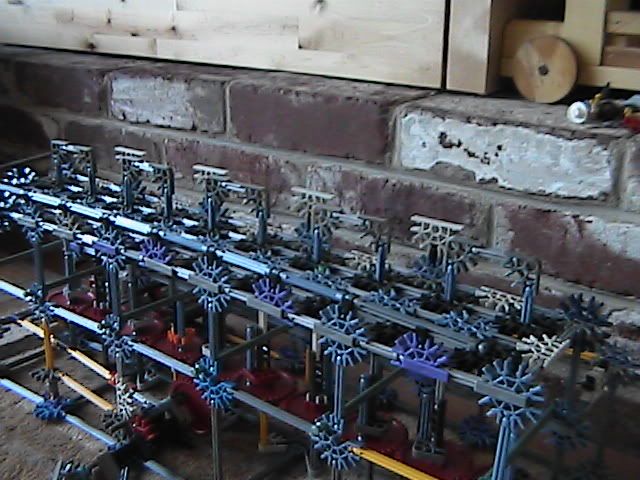
Okay, I've made a way to make station gates with pieces from only the Screamin' Serpent set. Note: I used about four screamin serpents and one rippin rocket, but they still have the same pieces, only their color is different.
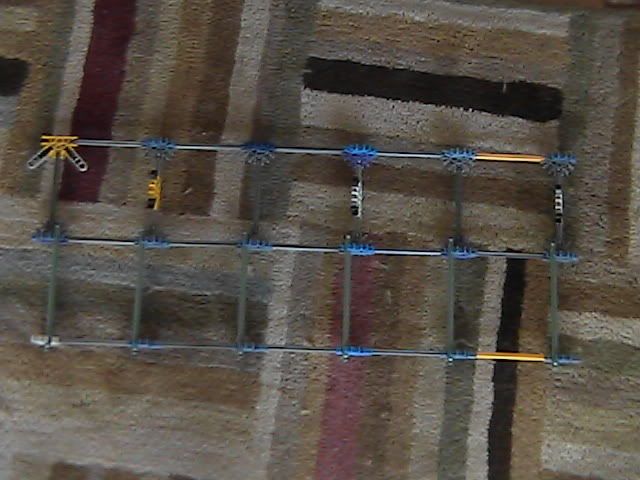
To start, build this:
Next, you must add grey or yellow rods to all of the 3D connectors exept the one in the picture with half a gray rod, and in the bottom right corner with the metallic green rod.

Add this to the bottom right section of the base.
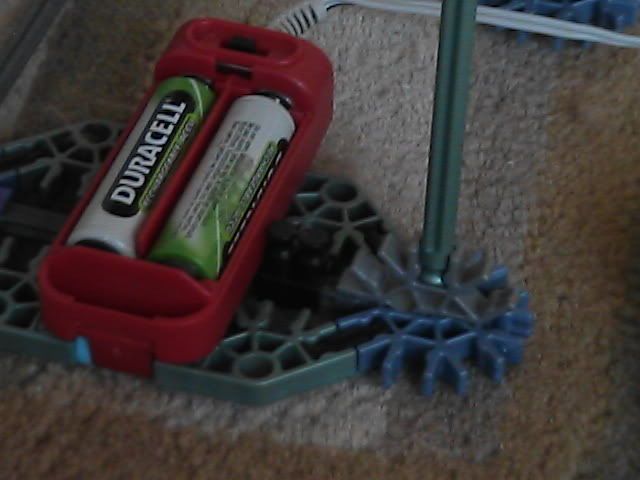
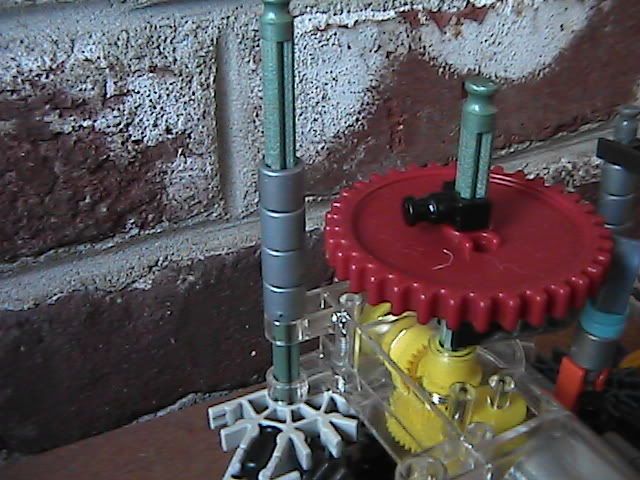
Place the battery pack in. Note that the round edged motor works but not the square edge. Be sure to add the two black pieces on the side.
Add spacers as shown.
Add two black pieces to the right side of the base.
Build one of these.
Place spacers as shown:
Place on top of base.
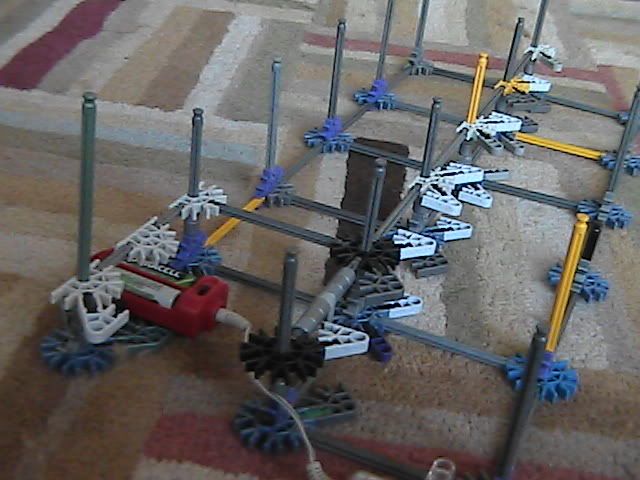
Place spacers as shown:
Make this.
Place over battery pack.
Make sure the connector is interlocked with the battery pack switch.
Place motor into green rod.
Make sure the cord is wrapped around this rod shown here:
Next, build this once:
Place into motor and hole in the bottom.
Add this to the bottom right corner on the base.
Construct this in order. Place spacers as shown:
Place as shown. Make sure all loose pieces connect with base.
Add these spacers.
Build this:
And place onto this:
Build this:
And place on to this:
Build this next to where you put the latest construction.
Build this and save it for later.
Now construct this. Place spacers as shown:

Place as shown. Make sure all loose connectors are attached to structure.
Build this:
And connect to these as shown. Also, take the gray rod with black connectors and place it under the rod build erlier in the empty space.
Place spacers as shown:
Add spacers and blue rod and black connectors.
Build this:

Place as shown:

Build this: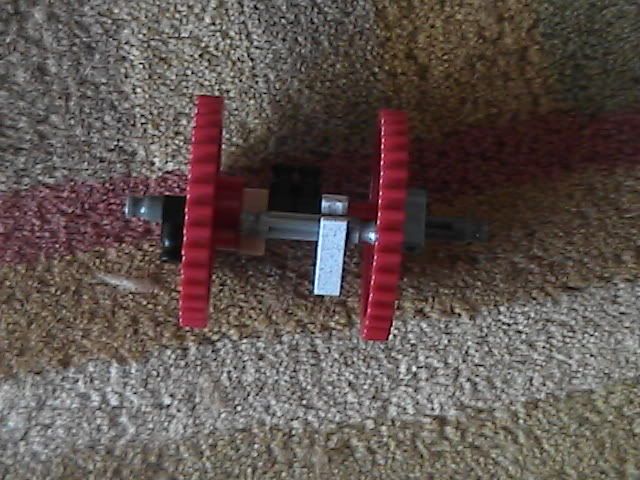
Make sure rod is placed correctly:
Place as shown and hold it there.
Make sure gears mesh:
Next, build this:
Place on top of structure:
Add spacers as shown:
Make sure black connector is attached to the gray rod.
Make sure to add connector to the top of the rod.

Add blue rods:
Build this:
Make sure spacers are placed correctly:
Make sure rod is placed correctly:
Place here and make sure the gears mesh: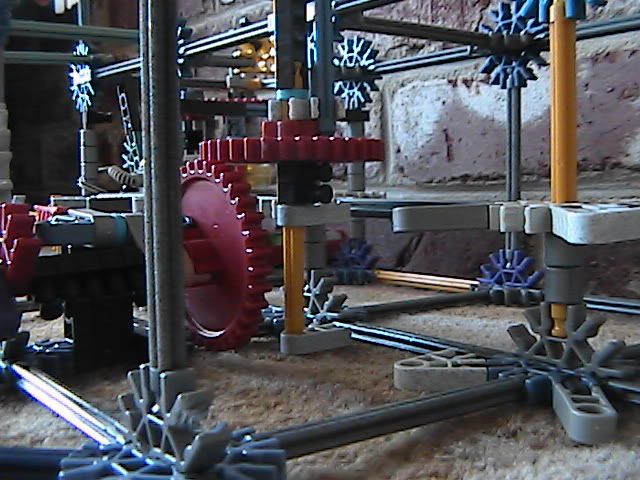
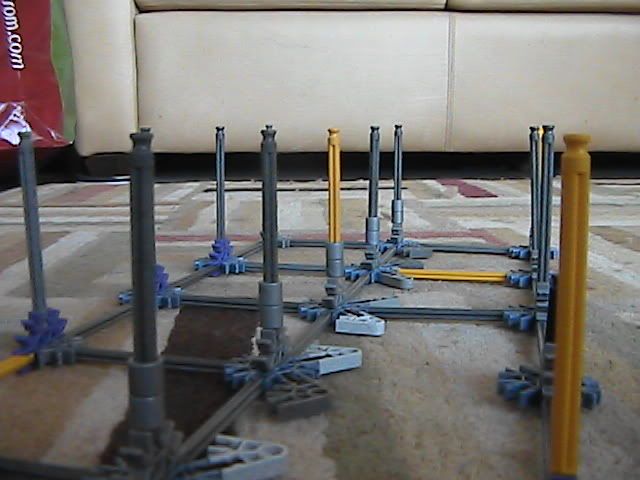
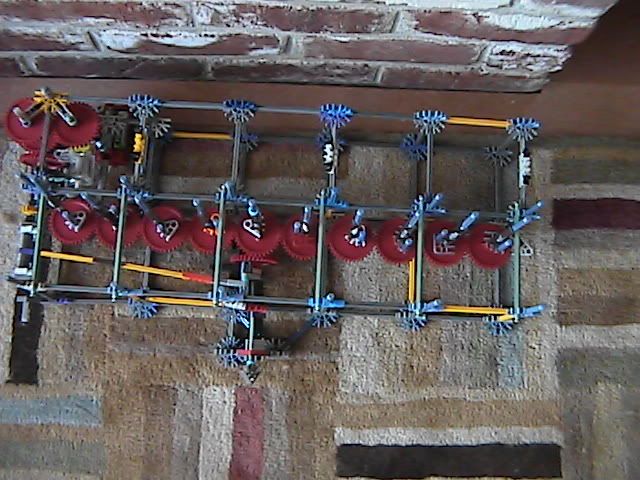
Make nine of these:
Make sure rod is placed correctly:
Place in both the bottom holes and the second holes in the middle:
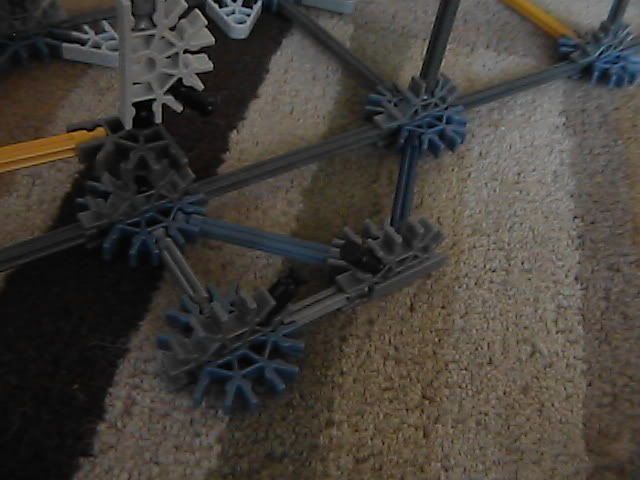
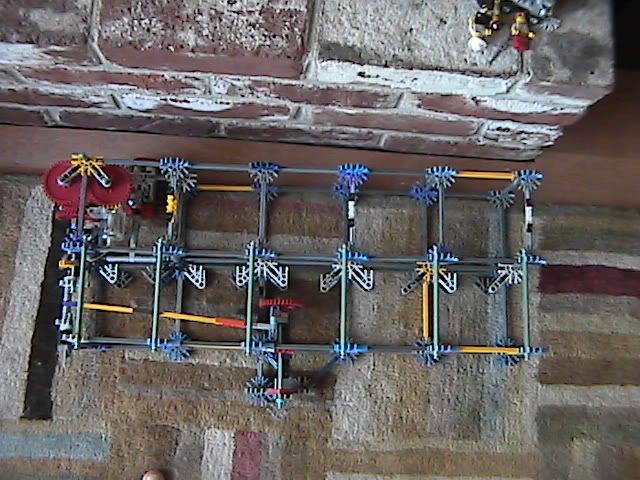
It should look like this, and all gears should mesh:
Before placing the floor on, make sure these two gears mesh tightly:
When you place your floor onto the structure, the rods attached to the gears MUST go through open holes like this:
Your floor will be supported by 3D connectors attached to the blue rods.
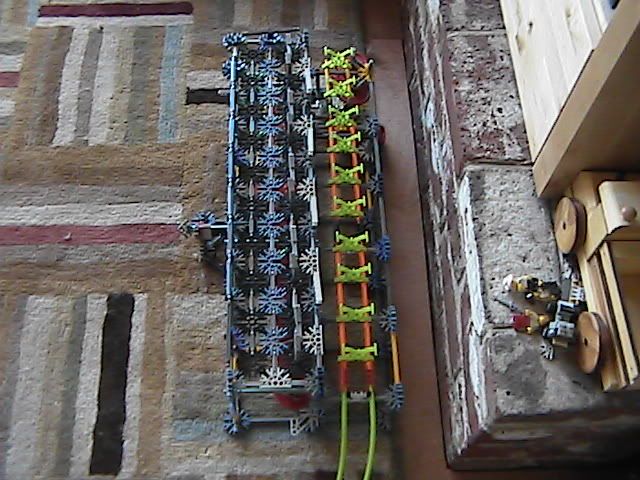
Now, add gates:
Add track:
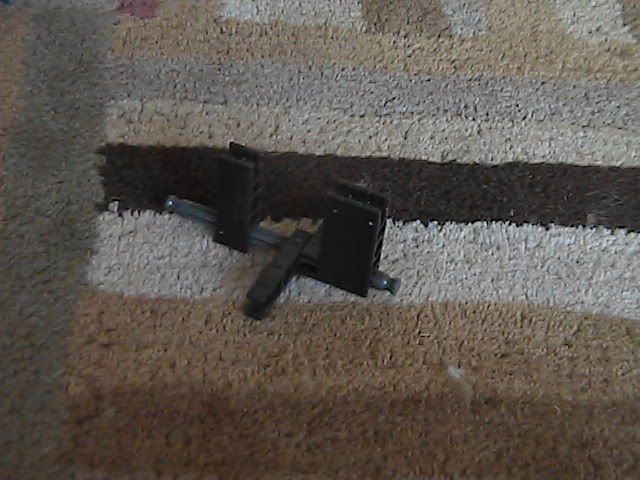
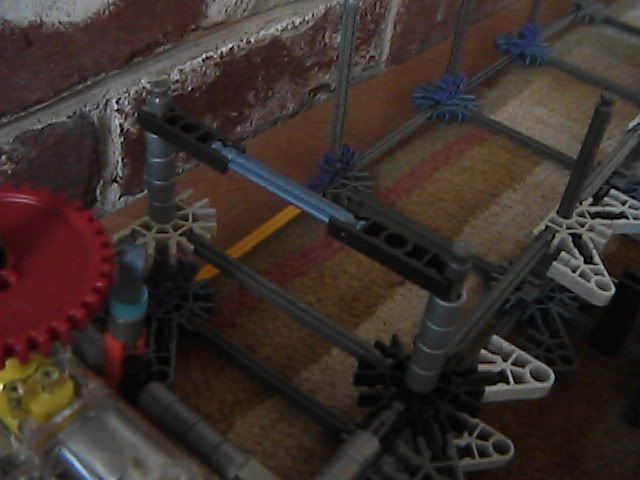
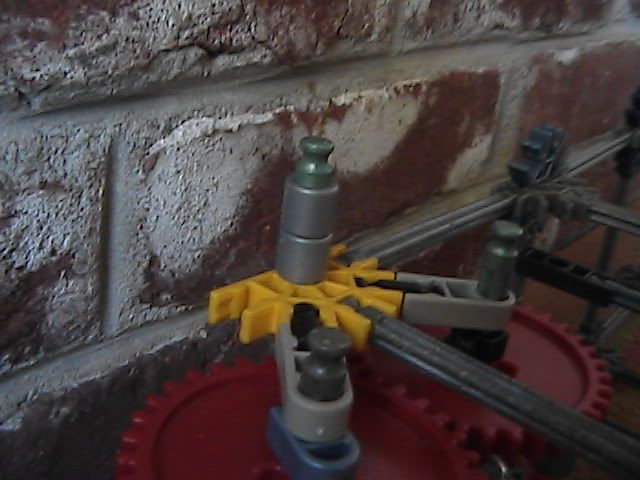
To activate the gates, push the lever here towards the motor:
The rod in the motor will shut it off. Be sure the long rod's extension faces to the right of the structure. Push lever once. When it turns off, adjust the gates so they're closed. Turn it on again, and it should give you a quick open-close action. If anyone wants a video, it will take a while to make, but I'll make it! Thanks for viewing!:tmbs
To start, build this:
Next, you must add grey or yellow rods to all of the 3D connectors exept the one in the picture with half a gray rod, and in the bottom right corner with the metallic green rod.
Add this to the bottom right section of the base.
Place the battery pack in. Note that the round edged motor works but not the square edge. Be sure to add the two black pieces on the side.
Add spacers as shown.
Add two black pieces to the right side of the base.
Build one of these.
Place spacers as shown:
Place on top of base.
Place spacers as shown:
Make this.
Place over battery pack.
Make sure the connector is interlocked with the battery pack switch.
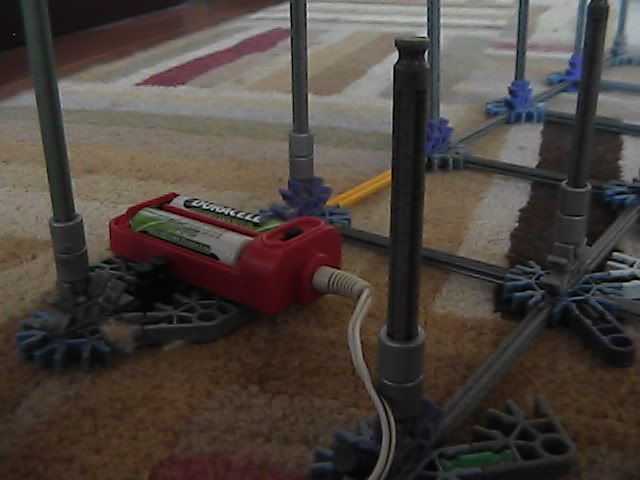
Place motor into green rod.
Make sure the cord is wrapped around this rod shown here:
Next, build this once:
Place into motor and hole in the bottom.
Add this to the bottom right corner on the base.
Construct this in order. Place spacers as shown:
Place as shown. Make sure all loose pieces connect with base.
Add these spacers.
Build this:
And place onto this:
Build this:
And place on to this:
Build this next to where you put the latest construction.
Build this and save it for later.
Now construct this. Place spacers as shown:
Place as shown. Make sure all loose connectors are attached to structure.
Build this:
And connect to these as shown. Also, take the gray rod with black connectors and place it under the rod build erlier in the empty space.
Place spacers as shown:
Add spacers and blue rod and black connectors.
Build this:
Place as shown:
Build this:
Make sure rod is placed correctly:
Place as shown and hold it there.
Make sure gears mesh:
Next, build this:
Place on top of structure:
Add spacers as shown:
Make sure black connector is attached to the gray rod.
Make sure to add connector to the top of the rod.
Add blue rods:
Build this:
Make sure spacers are placed correctly:
Make sure rod is placed correctly:
Place here and make sure the gears mesh:
Make nine of these:
Make sure rod is placed correctly:
Place in both the bottom holes and the second holes in the middle:
It should look like this, and all gears should mesh:
Before placing the floor on, make sure these two gears mesh tightly:
When you place your floor onto the structure, the rods attached to the gears MUST go through open holes like this:
Your floor will be supported by 3D connectors attached to the blue rods.
Now, add gates:
Add track:
To activate the gates, push the lever here towards the motor:
The rod in the motor will shut it off. Be sure the long rod's extension faces to the right of the structure. Push lever once. When it turns off, adjust the gates so they're closed. Turn it on again, and it should give you a quick open-close action. If anyone wants a video, it will take a while to make, but I'll make it! Thanks for viewing!:tmbs
#29
DDRman732865
-

-

- 5251 posts
Going Back for Master's for some reason
Posted 30 August 2009 - 09:50 PM
This isn't your thread. Just because it's the same thing does not give you the right to post it here. You need to make your own thread for it.
Also, the way you have you station gates, they won't open. i really hope, for your sake, that that was on purpose. Decent tutorial, I guess, but I'd rather go with the automatic one.
Also, the way you have you station gates, they won't open. i really hope, for your sake, that that was on purpose. Decent tutorial, I guess, but I'd rather go with the automatic one.

The Jungle Beast Luminous Infernal Hurricane Forbidden Mine Expedition Sleigh Ride Volcanic Doomfire Rorschach Terminator: Clash of the Machines Rock'n'Rolla
#30
~stεεlspectrum~
-

-

- 7526 posts
You ready to ride the Fist O' Pain?
Posted 30 August 2009 - 10:45 PM
I agree...I'd rather go with RWT's fully automatic gates, though yours (JohnMillerFan) are fairly nice. On Leviathan though, I'm just using a Lego Mindstorms, which is a lot simpler. But if I didn't have one, I'd go with RWT's.
#31
RightWayTrey
-
-
- 702 posts
Automatic or nothing
Posted 31 August 2009 - 10:49 AM
Your whole gate opening mechanism is pretty nice. The switch mechanism is not that great. You could probably have the train trigger the switch if you just move that red gear out of the way. Also it's not geared down at all. The gates would barely have 3 seconds to open and shut!
If you could gear down the switch so that it stays on longer and extend the switch so that the train turns it on, this would be a very nice tutorial.
If you could gear down the switch so that it stays on longer and extend the switch so that the train turns it on, this would be a very nice tutorial.
Valleyfair Recres:..........My Tutorials:......
................Steel Venom................Automatic Station Gates.......
..........Corkscrew...................Automatic Drill Launch....
...Round About................Auto on/off switch..
#32
JohnMillerFan96
-
- 144 posts
A.K.A: RCT3Dude96
Posted 31 August 2009 - 04:49 PM
DDRman, this is for people who have only SS sets, RWT has pieces that don't come with the SS. Thanks for telling me where to post, too.
RWT, I could only go for a short open close period because the gears are the same size. I say it's better to build this with your ss sets then to have almost no pieces to build yours. But for people who have enough pieces, DEFINATELY build your gates!
RWT, I could only go for a short open close period because the gears are the same size. I say it's better to build this with your ss sets then to have almost no pieces to build yours. But for people who have enough pieces, DEFINATELY build your gates!
#33
LaMbChOpZ
-

-
- 2812 posts
Lead Particle Physicist and Musical Orchestrator
Posted 17 June 2010 - 02:00 PM
looks like it'll work. idk. gonna try it
#34
decaxxeca
-

- 974 posts
just call me Ten
Posted 17 June 2010 - 03:42 PM
I m gon tak lyk dis 2!
GENIUS!!
GENIUS!!

#35
TheSUCKCrew
-

-
- 4095 posts
Way too old
Posted 17 June 2010 - 03:57 PM
"I m gon tak lyk dis 2" (I'm gonna say?)
Genius, but 1 year old...
Genius, but 1 year old...
#36
decaxxeca
-
- 974 posts
just call me Ten
Posted 17 June 2010 - 04:29 PM
what i had said was i am going to immatate his manner of typing because his typing style is very hard to understand.
#37
RCT2123
-
-
- 5771 posts
Most Rides Cancelled :-)
Posted 17 June 2010 - 09:45 PM
Really guys? He is new leave him alone. At least he wasn't like Tis is so coo! He has a legitimate comment...
-RCT2123
-RCT2123
![]()
#38
Maxwell Graham
-

-
- 43 posts
Knexmax
Posted 13 August 2012 - 06:44 PM
I built RWT's Station Gates , But they dont turn off. Why is this?
#39
RightWayTrey
-
-
- 702 posts
Automatic or nothing
Posted 22 August 2012 - 01:22 PM
Every motor has a switch that behaves a little differently. Just experiment with different lengths for the arm that shuts off the switch. The easiest solution is to cut a piece to the right length. You can also try putting spacers on the rod for the switch.
Valleyfair Recres:..........My Tutorials:......
................Steel Venom................Automatic Station Gates.......
..........Corkscrew...................Automatic Drill Launch....
...Round About................Auto on/off switch..


Also tagged with one or more of these keywords: roller coaster knex cool
Theme Parks, Coasters, Games, & More →
Video Games →
NoLimits →
Poltergeist[NL]Started by Antinos , 16 Jul 2009 |
|
![Poltergeist[NL] - last post by Spitfire](http://www.sscoasters.net/forum/uploads/profile/photo-812.gif?_r=0)
|
||
K'NEX Discussion & Construction Area →
K'NEX Coaster Construction →
Winter Entry CoasterStarted by Coaster105 , 10 Feb 2009 |
|

|
||
K'NEX Discussion & Construction Area →
K'NEX Building Help →
How Real Coaster Wheels WorkStarted by RCT2123 , 21 Jan 2009 |
|

|

